Baked Chicken Breast Recipes: Simple and Savory Meals
Surprising fact: high-heat roasting at 425°F/220°C can cook medium pieces in under 20 minutes while keeping meat juicy and tender.
This Website contains affiliate links. That means I may earn a small commission if you purchase through my links, at no extra cost to you.
This guide shows why the oven is perfect for quick weeknight dinners in the United States. Five simple steps—brine, brush, rub, roast, rest—create reliable results every time.
Flattening portions to about 0.6 inch (1.5 cm) helps them cook evenly. A 15-minute quick brine plus a spice mix of brown sugar, paprika, garlic powder, herbs, salt, and pepper builds a caramelized crust and great flavor.
Use an instant-read thermometer and aim for 165°F final temp, or pull at 160°F to allow carryover cooking. Expect 18–20 minutes at high heat for 5–6 oz pieces. Metal sheets or baking dishes work best at these settings; avoid thin glass at very hot temps.
Key Takeaways
- High heat (425°F/220°C) yields fast, juicy results—under 25 minutes.
- Follow the five-step method: brine, brush, rub, roast, rest.
- Use a thermometer and remember carryover cooking to hit 165°F safely.
- Balanced seasoning locks in moisture and boosts savory flavor.
- Store cooked portions up to 3 days or freeze for 3 months; reheat with a splash of water.
Why Baked Chicken Breasts Belong in Your Weeknight Rotation
A hot oven gives you a golden crust and free time to prep sides or clean up.
Hands-off cooking is the main perk: high heat (425–450°F) creates a caramelized exterior quickly so you don’t need to watch the pan. That frees up minutes to finish salads, grains, or tidy the kitchen.
Lean white meat delivers real nutrition. It offers high protein with relatively low fat, making it ideal for balanced dinners and meal prep. Use simple seasoning, a quick brine, and a short rest to boost texture and flavor.
- Reliable results: thermometer plus time guidelines removes guesswork and prevents a dry, rubbery finish.
- Versatile: the same base method adapts to smoky, herb-forward, or citrus finishes.
- Budget-friendly: widely available cuts stretch across weeknight dinners, salads, and reheatable lunches.
Compared with pan-searing or grilling, oven roasting needs less active attention while still giving a crisp crust and moist interior. Treat this technique as a dependable default you can build on with favorite sauces and sides.
Keys to Juicy Results Every Time
Control thickness, temperature, and timing to turn a basic cut into a consistent winner.
Pound to an even thickness
Pound to roughly 0.6 inch (1.5 cm) so pieces cook at the same rate. This prevents the thin end from drying while the thick end finishes. It also shortens overall cook time for busy weeknights.
Use a meat thermometer
Insert a thermometer into the thickest part, avoiding bone. Aim for an internal temperature of 165°F, or pull at 160°F to reach 165°F during a 5–10 minute rest. An instant-read is great for spot checks; a wireless probe gives continuous monitoring without opening the oven door.
High-heat baking for caramelization
Roast at 425–450°F to form a browned crust quickly and lock in juices. Medium pieces typically take 15–20 minutes, but oven variation and size affect time. Rely on color and temp rather than the clock alone.
- Season the entire surface before baking for an even savory crust.
- Avoid overcrowding the pan so hot air circulates and browning is even.
- Let meat rest 5–10 minutes to redistribute juices without overshooting temperature.
| Step | Target | Why it matters |
|---|---|---|
| Pound even thickness | ~0.6 inch / 1.5 cm | Uniform doneness and shorter cook time |
| Oven temperature | 425–450°F | Quick caramelization, locked-in moisture |
| Internal temp | 160–165°F | Safe, juicy finish with carryover during rest |
Ingredients and Pantry Staples for Flavorful, Tender Chicken
A few reliable staples in your pantry make weeknight meals faster and tastier.
Core essentials: skinless chicken breasts, a light coating of olive oil or melted butter, plus salt and pepper to highlight natural flavor.
Build a versatile spice framework with paprika for color and mild smokiness, garlic powder for roundness, and dried oregano or thyme for herbal depth. A touch of brown sugar helps caramelize the surface and lock moisture without making the dish noticeably sweet.
Coat pieces lightly with oil or butter first so seasoning sticks and the hot oven browns the outside evenly. Choose similarly sized pieces for uniform timing; trim or split larger ones when needed.
Pantry tips and small shortcuts
- Prep a larger batch of dry seasoning to speed weeknight prep.
- Use kosher salt — its larger crystals mix more evenly in rubs and brines.
- Fresh-ground black pepper gives brighter aroma than pre-ground jars.
- Check labels: some store-packed meat is pre-brined; skip extra brining if so.
- Pat meat dry before seasoning to help form a better crust.
| Ingredient | Purpose | Tip |
|---|---|---|
| Olive oil / Butter | Helps seasoning adhere and promotes browning | Oil for lighter finish; butter for richer flavor |
| Paprika & Garlic powder | Color and savory depth | Use smoked paprika for extra warmth |
| Brown sugar | Caramelization and moisture retention | Use sparingly to avoid sweetness |
| Kosher salt & Fresh pepper | Even seasoning and brighter aroma | Adjust salt for low-sodium needs |
Step-by-Step Method: Brine, Brush, Rub, Roast, Rest
Use a short, repeatable workflow to lock in moisture and build fast flavor. This five-step plan helps you save time while getting a golden crust and juicy interior every weeknight.
Optional quick brine for added juiciness
Brine: dissolve 1/4 cup kosher salt in 2 cups lukewarm water, add 2 cups cold water, then submerge for 15 minutes up to 6 hours. Rinse and pat dry. Skip this step if pre-brined.
Brush with oil or butter
Coat both sides with a thin film of oil or olive oil. This prevents sticking, speeds browning, and helps the rub adhere.
Rub with a simple seasoning
Mix paprika, garlic powder, salt, and pepper. Rub evenly over the surface. Add dried oregano or thyme if you like herb notes.
Roast at high heat and monitor doneness
Preheat oven to 425–450°F so the surface caramelizes quickly. Arrange pieces spaced apart on a metal sheet. Start checking at 15 minutes and expect up to 20 minutes depending on size.
Use a thermometer to confirm doneness. Pull at 160°F for carryover, or hold to 165°F if serving right away.
Rest to lock in juices
Let the meat rest 5–10 minutes, loosely tented with foil. This redistributes juices and keeps the crust crisp.
- Clean as you go and prep sides during roast to save overall time.
- This simple recipe repeats well and adapts to many seasoning mixes.
Oven Temperature, Time, and Thickness Guide
Timing and thickness are the two simplest levers for consistent, juicy results in the oven.
Quick size-to-time guide at 425°F:
- Small — 5 oz: 18–20 minutes.
- Medium — 7 oz: 20–22 minutes (pounded to ~0.6 inch often finishes in 18–20 minutes).
- Large — 9 oz: 22–25 minutes.
Even thickness helps align time across pieces for uniform doneness. Pound portions so the center reaches heat at the same rate and the crust browns evenly.
Oven variability, pan type, and spacing change exact minutes. Use internal temperature and surface color as your primary cues rather than relying on the clock alone.
Doneness and carryover
The thickest part should read internal temperature 165°F for immediate serving. For juicier results, remove at 160°F and allow carryover to reach 165°F during a 5–10 minute rest.
Visual cues: a golden, caramelized crust, clear juices on the surface, and no pink in the center usually mean safe doneness. Start checking a few minutes early to avoid overshooting.
| Size | Time at 425°F (minutes) | Doneness cue |
|---|---|---|
| Small (5 oz) | 18–20 | Golden crust, clear juices, 160–165°F |
| Medium (7 oz) | 20–22 | Even color, no pink center, thermometer check |
| Large (9 oz) | 22–25 | Deep caramelization, rest for carryover |
Leave space between pieces; crowded pans reduce browning and add time. Use the center rack for consistent air flow. In convection mode, shave a few minutes off the standard time and always verify with a calibrated thermometer.
Chicken Seasoning Ideas Beyond the Basics
A good rub does more than add taste—it creates texture, color, and aroma that lift a simple meal.

Sweet-smoky crust with brown sugar and paprika
Mix brown sugar with paprika, garlic powder, dried oregano, a touch of salt, and fresh-ground pepper. The sugar helps caramelize the surface while paprika adds color and mild warmth.
Herb-forward blends: oregano, thyme, rosemary
Swap in thyme, rosemary, or a pinch of Italian seasoning for an herb-forward profile. These blends pair especially well with roasted vegetables and grain bowls.
Low-sodium swaps and spice-level tweaks
Scale back salt and boost zest, fresh herbs, or a vinegar-based glaze to increase perceived salinity without more sodium. For heat, try smoked paprika or a pinch of cayenne or red pepper flakes.
- Pairings: cumin-coriander for grains, lemon-pepper for salads, chili-lime for taco nights.
- Make a larger batch of your favorite dry rub and store it in a labeled jar to speed prep.
- Brush a light coating of oil first so powders adhere evenly and the crust browns uniformly.
- Watch sugar-forward rubs closely under high heat to avoid over-caramelization.
- Taste and tweak the blend before rubbing to match your preferred balance.
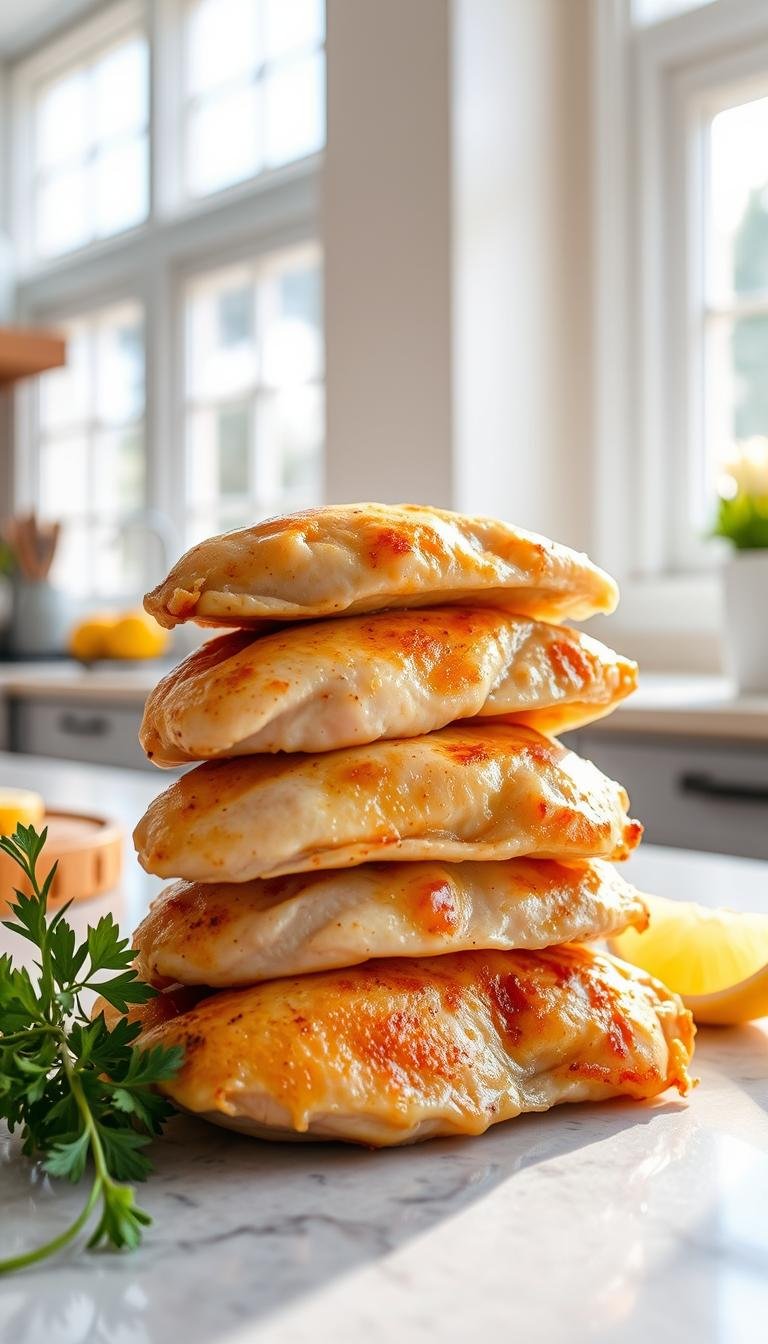
Chicken Breast Recipes Baked: Core Recipe You’ll Make On Repeat
This core method turns a simple cut into a fast weeknight go-to with predictable results.
Prep and bake: Start by preheating the oven to 425–450°F so the pan and air are fully hot. Pound pieces to about 0.6 inch for even cooking.
Lightly brush both sides with olive oil or melted butter, then season with paprika, garlic powder, salt, and pepper. Arrange the pieces in a single layer on a metal sheet or sturdy baking dish—avoid glass at these temps.
Prep and bake
- Preheat oven to 425–450°F, then place chicken breasts on the tray.
- Brush oil or butter, coat with seasoning, and space pieces to allow browning.
- Bake 15–20 minutes, checking with an instant-read thermometer.
Quick checklist
- Even thickness (~0.6 inch).
- Metal pan recommended for best crust.
- Pull at 160°F or bake to 165°F; rest 5–10 minutes before serving.
- Optional: broil 2–3 minutes at the end for extra color.
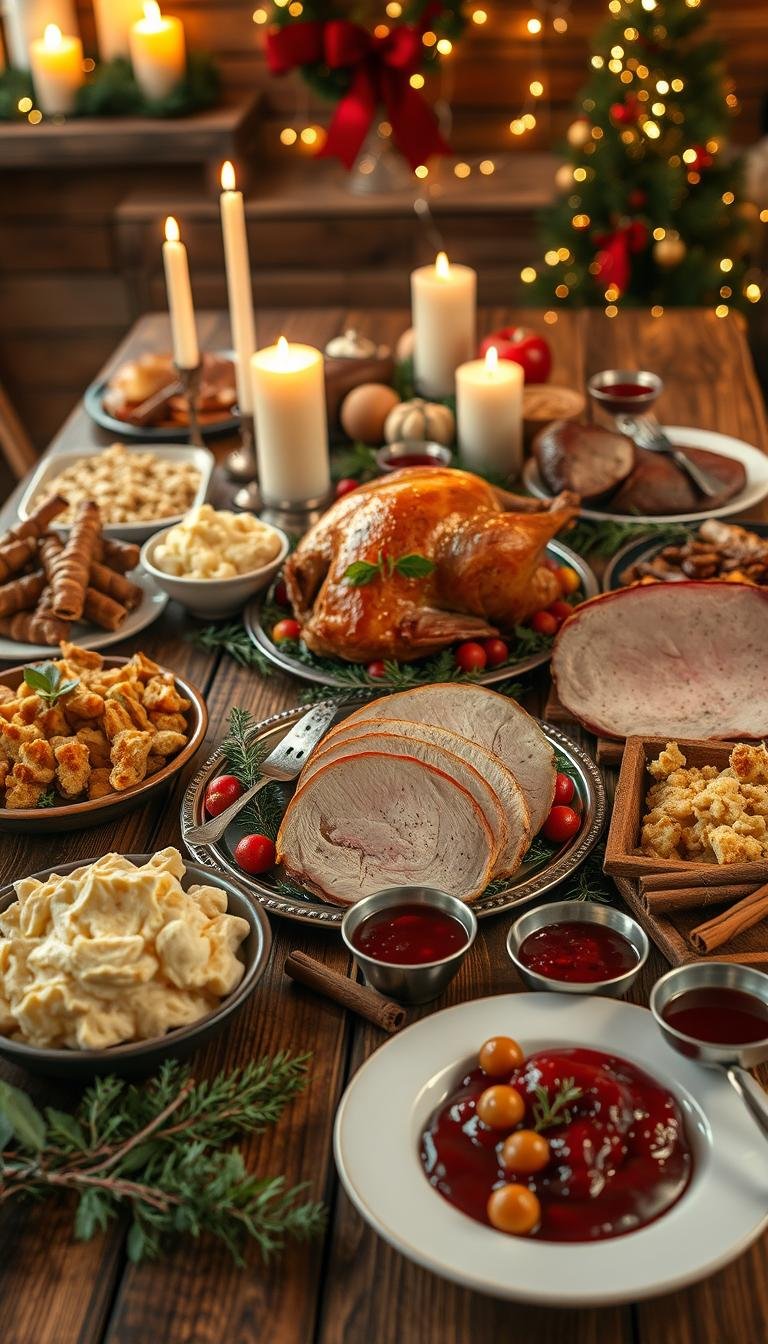
Serving Suggestions and Sides That Complete the Meal
Choose sides that echo your spice profile to create a harmonious, easy dinner. A few smart pairings elevate the main protein and make every plate feel intentional.
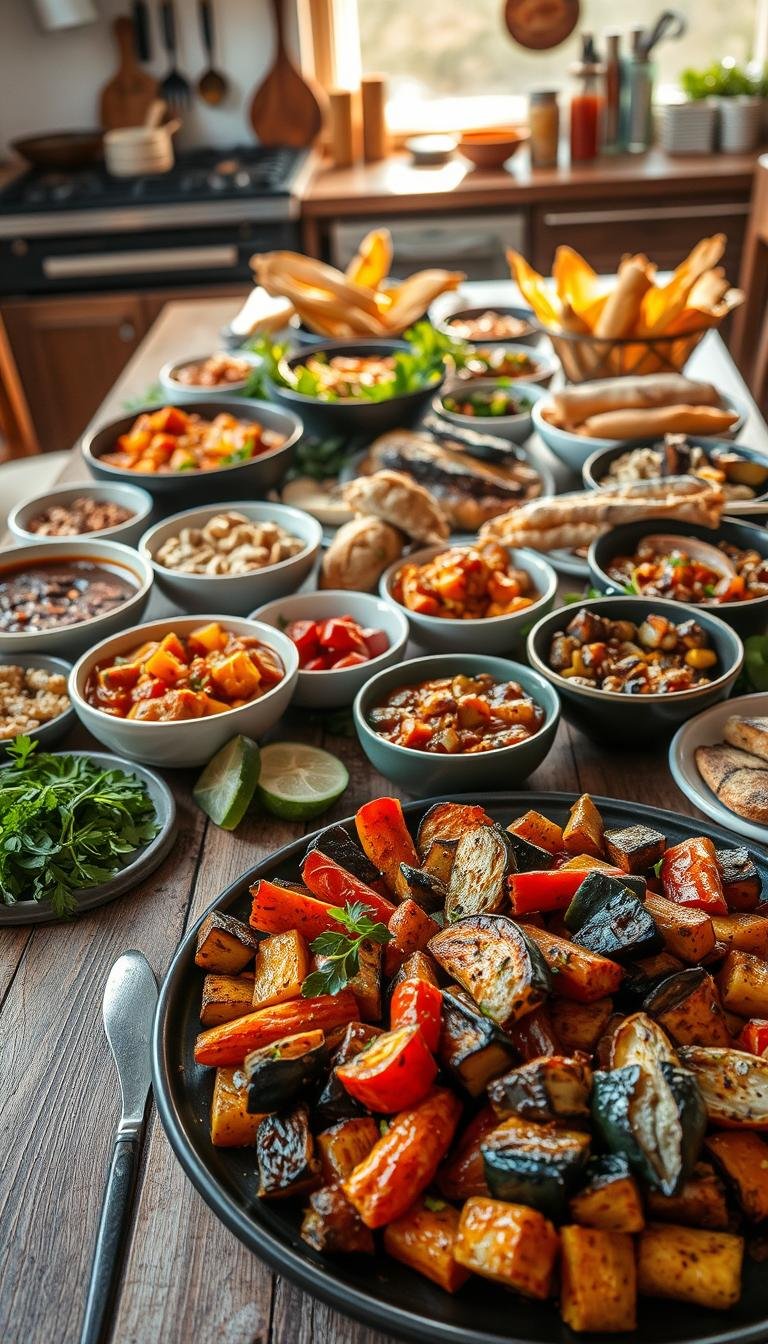
Vegetable companions
Roasted broccoli, asparagus, Brussels sprouts, or cauliflower work well and can share the oven on a second rack. Roast them with olive oil, salt, and a squeeze of lemon for bright contrast.
Carb and salad options
Pick a flavored rice—Garlic Butter Rice with Kale, Tomato Basil Rice, or Mushroom Rice—to soak up pan juices. For hearty sides, try Lemon Potato Salad or a classic creamy potato salad.
Light options include a Spring Salad or a Creamy Cucumber Salad with Lemon Yogurt Dressing for added freshness.
- Build grain bowls with quinoa or brown rice, roasted veg, greens, and a sauce for a customizable dish.
- Match sides to the rub: herb-forward sides for herb rubs; tangy, creamy sides to balance sweet-smoky blends.
- Coordinate oven timing so everything finishes hot and season sides thoughtfully before serving.
“A squeeze of lemon or a scatter of fresh herbs lifts the whole plate.”
Leftovers store well and make fast lunches. Aim for contrasting textures—crispy veg, creamy grains, and juicy chicken—for a satisfying meal that tastes complete.
Smart Meal Prep: Storage, Freezing, and Reheating
A few simple storage habits turn leftovers into ready-to-go meals all week. Cool cooked portions promptly and move them to the fridge within two hours to keep flavor and safety intact.
Short-term: Store cooked chicken in an airtight container in the refrigerator for up to 3 days. Use shallow containers to speed cooling and make reheats more even.
Long-term: Freeze portions for up to 3 months. Slice, dice, or shred before freezing so portions thaw and reheat evenly. Label each container with the date and portion size for quick meal planning.

- Add a teaspoon of water before reheating and cover the dish to create gentle steam. This helps rehydrate meat in minutes without overcooking.
- Reheat in short bursts in the microwave or low on the stovetop. Sauce after reheating to lock in moisture and refresh flavor.
- Pack lunches with pre-portioned grains, vegetables, and protein so weekday meals are ready fast.
| Storage | Time | Tip |
|---|---|---|
| Refrigerator | Up to 3 days | Use an airtight container |
| Freezer | Up to 3 months | Slice or shred first |
| Reheat | Few minutes | Add water, cover gently |
Troubleshooting Dry or Rubbery Chicken
Dry or rubbery results are fixable. Start by checking thickness and timing; most problems are mechanical rather than mysterious.
Common pitfalls and quick fixes
Uneven thickness makes thin ends overcook while thick centers lag. Pound pieces gently to an even thickness so heat reaches the center at the same rate.
Overbaking past 165°F ruins texture. Use a reliable thermometer and begin checking early, especially with pounded portions. For extra safety and juiciness, pull at 160°F and allow carryover to finish.
Skipping the rest phase causes juices to run out when cut. Rest 5–10 minutes, tented, to lock moisture and keep the crust crisp.
Fixing flavor and texture
Brush a light coating of oil or melted butter so seasoning adheres and browns properly. Uneven seasoning leads to bland bites—coat the full surface and salt to taste.
Give pieces room on the pan; overcrowding causes steaming and rubbery surfaces. Verify oven temp accuracy to avoid hot spots or longer-than-expected cook times.
“Pull at 160°F for juicier results, then rest 5–10 minutes to let carryover do the work.”
| Issue | Sign | Quick fix |
|---|---|---|
| Uneven thickness | Dry thin edges, raw center | Pound to even thickness; choose similar-sized pieces |
| Overcooked | Tough, stringy texture | Use a thermometer; pull at 160°F for carryover |
| Blunt flavor | Bland bites, uneven color | Brush with oil, full rub coverage, finish with acid or herbs |
| Steamed surface | Pale, rubbery exterior | Space pieces; use metal pan for better browning |
Nutrition Snapshot: Lean Protein With Big Flavor
A medium portion delivers a strong protein hit that supports full meals and recovery. A 5 oz serving runs about 286 calories with roughly 46g protein and 7g fat.
Sodium is variable. The example shows ~403mg, which rises with brines and heavy rubs. Reduce salt in the brine or rub to lower sodium without losing taste.
Use olive oil instead of butter for a more favorable fat profile. A thin coating is enough for crisp color and browning, so you keep added fat low.
Flavor amplifiers add punch with few calories: garlic, fresh herbs, citrus zest, vinegars, and cracked pepper. These keep meals bright and light.
- Pair with fiber-rich vegetables and whole grains for balanced plates and lasting energy.
- Watch portion size and avoid overcooking; pull at 160°F and rest to retain juiciness without extra sauces.
- Read labels on pre-brined poultry to skip extra brining and control added sodium.
| Nutrient / Serving | Amount | Note |
|---|---|---|
| Calories | ~286 kcal | Depends on oil and rub |
| Protein | ~46 g | High, supports satiety |
| Fat | ~7 g | Use olive oil for better fats |
| Sodium | ~403 mg | Lower by cutting salt or skipping brine |
Conclusion
Finish strong: this simple system turns weeknight cooking from guesswork into a repeatable skill. Follow the five steps—brine, brush, rub, roast, rest—to get juicy, consistent chicken without fuss.
Keep three keys in mind: even thickness, high-heat roasting, and an instant-read thermometer. These remove guesswork and cut down on overcooking for reliable results with baked chicken.
Make the core technique your base and swap rubs, herbs, or heat levels to create new dinners. Use the timing charts as a guide and verify internal temperature; pull early to use carryover if you prefer a juicier finish with baked chicken breast.
Store portions up to three days or freeze for longer. Reheat gently with a splash of water and cover to preserve texture. Bookmark this guide and plan one weeknight menu using the core recipe and a fresh seasoning blend to build confidence and variety.