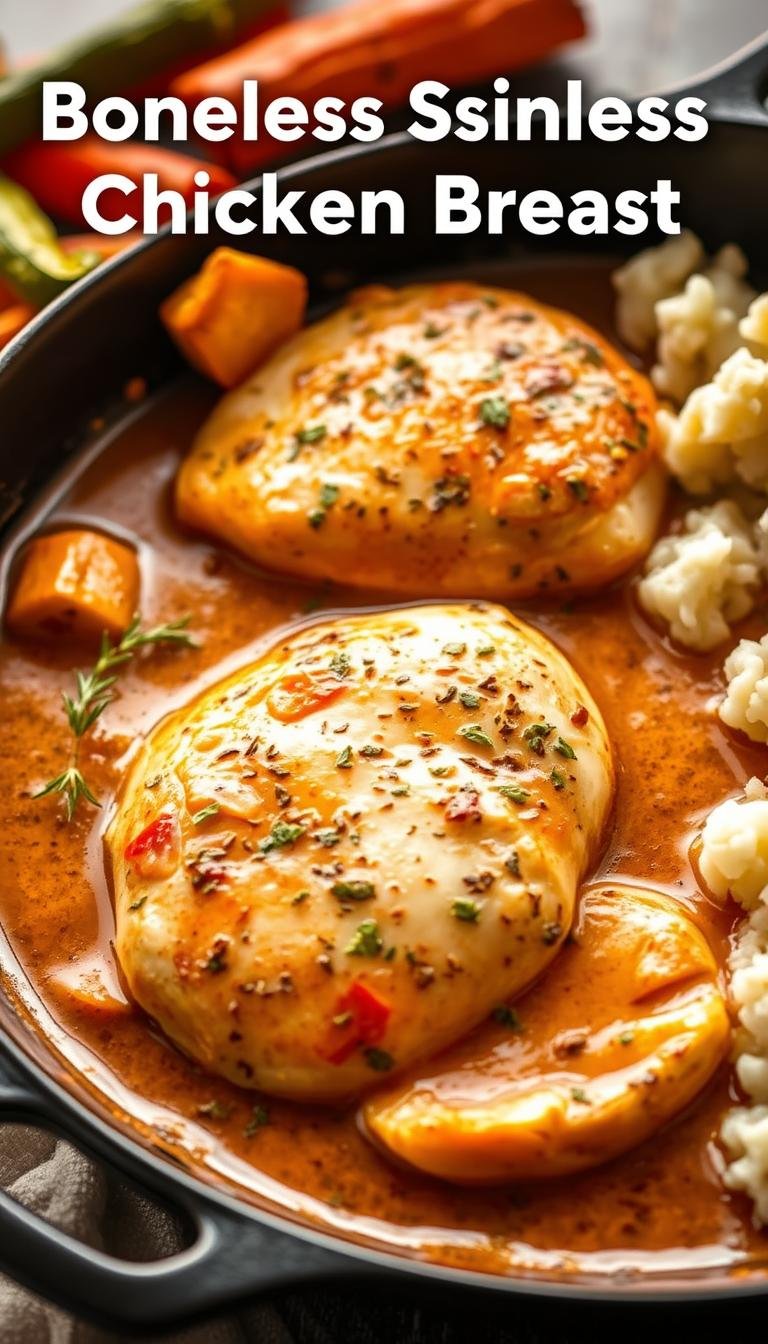
Boneless Skinless Chicken Breast Recipes – Easy & Delicious
Surprising fact: a 425°F bake with a simple brown sugar and spice rub can turn a thin, even piece into juicy meat in just 18–20 minutes.
This Website contains affiliate links. That means I may earn a small commission if you purchase through my links, at no extra cost to you.
This guide gathers three weeknight-friendly methods so you can pick the fastest route to flavorful dinners. Expect a reliable 425°F baked method that caramelizes, a pan-roast that builds a deep Maillard crust, and a garlic-butter skillet-to-oven finish that keeps juices locked in.
Short tips: pound to even thickness, watch for caramelized color as a doneness cue, and rest 3–5 minutes before serving. We also cover oven timing, safe internal targets, quick pan sauces, and simple sides like rice or a bright salad to round the plate.
Key Takeaways
- Three dependable methods for fast, tasty weeknight meals.
- 425°F bake yields juicy results in ~18–20 minutes for medium pieces.
- Pan-roast then oven finish creates a deep crust and rich pan sauce.
- Pound to even thickness and rest 3–5 minutes for best texture.
- Pair with rice, potato salad, or a fresh vinaigrette salad for a balanced plate.
Why boneless, skinless chicken breasts make quick, flavorful dinners
Lean portions cook fast and take on flavors easily, which makes them a weeknight favorite. A 7–9 ounce piece pan-roasted on the stovetop finishes in about 12–15 minutes. Pounded to an even thickness and baked at 425°F, a similar piece is done in roughly 18–20 minutes.
Start with a hot pan to sear and build a Maillard crust. That quick browning adds depth so the final plate tastes richer than the prep time suggests.
- Fast protein: Less connective tissue means dinner on the table in under 30 minutes.
- Flavor flexibility: Neutral meat is a blank canvas for many seasoning blends.
- Even cooking: Sear first, finish in the oven for gentle center heat and fewer dry edges.
This way of cooking scales for meal prep and keeps prep simple so you can focus on quick sides. With basic pantry spices and a good pan, you can reliably cook chicken that stays juicy and satisfying.
Ingredient essentials for juicy chicken breast
Choose the right ingredients first: they decide whether your dinner stays juicy or dries out. Focus on portion size, the right cooking fat, and a simple seasoning blend that promotes browning and flavor.
Protein: choosing the right size
Aim for 7–9 oz pieces for predictable doneness. Oversized 1‑pound cuts cook unevenly and tend to dry at the edges. Pound thicker ends to match thin areas for even heat through the meat.
Fats and oils: smoke point matters
Use avocado oil, olive oil, or clarified butter for searing. Heat fat until it just begins to lightly smoke; if it reaches a rolling smoke, discard and start over. Clarified butter gives buttery flavor with less risk of burning.
Seasonings that work
Pat the surface dry, then season both sides and the edges. A straightforward rub—brown sugar, paprika, dried oregano or thyme, garlic powder, salt, and black pepper—builds crust and caramelization in high heat.
- Select moderate-sized pieces for predictable doneness.
- Pat dry so oil and seasoning adhere and brown evenly.
- Aim for light, even oil coverage; too much oil inhibits crust.
- Let seasoned meat rest briefly so salt begins to penetrate.
Juicy oven-baked chicken breast at high heat (425°F)
Quick, high-heat baking locks juices while building a deep golden crust in under 20 minutes. Start by preheating the oven to 425°F so the steady heat browns the surface fast and keeps the center moist.
Prep for even cooking
Pound each piece to about 0.6 inch at the thickest point. This evens thickness so the thin end won’t overcook and ensures reliable time-to-doneness.
Magic seasoning
Mix 1½ tbsp brown sugar, 1 tsp paprika, 1 tsp dried oregano or thyme, ¼ tsp garlic powder, and ½ tsp each salt and pepper. Rub both sides after brushing about 2 tsp oil on the surface to help the seasoning adhere.
Bake fast, check doneness
Arrange with space between pieces and bake 18–20 minutes. Begin checking at 18 minutes for deep golden color and confirm with an instant-read thermometer at an internal temperature of 165°F.
Rest 3–5 minutes before slicing. Spoon pan juices over the top as a quick sauce. For very large breasts, halve into thinner cutlets and reduce the bake time accordingly.
Pan-roasted chicken breast: stovetop sear to oven finish
A quick high-heat sear and a timed oven finish deliver restaurant-style crust with juicy meat inside.
Season both sides with salt and pepper. Preheat a cast iron or stainless pan over high for 20–30 seconds.
Add 1 tsp olive oil only when the pan is hot. Look for a faint wisp of smoke, then reduce to medium-high and add the pieces.
Sear, then finish
Sear undisturbed about 3½–4 minutes to build a Maillard crust. Flip and transfer to a 375°F oven.
Finish 10–12 minutes until the internal temperature reads 155–160°F. Rest 2–4 minutes so carryover cooking brings it to safe doneness.
Quick pan sauce
Use the fond: sauté shallot and garlic 2–3 minutes. Deglaze with 1/4 cup white wine to au sec, add 1–2 cups stock and reduce 2–3 minutes.
Finish the sauce with 1 tbsp butter and fresh thyme, then season. Spoon over the meat and serve while hot.
“Sear first, finish gently—this balance makes weeknight cooking feel like a simple, reliable restaurant method.”
Garlic butter baked chicken breast (skillet-to-oven, 400°F)
A garlic-butter baste transforms quick-cooked pieces into a dinner with rich flavor and sheen.
Prep: Preheat the oven to 400°F. Season with salt, pepper, and paprika. Heat a skillet until very hot and add a splash of olive oil.
Stir-together garlic butter with Italian seasoning and parsley
Melt butter and mix in minced garlic, Italian seasoning, and chopped parsley. This quick herb blend becomes the finishing sauce that infuses each bite.
Sear briefly, bake to 165°F, then baste with buttery pan juices
Sear 1–2 minutes per side to develop color, then pour the butter mixture over the pieces and move the skillet to the oven.
Bake 20–30 minutes until an instant-read shows internal temperature 165°F. Rest 5 minutes, then spoon the pan sauce over the top to baste. The result is a glossy, herb-scented finish that pairs well with greens or grains.
Boneless skinless chicken breast recipes
Decide by mood and minutes available. Choose between a hands-off high-heat roast, a quick pan-roast with pan sauce, or a garlic-butter skillet-to-oven finish. Each way gives a distinct texture and flavor with predictable timing.
Choose your best method: 425°F baked, pan-roasted, or 400°F garlic butter
425°F baked finishes medium, even-thickness pieces in about 18–20 minutes. It creates a caramelized crust and needs minimal active time.
Pan-roasted is fastest from start to finish—about 12–15 minutes for 7–9 oz pieces. Sear first, then finish in a 375°F oven for a golden crust and a quick pan sauce.
Garlic-butter at 400°F bakes 20–30 minutes with basting. It yields an herbaceous, glossy finish that shines when spooned with the pan sauce.
Time, texture, and flavor guide to pick the right recipe for tonight
- Pick 425°F baked for a fast, hands-off roast and a slightly sweet crust with brown sugar rub.
- Pick pan-roast when you want a restaurant-style sear and a savory reduction to spoon over the plate.
- Pick garlic butter for rich, herb-forward flavor and the juiciest finish with minimal fuss.
- All methods need even thickness and a thermometer to nail doneness without guesswork.

| Method | Oven Temp | Typical Time | Best For |
|---|---|---|---|
| High-heat bake | 425°F | 18–20 minutes | Crisp caramelized surface, low active time |
| Pan-roast | Sear then 375°F | 12–15 minutes total | Deep sear, quick pan sauce |
| Garlic-butter | 400°F | 20–30 minutes with basting | Herb-rich, glossy sauce finish |
“Match the method to your clock and craving for the most reliable weeknight wins.”
Cooking temperatures, times, and safe internal temperature
Timing and thermometer use are the two most important controls for reliable results every night. They help you manage oven heat, sear colors, and final doneness without guesswork.
High-heat bake guidance
425°F for about 18–20 minutes applies to medium, even-thickness pieces. Start checking at 18 minutes; denser pieces need closer to 20.
Pan-roast timing
Sear 3½–4 minutes per side in a hot pan with a touch of oil to develop crust. Transfer to a 375°F oven and finish 10–12 minutes until the thickest part reads 155–160°F, then rest so carryover brings it to safe doneness.
Garlic-butter skillet-to-oven method
After a brief sear, bake at 400°F for 20–30 minutes depending on size and initial sear color. Use the minutes as a guide but confirm with a probe for accuracy.
Use a thermometer
Always verify doneness with an instant-read thermometer inserted into the thickest area, avoiding pan contact. Aim for a final internal temperature of temperature 165°F before serving—this ensures properly cooked chicken and food safety.
- Preheat oven so timing is predictable and browning starts immediately.
- If the exterior browns too fast, lower the heat slightly or tent with foil.
- Oven variability matters; trust the probe more than minutes alone.
- For batch cooking, stagger trays or use convection and watch minutes and color closely.
Seasoning variations to keep chicken breasts exciting
A small change to your rub or a quick pan sauce can make weeknight dinners feel new again. Start with a dependable base: brown sugar, paprika, oregano or thyme, garlic powder, salt, and pepper. That mix toasts well under high heat and forms a flavorful crust.
Simple swaps give clear flavor directions without extra steps. Add a pinch of brown sugar for caramel color at 425°F. Stir in chili powder or crushed red pepper for heat. Finish with finely grated Parmesan during the last minutes or as a garnish after resting for an umami lift.
Taste-and-build ideas
- Classic: kosher salt, fresh pepper, paprika for color and mild smoke.
- Herb-forward: garlic powder plus dried oregano or thyme for quick toasting.
- Rich finish: grated Parmesan or a parsley-butter spooned over slices.
- Quick pan sauce: shallot, garlic, splash of white wine, stock, and a pat of butter to lift the fond into a glossy sauce.
- Measure: use ~1 tbsp total seasoning per pound as a starting point and adjust salt to taste.
“Keep blends dry for searing; if you make a wet rub, use less oil so spices toast instead of steam.”
| Variation | Key Ingredients | When to Use | Finishing Touch |
|---|---|---|---|
| Classic Rub | Salt, pepper, paprika | Everyday weeknight | Fresh lemon or parsley |
| Herb & Garlic | Garlic powder, oregano/thyme | Sear then bake methods | Grated Parmesan |
| Spicy-Sweet | Brown sugar, chili powder | 425°F roast for caramelization | Butter pan sauce |
Step-by-step tips for juicy chicken every time
A few focused steps—pounding, precise heat control, and timing—remove the guesswork from every cook.
Even thickness, proper preheat, and not overcooking
Pound pieces to a consistent thickness so the thin end doesn’t dry before the thick part finishes. Preheat the oven and skillet; immediate sears save precious minutes and create color fast.
Watch color cues during searing. Use a thermometer for accuracy: pull pan-roasted items at 155–160°F and let carryover bring them up, or confirm a final 165°F for baked chicken.
Resting and slicing for tender meat
Rest meat 3–5 minutes so juices redistribute. Slice against the grain into even pieces for the best texture and presentation.
Manage stovetop heat—drop it slightly after the initial sear to avoid burning spices. If the surface browns too fast, move the rack lower or tent with foil briefly.

“Keep a short log of minutes and temps for your oven and pan; repeatable habits make weeknight success predictable.”
| Action | Target | Why it matters |
|---|---|---|
| Pound to even thickness | ~0.5–0.6 inch | Even cooking, fewer dry edges |
| Preheat pan/oven | Hot pan, set oven temp | Immediate sear, consistent minutes |
| Thermometer check | 155–160°F (pull) / 165°F (baked) | Safe doneness without overcooking |
| Rest & slice | 3–5 minutes | Juices redistribute; tender slices |
Serving suggestions and sides that pair perfectly
Pick a few contrasting sides to balance richness, add freshness, and speed up prep. A smart plate mixes a warm starch, a bright salad, and one green vegetable for color and nutrition.
Carb sides to anchor the meal
Spoon pan sauces over garlic butter rice or choose Tomato Basil Rice for fragrant comfort.
Mashed potatoes or a lemony potato salad offer creamy contrast to richer mains. Add 1 tbsp butter to mashed potatoes for silkiness.
Fresh, crunchy salads
A spring mix salad or a creamy cucumber salad with lemon yogurt lightens the plate. Dress with good olive oil and a splash of vinegar.
Finish salads with a sprinkle of parmesan and fresh lemon to cut buttery sauces.
Weeknight wins: fast vegetable sides
- Roasted asparagus or a quick broccoli salad—both take under 15 minutes.
- Quinoa salad adds a nutty bite and packs well for lunches.
- For a touch of spice, dust veggies with paprika or garlic powder.
| Side | Time | Best with |
|---|---|---|
| Garlic Butter Rice | 15 min | pan sauce |
| Spring Salad | 5–10 min | lemon vinaigrette |
| Roasted Asparagus | 12–15 min | herb or garlic |
“Sliced pieces over grains with spooned juices make a simple, sauced plate that feels complete.”
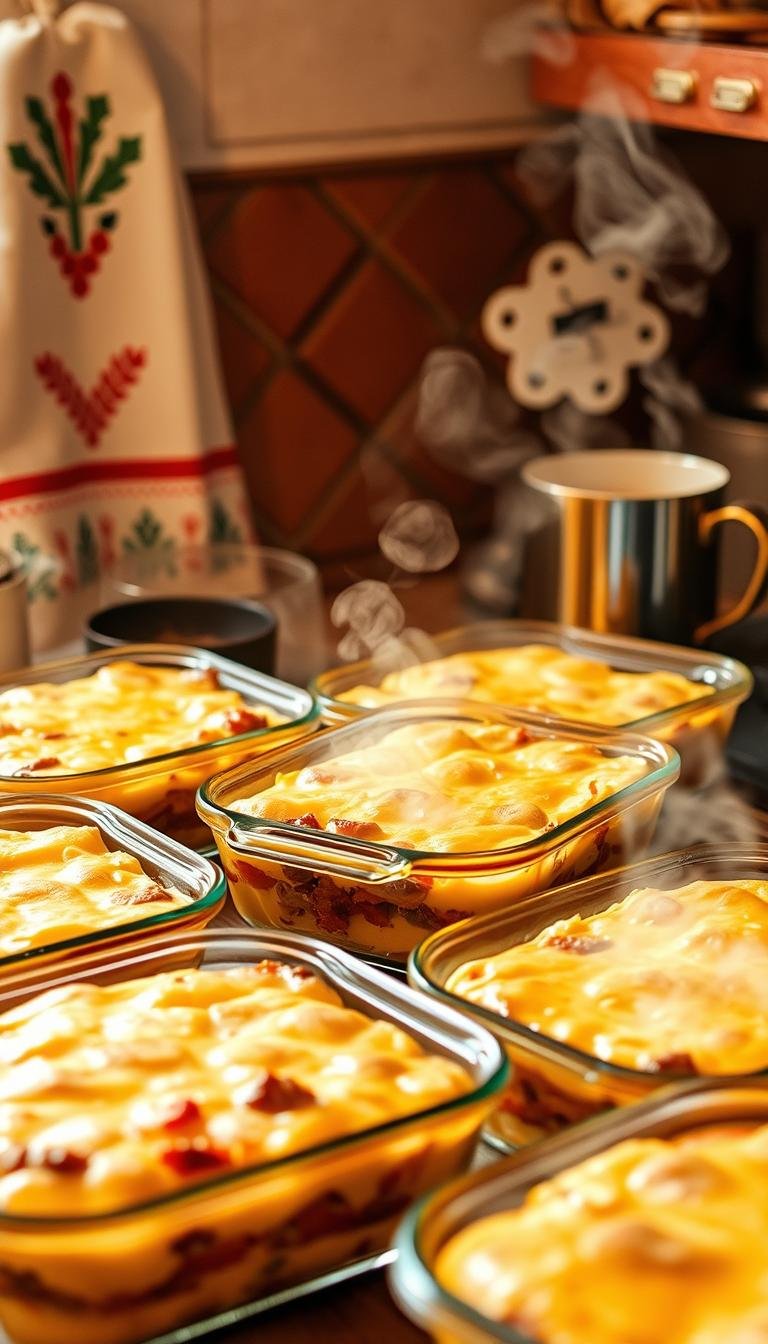
Storage, reheating, and meal prep
Smart storage and gentle reheating preserve texture and make weeknight meals easy.
Refrigerate cooked portions up to four days in airtight containers. For longer storage, freeze for up to three months and thaw in the refrigerator before use.
Reheat covered in a 350°F oven with a splash of stock or reserved sauce to keep slices moist. In a pinch, microwave with a damp paper towel to trap steam and prevent drying.
Prep ahead by slicing, shredding, or dicing to speed meals. Use pieces for salads, soups, pastas, or sandwiches. Keep a small jar of pan sauce or a butter sauce to re-moisten portions when reheating.
“Cool quickly, label packages, and vary seasonings across batches to keep lunches and dinners interesting.”
| Action | Storage | Best reheat |
|---|---|---|
| Short term | Refrigerate up to 4 days | 350°F oven, covered with sauce |
| Long term | Freeze up to 3 months (label date) | Thaw in fridge, reheat gently |
| Meal prep | Portion single-serve | Use sliced/shredded in salads or pasta |
Timing tip: Brush a light layer of oil or sauce before reheating to protect the surface and improve mouthfeel. Track dates to rotate older portions first and reduce waste.
Conclusion
Pick a method, trust the thermometer, and expect consistent, juicy results every time. From a 425°F caramelized roast to a sear‑and‑finish at 375°F with a quick pan sauce, and a 400°F garlic‑butter skillet bake to temperature 165, each way gives clear times and cues for weeknight success.
Keep seasoning balanced and choose your fats—a high‑smoke olive oil or a bit of butter for flavor—so sears brown without burning. Rest before slicing, spoon pan juices or sauce over the slices, and pair with rice, greens, or potatoes.
Use a thermometer rather than guessing by minutes, note oven behavior, and tweak seasoning to taste. With these simple habits, you’ll get repeatable, delicious results that make dinner easy and reliable.