Instant Pot Chicken Breast Recipes for Healthy Meals
Surprising fact: more than 40% of home cooks say pressure cooking saves them over two hours each week, yet many still fear dry results.
This Website contains affiliate links. That means I may earn a small commission if you purchase through my links, at no extra cost to you.
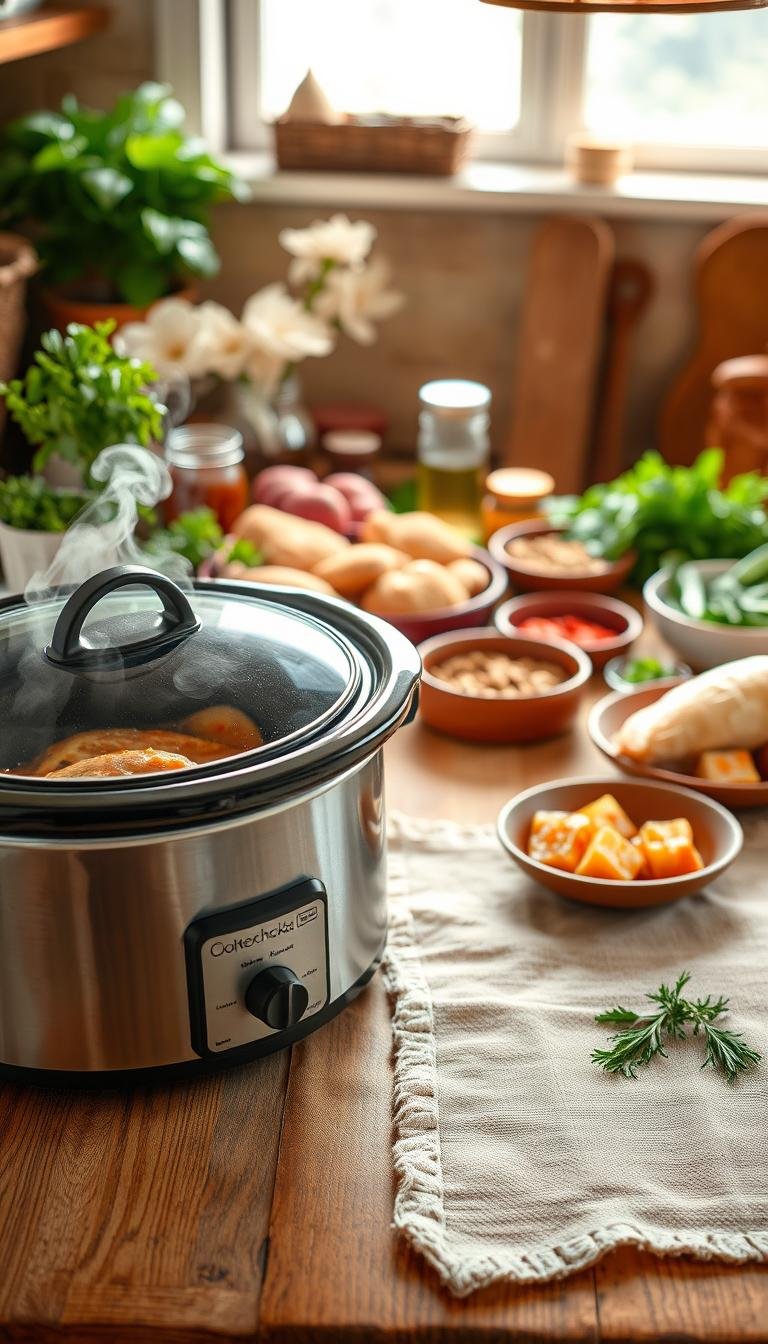
This guide shows a simple, time-saving way to make tender chicken with one cup of liquid on a trivet. Set breasts in a single layer, pressure on High, then rest and slice or shred for quick weeknight dinner wins.
Cook fresh pieces 8–10 minutes and frozen pieces 10–12 minutes, depending on thickness. Let pressure release naturally for 5 minutes, then quick release. Verify doneness with an instant-read thermometer at 165°F for safety and consistency.
Save the pot liquid — it makes a great base for sauces or broth. For fast shredding, return the meat with 1/2 cup reserved liquid and use a handheld mixer right in the pot.
Key Takeaways
- Use 1 cup liquid and a trivet for even steaming and consistent results.
- Pressure cook on Manual/High: fresh 8–10 min, frozen 10–12 min, plus 5 min natural release.
- Confirm 165°F internal temp with an instant-read thermometer for safety.
- Reserve and reuse cooking liquid for sauces or broth to reduce waste.
- Shred quickly in the pot with 1/2 cup liquid and a handheld mixer.
- Store cooked portions 4–5 days refrigerated or up to 3 months frozen.
Why Instant Pot Chicken Breasts Are a Healthy, Time-Saving Win
Pressure cooking makes weeknight protein fast and reliably juicy with very little hands-on time. Using one cup of liquid and a trivet steams the meat instead of boiling. That preserves texture and keeps the result moist.
The method is fast: most cooks finish under 12 minutes at high pressure. Start-to-finish, including build and release, is about 25–30 minutes. That frees you to prep sides, set the table, or pack lunches.
Flexibility is a big advantage. You can cook from fresh or frozen without thawing. Batch-cook several portions to save money and cut takeout nights.
“A sealed environment locks in moisture and flavor while you finish other tasks in the kitchen.”
- Consistent results: single-layer placement and a trivet promote even steaming.
- Nutrition: lean protein requires minimal added fat, making it easy to plan balanced meals.
- Predictable timing: use thickness-based minutes and an instant-read thermometer to confirm 165°F.
Season simply as a base for sauces later. This way the technique adapts to many cuisines and keeps weeknight dinners stress-free.
Core Method: Juicy Instant Pot Chicken Breasts from Fresh or Frozen
Follow a simple setup—measured liquid, an elevated rack, and a single layer—to guarantee even cooking. This approach keeps meat tender and gives you a versatile base for sauces or shredding.
Essential ingredients and liquid: water vs. chicken broth
Measure 1 cup of liquid as the minimum to reach pressure safely. One cup of water gives a neutral base. One cup of low-sodium chicken broth adds savory depth without extra salt.
Optional: fruit juices like pineapple or apple add mild sweetness for BBQ or teriyaki finishes.
Trivet placement and single-layer setup for even cooking
Place the trivet in the pot so meat sits above the liquid. Elevating pieces lets steam cook the meat, preserving texture instead of boiling it.
Arrange in a single layer with no overlap. Avoid stacking; cook in batches if needed to prevent undercooked spots.
Season simply: salt, pepper, and adaptable spice blends
Season with kosher salt and black pepper as a foundation. Add Italian herbs, garlic powder, smoked paprika, or taco seasoning to match your final dish.
- Secure the lid and set the steam valve to Sealing before you start Manual/High pressure.
- Use low-sodium broth when you plan to reduce the cooking liquid for a gravy.
- Save the pot liquid to make broth or thicken with a cornstarch slurry for quick sauce.
Fresh vs. Frozen Chicken Breasts: Exact Pressure Cook Times
Adjust timing based on whether pieces are fresh or frozen and on thickness. Use a consistent approach so results stay moist and safe.
Cook high pressure: baseline minutes
Standard timing: fresh chicken breasts 8–10 minutes on High; frozen chicken 10–12 minutes on High. For pieces under 2″ thick, aim for 8 minutes; over 2″ aim for 10 minutes.
Natural release vs. quick release: when to use each
Natural release locks in juices. Use a 5–10 minute natural release after pressure cooking to preserve texture. For thinner pieces, a 5-minute natural release followed by a quick release prevents overcooking.
“If pieces start frozen, separate them before cooking and add about 3 minutes plus a 10-minute natural release for best texture.”
| State | High Pressure Minutes | Recommended Release |
|---|---|---|
| Fresh <2″ | 8 | 5 min natural + quick |
| Fresh >=2″ | 10 | 5–10 min natural |
| Frozen (separated) | 10–12 (or +3 min tested) | 10 min natural |
- Always verify 165°F with an instant-read thermometer.
- If temp is low, rest covered or add 1–3 minutes pressure time.
- Plan total time (build + cook + release) around 25–30 minutes.
Cook Time by Thickness and Size for Reliable Results
Match cooking minutes to thickness for predictable, juicy results every time.
Measure the thickest point of each piece before you set the time. Under 2 inches thick usually needs about 8 minutes on High pressure for tender, safe cooked chicken.
For cuts over 2 inches, extend to roughly 10 minutes on High to reach proper doneness without drying out. Finish with a 5–10 minute natural release to help retain moisture.
Size-based timing cues
- Small (7–8 oz): ~8 minutes on High.
- Medium (10 oz): ~10 minutes on High.
- Large (12 oz): ~11 minutes on High.
Verify doneness the right way
Use an instant-read thermometer and confirm at least 165°F. If pieces read 160–163°F, rest covered for a few minutes — carryover heat will finish cooking without extra time under pressure.
“Spot-check several pieces when batch cooking to avoid uneven results.”
| Thickness / Size | High Pressure Minutes | Release & Notes |
|---|---|---|
| Under 2″ | 8 | 5 min natural + quick; trim or butterfly thick fillets |
| 2″ or over | 10 | 7–10 min natural; check temp at multiple spots |
| Weight cues (7–12 oz) | 8–11 | Add 1 min for odd shapes; restart 1–3 min if needed |
Tip: Trim or butterfly very thick cuts to standardize time. Matching time to thickness and using a thermometer gives repeatable, juicy results every cook.
Flavor Variations to Keep Dinner Interesting
A few simple sauces and spice blends can transform plain pressure-cooked protein into multiple weeknight meals. Start from the same cook method and finish with a sauce or rub to suit the dish you plan to serve.
Honey garlic (5-ingredient): Whisk 1/3 cup water or low-sodium broth, 1/4 cup low-sodium soy sauce, 1/4 cup honey, 2 cloves minced garlic, and 1/4 tsp black pepper. Pressure cook, then thicken using 2 tsp cornstarch mixed with 1 tbsp water on Sauté for 2–3 minutes until glossy.
After the slurry, stir in a bag of frozen mixed veggies or broccoli to cook in the sauce for a one-pan side. Use low-sodium broth when you plan to reduce the sauce to avoid over-salting.
- Italian herb rub: Italian seasoning, garlic powder, smoked paprika, salt, and pepper for a savory, family-friendly profile.
- Smoky blend: Smoked paprika with a touch of garlic powder and extra pepper to pair with roasted vegetables.
- Mexican-inspired: Coat with taco seasoning and use the cooked meat in tacos, enchiladas, burritos, or white chicken chili.
- Saucy finishes: Toss sliced servings in teriyaki or BBQ; add pineapple or apple juice to the pot liquid for natural sweetness.
“Adjust salt when using soy-based sauces and save the reserved pot liquid to deglaze — it intensifies flavor fast.”
Tip: Pair your flavor choice with the intended dish to get variety without extra work. All variations use the same pressure cook time and a short natural release for juicy results.
Step-by-Step: Pressure Cook, Release, Rest, and Slice
A clear step-by-step finish keeps moisture locked in and saves time at the end of your cook. This sequence ensures consistent texture whether pieces start fresh or frozen.

Set to Manual/High, seal the lid, and verify the vent
Place the trivet in the inner pot and pour in one cup of water or low-sodium broth. Arrange the pieces in a single layer, season, and secure the lid with the valve set to Sealing.
Timed pressure cook and 5–10 minute natural release
Select Manual/High and set the timer: about 8–10 minutes for fresh, 10–12 minutes for frozen depending on thickness. Let the unit finish, then allow a 5–10 minute natural release to retain juices.
After that brief hold, switch the valve to Venting to quick release any remaining steam and open the lid away from you.
Rest 5 minutes before slicing or shredding
Check the thickest part with an instant-read thermometer; aim for at least 165°F. If a piece reads slightly low, rest it with the lid on for carryover heat or return to pressure for 1–3 more minutes.
Transfer to a cutting board and rest 5 minutes before slicing. For shredded meat, return it to the pot with 1/2 cup reserved cooking liquid and shred quickly with a hand mixer.
- Tip: Strain and save the pot liquid to boost sauces or soup later.
- Timing cue: Use minutes based on thickness, not guesswork, for repeatable results.
“A short natural release preserves moisture better than an immediate vent.”
Shredded Chicken Made Easy for Meal Prep
Turn a single pressure-cooking session into several ready-to-use meals with a quick in‑pot shred. This saves time and keeps juices for later uses.
Hand mixer in-pot shredding with 1/2 cup reserved liquid
Remove the trivet after pressure cooking and leave about 1/2 cup of cooking liquid in the inner pot. Return the hot cooked chicken to the pot.
Use a handheld mixer on low and shred right in the pot. The warm meat shreds fast and absorbs the liquid for moist results.
Use low-sodium broth or water to avoid overly salty shredded meat. Save extra liquid for a light gravy with a cornstarch slurry.
Batch cook, portion, and freeze for weeknight meals
Cook in single layers to ensure even doneness. Combine shredded portions after multiple batches for larger meal prep sessions.
- Portion 1–2 cup servings into flat freezer bags and label with date.
- Freeze up to 3 months; thaw overnight in the fridge for best texture.
- Refrigerate cooked portions for 4–5 days when planning lunches or wraps.
Use shredded meat for tacos, enchiladas, white chicken chili, pizzas, grain bowls, or pot chicken sandwiches. One session can power many dinners and simplify weeknight cooking.
| Action | Quantity / Time | Notes |
|---|---|---|
| Reserve liquid | 1/2 cup | Keep warm liquid to moisten shredded meat |
| Portion & freeze | 1–2 cups per bag | Label and store flat up to 3 months |
| Thaw | Overnight in fridge | Best texture; faster reheating |
“Shredding while warm yields the best texture and the fastest breakdown of fibers.”
Serving Ideas and Healthy Sides
A single cook can yield many weeknight options when you plan simple pairings that turn warm protein into multiple meals.

Balanced plates are easy: slice warmed portions over brown rice or quinoa with steamed or roasted broccoli, carrots, or green beans for a filling side.
- Toss shredded meat into enchiladas or a white chicken chili for a crowd-pleasing main.
- Top salads with warm or chilled protein for high-protein lunches, or scatter pieces over pizzas with BBQ or pesto for a casual dish.
- Turn reserved pot liquid into a quick gravy: whisk a cornstarch slurry and use Sauté for 2–3 minutes until thickened. Add frozen veggies to the honey garlic sauce after the slurry for a saucy dinner.
Match seasoning to the finish: Italian-herb portions pair well with roasted veg and polenta, while taco-seasoned meat suits rice bowls with corn and beans.
“Taste and adjust salt after reducing sauces, especially when using broth or soy-based liquids.”
Garnish with fresh herbs, lemon, or a drizzle of olive oil and choose high-fiber sides to keep the meal light but satisfying.
Equipment, Safety, and Pro Tips
A few simple gear choices and safety checks make pressure cooking reliable and repeatable. Use the included trivet or a folded foil rack to keep meat elevated above the liquid. This lets steam circulate and prevents a soggy texture.
Skip the Poultry preset and select Manual/High for precise timing and texture control. The preset often defaults to longer minutes, which can overcook thinner cuts.
Any electric cooker size from 3 to 8 quarts will work. Arrange pieces in a single layer and cook in batches as needed to maintain even exposure to heat and steam.
Always add at least 1 cup of water or low-sodium broth so the unit can build pressure safely. Check that the lid and sealing ring sit correctly before you start.
Safe venting: use a long utensil when switching the valve to Venting and keep hands away from the steam. Favor a short natural release to preserve juices, then quick-release remaining pressure to avoid overcooking.
“Strain and chill the cooking liquid, then remove any fat cap before using it as a flavorful homemade broth.”
Maintenance tip: inspect the valve and sealing ring regularly and replace worn parts for consistent sealing and reliable performance.
Storage, Reheating, and Freezer Meal Directions
A little planning turns one cook into many quick dinners. Cool cooked portions quickly, then refrigerate for up to 4–5 days or freeze for best quality up to 3 months.
For reheating, keep pieces covered to retain moisture. Warm in a 350°F oven for 10–15 minutes, or microwave in short bursts with a splash of broth or water to avoid drying.
Freezer meal assembly and cook-from-frozen tips
Combine a cup of water or broth with soy, honey, garlic, pepper, and the meat in a heavy-duty bag. Freeze flat for faster thawing and neat stacking.
Thaw just enough for the sauce to loosen and separate pieces before you cook. To cook frozen, follow the cook frozen timing and use a 10-minute natural release for tender results. Ensure the lid seals properly on the instant pot.
| Action | Timing / Amount | Notes |
|---|---|---|
| Refrigerate | 4–5 days | Cool within 2 hours |
| Freeze | Up to 3 months | Freeze flat, label date & flavor |
| Reheat | 350°F, 10–15 minutes | Cover; add 1/4 cup broth if dry |
| Cook from frozen | Follow frozen timing + 10-min release | Separate pieces for even cooking |
“Label bags with date, flavor, and cook directions to streamline weeknight prep.”
Conclusion
Conclusion
A few clear steps turn a hurried evening into a reliable, tasty dinner in about 30 minutes.
Use 1 cup of liquid, a trivet, a single-layer setup, and Manual/High pressure with a short natural release for consistent, juicy results. Time by thickness—fresh 8–10 minutes, frozen 10–12 minutes—and verify doneness with an instant-read thermometer set to 165°F.
One base method supports many flavors: honey garlic, Italian herbs, smoky paprika, taco, teriyaki, or BBQ. Save the pot liquid for gravy or broth, shred with 1/2 cup reserved liquid, portion, and freeze for easy meals.
Scale this way to any Instant Pot size as long as pieces sit in a single layer. Follow these steps and dinner is reliably done, deliciously and fast.