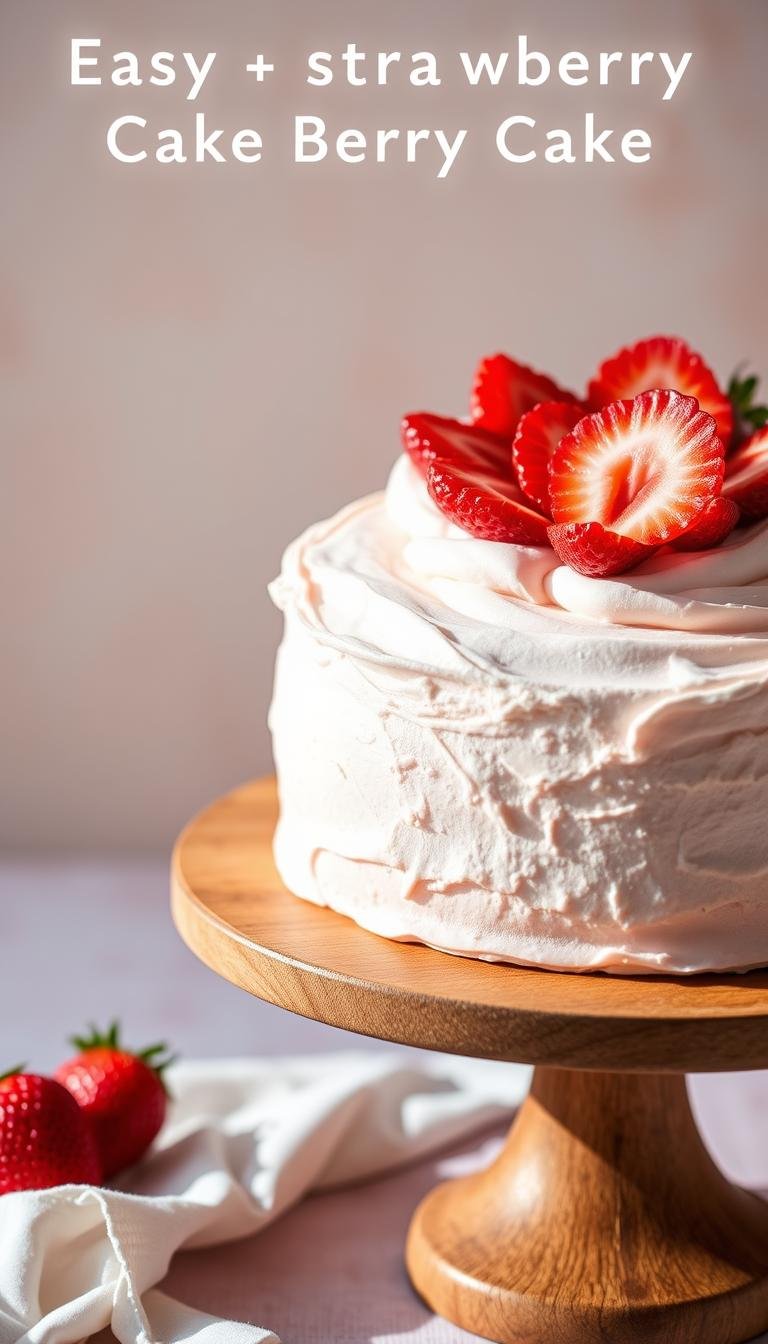
Easy Strawberry Cake Design Tutorials for Home Bakers
Did you know a small-batch batter can make a triple-layer 4-inch treat or a single 6-inch dessert that serves 2–4 people?
This Website contains affiliate links. That means I may earn a small commission if you purchase through my links, at no extra cost to you.
This post teaches home bakers how to build real fruit flavor and reach a clean finish. We focus on a low-and-slow reduction to concentrate taste and on freeze-dried powder for buttercream with no added liquid.
Expect practical steps: pan choices, reliable mixing, and tips for smooth sides, rosettes with a Wilton 1M, stars with a 32/4B, and chamomile accents. You’ll learn make-ahead storage for reductions, layers, and buttercream to keep bake day calm.
We emphasize real fruit—either reduced fresh berries or freeze-dried powder—to deliver authentic aroma and vibrant color. Troubleshooting tips cover gray crumbs, sliding layers, and soft frosting so your final result looks as good as it tastes.
Key Takeaways
- Small-batch recipe makes triple 4-inch or single 6-inch servings—ideal for 2–4 people.
- Use a strawberry reduction or freeze-dried powder for strong, real flavor.
- Follow room-temp ingredients, low-and-slow reductions, and careful mixing for consistency.
- Decorate with Wilton tips (1M and 32/4B) and simple floral accents for a professional finish.
- Make-ahead strategies (reduction, layers, buttercream) streamline assembly and reduce stress.
- Troubleshoot common issues like color shifts, slipping layers, and loose frosting.
Welcome to Easy, Creative Strawberry Cake Design Tutorials
Learn simple, repeatable steps to layer real fruit flavor into show-ready home bakes. In this short post you’ll get timings, tool notes, and a clear sequence to follow so your final top looks tidy and holds together.
What you’ll learn today
Start-to-finish highlights include making a concentrated reduction (10–15 minutes for minis; 40–60 minutes for larger batches) and a silky buttercream using either freeze-dried powder or a cooled fresh reduction.
- Step-by-step flavor building: purée, reduce, cool, and fold into batter and frosting for vibrant, stable results.
- Why room temperature ingredients and a stand mixer help avoid curdling and heavy crumbs.
- Pan options—three 4-inch, one 6-inch, or two 8-inch—and a 350°F bake temp to match serving size.
- Two frosting paths: concentrated powder for intensity without thinning, or fresh reduction for lush, natural flavor.
- Simple piping with Wilton 1M and 4B/32, plus chilling between coats to prevent sliding.
Follow the assembly order: level, fill, crumb coat, chill, final coat. These small steps make a big difference when you want consistent layers and a clean finish.
Build the Flavor: Strawberry Reduction and Freeze‑Dried Strawberry Basics
A gentle, low simmer turns fresh purée into a deep, lasting fruit note for your layers and frostings.
Small-batch method: Purée about 3 oz fresh strawberries to yield ~1/3 cup. Simmer over medium-low for 10–15 minutes until jam-like and reduced to roughly 2.5 Tbsp. Cool to room temperature before folding into batter or buttercream to avoid splitting or melting.
Larger batches: Blend thawed berries with sugar, lemon zest, a squeeze of lemon juice, and a pinch of salt. Simmer 40–60 minutes until thick like tomato sauce. Aim for 1–2 cups of reduction depending on your recipe.
- Use a low-and-slow reduction to concentrate fruit notes without scorching.
- Choose freeze-dried strawberries (powder) when you need bold taste with no extra liquid in buttercream.
- Add lemon zest or a high-quality emulsion for brighter, more persistent strawberry flavor.
- Stir occasionally; steady simmering gives glossy texture and predictable volume for your cake.
Pro tip: A tiny dab of pink food coloring gel helps keep crumbs from turning gray during baking. Measure your final reduction so sweetness and moisture stay consistent across batches.
Tools, Pans, and Prep for Neat Layers and Smooth Frosting
Start with a clear plan and a few reliable tools to produce even layers and a silky finish.
Mixer basics: Set up a stand mixer fitted with the paddle attachment to cream butter and sugar until light and fluffy. For larger batches this takes about 3–5 minutes. When you add dry ingredients or liquids, always mix low speed to avoid overworking the batter.
Keep ingredients at room temperature — butter, eggs, milk, and cooled reduction — so the batter emulsifies and won’t split. Scrape the bowl stand mixer sides and bottom frequently to remove dry pockets.
- Choose cake pans to match servings: three 4‑inch minis, one 6‑inch, or two 8‑inch for a classic build.
- Line pan bottoms with parchment circles and spray sides for a clean release and intact edges.
- Weigh batter into pans for consistent height; use baking strips or a small center divot to reduce doming.
- Keep a bench scraper and offset spatula handy for straight sides and even frosting thickness.
Plan workflow — cooling racks, a turntable, and fridge space — so the recipe moves smoothly from bake to assembly. These small steps save time and give tidy, repeatable results for any strawberry treat.
Base Batter Options: Small‑Batch Mini or Classic Layer Cake
Start by picking the right volume: a small-batch for intimate servings or a standard layer for a crowd.
Small-batch mini: Purée about 3 oz fresh strawberries to yield ~1/3 cup, then reduce to roughly 2.5 Tbsp. This concentrated addition makes a tiny, flavorful base that yields three 4-inch layers or one 6-inch layer.
Use the mixer paddle attachment and add dry ingredients while you mix low speed to keep the crumb tender. Weigh batter into each cake pan so the batter evenly prepared across pans gives uniform heights.
Standard two 8‑inch layers
For a classic build, blend thawed or fresh strawberries and simmer low and slow for 40–60 minutes with lemon zest and juice until the reduction is thick. Fold cooled reduction into the batter and reserve a little to brush between layers.
Use egg whites in the standard recipe to maintain a bright interior. Bake two 8-inch rounds at 350°F for about 30–35 minutes and cool fully before trimming or filling.
“A measured reduction and even pans are the simple steps that keep assembly calm.”
- Small pans: 4-inch (18–22 min) or 6-inch (24–28 min) at 350°F.
- Standard: two 8-inch rounds (30–35 min) at 350°F.
- If you have freeze-dried strawberries, use powder in frosting to boost flavor without adding liquid.
Strawberry Buttercream, Two Ways
Make two buttercream styles and you’ll always have the right texture for piping or smoothing. Below are quick steps for a no-added-liquid option and a fresh-reduction version that highlights real fruit.
Silky freeze‑dried strawberry buttercream (no added liquid)
Grind freeze-dried strawberries to a fine powder and beat into softened butter with vanilla. Add powdered sugar on low speed to keep the bowl stand mixer from throwing sugar cloud. Use a little milk or cream for spreadability only if needed.
Fresh strawberry buttercream using cooled reduction
Whip butter until pale, then add powdered sugar on low. Fold in fully cooled strawberry reduction to avoid breaking the emulsion. If the mix looks curdled, remove about 1/2 cup, warm gently, and beat it back in.
Pro finish: whip, then paddle on low to smooth out air bubbles
For a glassy, bakery finish, switch to the stand mixer paddle and mix on low speed for 10–20 minutes. This knocks out air and tightens the buttercream for neat piping and smooth sides.
| Method | Texture | Best use | Notes |
|---|---|---|---|
| Freeze‑dried powder | Firm, stable | Sharp piping, stars | No extra liquid; retains bright color |
| Fresh reduction | Soft, natural | Spread, natural flavor | Must be fully cooled; can be warmed if curdled |
| Final finish | Glossy | Smooth sides | Mix low speed with paddle attachment 10–20 min |
Beginner-Friendly Strawberry Cake Design
Turn a small-batch bake into a polished, bakery-style finish with a few straightforward finishing moves. Start with chilled, flat layers so smoothing and piping are easier. A quick crumb coat locks crumbs in place before your final pass.
Tools matter: keep a turntable, offset spatula, and bench scraper within reach. Use even pressure on the scraper to get straight sides and a level top.

Smooth sides + simple rosettes with Wilton 1M
Apply the final coat of strawberry buttercream thinly and chill for 10 minutes to set. Pipe rosettes with a Wilton 1M, using consistent pressure and a clean finish on each rosette.
Star accents with Wilton 4B/32 and fresh strawberry slices
Use Wilton 4B/32 for star accents and arrange rosettes and stars in a crescent-moon arc across the top. Add thin slices of fresh strawberries and a few chamomile blooms just before serving.
- Keep piping buttercream slightly firmer than the smoothing coat so details hold.
- Try a light cream cheese frosting for tangy contrast as an inner layer or small accents.
- For minis, match spacing to smaller cake pans; on larger layers, scale rosette size to keep balance.
- Clean tips between colors or batches to maintain sharp ridges and a polished look.
strawberry cake design: From Mini Smash Cakes to Party‑Ready Layers
Build small or show-stopping layers by matching finish technique to the cake size.
Mini triple‑layer 4‑inch with crescent‑moon piping
Stack three 4‑inch layers and pipe a crescent of tight rosettes with a Wilton 1M. Add small stars with a 4B/32 tip to create motion.
Finish with a few chamomile blooms and thin slices of fresh strawberries for charm. Use a thin film of strawberry buttercream between each layer for continuity.
6‑inch single‑layer sheeted smooth finish with chamomile flowers
For a refined 6‑inch layer, aim for a perfectly smoothed coat. Chill a light crumb coat, then add a final sheeted pass.
Garnish sparsely—one ring of thin strawberry slices or chamomile sprigs keeps the look elegant.
Two 8‑inch layer build: crumb coat, chill, and statement top
Bake two 8‑inch rounds together on the same rack for even heights (350°F, 30–35 min). Brush cooled reduction between layers for extra fruit note.
Apply a thin crumb coat, chill until set, then complete with a thicker final layer so the profile stays crisp at room temp.
“Scale piping to the pan and garnish just before serving to keep surfaces pristine.”
| Size | Finish | Piping Tips |
|---|---|---|
| 4‑inch mini | Crescent rosettes + stars | Tighter spirals, Wilton 1M & 4B/32 |
| 6‑inch single | Sheeted smooth | Light garnish, chamomile sprigs |
| Two 8‑inch | Crumb coat + statement top | Brush reduction, chill between coats |
Assembly, Troubleshooting, and Make‑Ahead Notes
Take a moment to level and fill precisely; a brief chill makes the rest effortless. Level cooled layers, spread an even filling, and apply a thin crumb coat. Chill at least 30 minutes to set structure and prevent sliding when you smooth the final coat.
Level, fill, crumb coat, and chill: timing that prevents sliding
Make sure layers are flat and stable before stacking. Work with room temperature fillings and frostings so they spread without tearing the crumb or squeezing out under pressure.
Avoid gray or peach tones: egg whites, pink gel, and gentle bake
To keep color bright, use egg whites in the batter and a tiny dab of pink food coloring gel. Bake at 350°F until a toothpick comes out clean or the top springs back; overbaking dulls fruit notes.
Make‑ahead: reduction, cake layers, and buttercream storage
Cool the strawberry reduction fully, cover, and refrigerate up to one week. Store wrapped cake layers at room temperature up to two days or freeze up to two months.
Buttercream keeps refrigerated for up to two weeks. Bring to room temperature and rewhip on low in a stand mixer or with the paddle attachment. If buttercream breaks, warm a small scoop, beat it back in, and finish with the stand mixer paddle on low for a smooth finish.

“Level layers and a short chill are the simple steps that prevent sliding and save time.”
Conclusion
A few simple finishing steps will make your homemade layers look professional and keep flavor front and center.
Make sure to rely on a measured reduction, room-temperature mixing, and short chills between coats. These habits stabilize texture and sharpen fruit notes in any fresh strawberry cake or mini.
Use a tiny dab of pink food for color control and pick either freeze-dried powder or cooled reduction for buttercream intensity. Consider cream cheese frosting accents for a tangy counterpoint that pairs well with fruit.
Keep notes on yields, bake times, and cake pan choices so your favorite strawberry results are repeatable. With this roadmap, the same recipe and techniques scale cleanly for casual bakes and celebrations.