Creative Chocolate Cake Mix Recipes for Any Occasion
Surprising fact: upgrading a boxed mix with one simple add‑in can raise moistness and depth so much that 7 out of 10 home bakers say guests think it was made from scratch.
This Website contains affiliate links. That means I may earn a small commission if you purchase through my links, at no extra cost to you.
This guide makes turning a box into a bakery‑level dessert easy and fun. Start with a devil’s food box, add instant pudding, sour cream, oil, eggs, milk, vanilla, and a handful of chips, then bake at 350°F for reliably tender results.
Use two 9‑inch rounds, a 9×13, or cupcakes to match your event. Follow the box timing and add about 10 minutes; cool briefly in the pan, then move to a rack for even texture.
We’ll cover frostings like a simple buttercream, storage tips for freezing slices, and nutrition notes so you can balance indulgence and portion size. Expect clear steps for beginners and clever tweaks for pros who want deeper flavor and a finer crumb.
Key Takeaways
- Doctored mix method: instant pudding and sour cream boost moisture and texture.
- Bake at 350°F; follow box time plus ~10 minutes and cool on a rack.
- Choose pans—two layers, 9×13, or cupcakes—to fit the occasion.
- Simple buttercream and proper wrapping let slices freeze well.
- Calories vary widely by frosting and portion; adjust to taste and need.
Why Boxed Chocolate Cake Can Taste Bakery‑Level
A boxed base becomes pastry-case worthy when you tweak a few smart elements. Use a 15.25‑oz Duncan Hines Devil’s Food cake mix and fold in a 3.4‑oz Jell‑O instant chocolate pudding, sour cream, oil, eggs, milk, vanilla, and a handful of chocolate chips for a moist, tender crumb.
“Instant pudding and sour cream give structure and richness without extra fuss.”
Box mixes give a consistent start, but fortified ingredients boost depth. Sour cream adds fat and tang that tenderizes the crumb. Instant pudding holds moisture and improves structure so the slice feels plush and bakery-style.
- Use a quality devil’s food box to start with strong cocoa notes.
- Fold in chips for molten pockets that add texture.
- Choose whole milk and mild oil to improve mouthfeel and shelf life.
Takeaway: Respect the chemistry of the mix and add targeted ingredients, and you’ll get a reliably bakery-level chocolate cake every time.
chocolate cake mix recipes
Quick wins make homemade feel special. Combine a devil’s food box with instant chocolate pudding, sour cream, oil, eggs, milk, vanilla, and a handful of chips for a fast bakery-style result. Bake at 350°F and use the box time plus about 10 minutes for a fully set center.
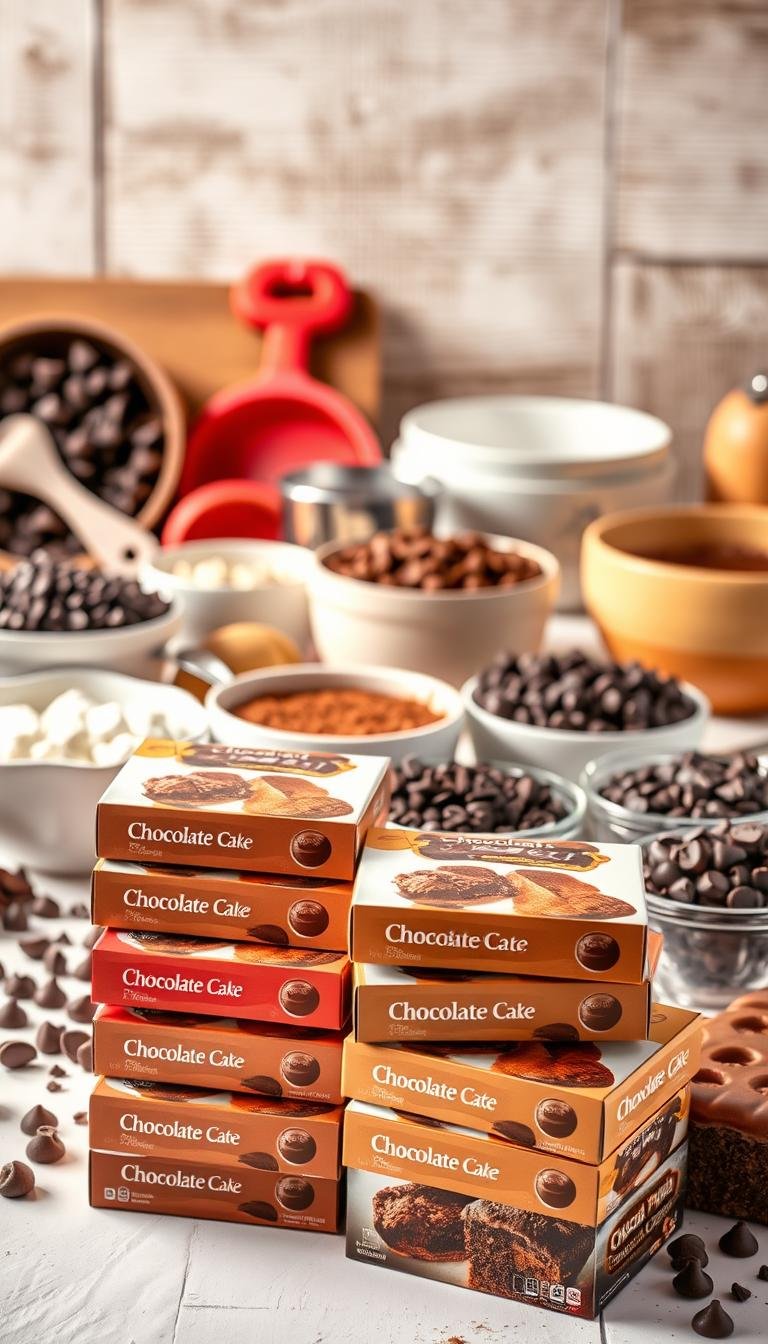
Essential pantry ingredients keep a last-minute dessert within reach: oil, eggs, milk, vanilla, and instant pudding powder. Stock semi‑sweet chips for balanced sweetness, or swap dark chips to deepen the flavor.
Tools and pans you actually need include a handheld mixer or a sturdy whisk, measuring cups, and either two 9‑inch rounds, a 9×13 pan, or standard cupcake tins. Grease and flour pans or use baking spray with flour for clean releases.
“A splash of espresso or extra vanilla lifts the cocoa notes without extra steps.”
| Pan | Best use | Serving |
|---|---|---|
| Two 9‑inch rounds | Layered celebration cake | 12–16 slices |
| 9×13 pan | Potlucks and sheet cakes | 12–20 slices |
| Cupcake tins | Portion control, parties | 24 standard cupcakes |
- Bring ingredients to room temperature for even batter.
- Mix just until combined to avoid a tough crumb.
- Cool on a rack before frosting to keep icing fluffy.
Base “Doctored” Chocolate Cake Recipe (Oven 350 Degrees)
Simple swaps make the boxed starting point sing. Follow this easy method to get a moist, tender layer that holds up to frosting and slicing.
Preheat and pan prep
Preheat oven to 350 degrees F. Butter and flour two 9‑inch pans or line a 9×13 or cupcake tins with liners. Proper pan prep prevents sticking and helps tall sides.
Mixing the batter
In a large bowl mix one 15.25‑oz devil’s food cake mix, one 3.4‑oz instant pudding mix, 1 cup sour cream, 1 cup neutral oil, 4 beaten eggs, 1/2 cup milk, and 1 tsp vanilla until just combined. Small lumps are fine.
Fold, bake, and check doneness
Stir in 2 cups semi‑sweet chocolate chips. Divide batter between pans. Bake in the oven 350 per box time, then add about 10 minutes. Start testing early with a toothpick; aim for moist crumbs, not wet batter.
Cool before frosting
Let layers rest in the pan 5 minutes to set structure. Then remove to a wire rack and cool completely before frosting for a clean finish.
| Ingredient | Amount | Purpose |
|---|---|---|
| Duncan Hines Devil’s Food cake mix | 1 (15.25 oz) | Base structure and cocoa flavor |
| Jell‑O instant pudding mix | 1 (3.4 oz) | Moisture and stability |
| Sour cream | 1 cup | Richness and tender crumb |
| Oil, eggs, milk, vanilla | 1 cup oil, 4 eggs, 1/2 cup milk, 1 tsp vanilla | Baking fat, lift, moisture, and flavor |
Creative Variations Using a Chocolate Cake Mix
Small changes to a store-bought mix unlock many styles—from single-serve cupcakes to a gooey dump dessert.

Chocolate dump dessert with chips and toppings
Quick and highly chocolatey: layer the doctored batter or canned pie filling, scatter plenty of chips, and bake about 30 minutes.
Serve warm with whipped cream or a drizzle of ganache. One 9×13 pan yields twelve servings at roughly 321 kcal each.
9×13 family-style sheet
This pan is perfect for easy slicing and transport for potlucks or game-day feeding. Use the doctored batter and follow box time, adding ~10 minutes as needed.
Cupcakes and two-layer celebration
Bake cupcakes for shorter oven time and effortless portions. For a classic centerpiece, divide batter into two 9‑inch rounds and stack with a thick layer of frosting.
Add-ins and swaps
Swap semi‑sweet chips for milk or dark options to tweak sweetness and cocoa depth. Try peanut butter chips, a pinch of espresso, or cinnamon to enhance chocolate flavor.
| Variation | Best pan | Bake notes |
|---|---|---|
| Dump dessert with chips | 9×13 | About 30 minutes; top with sauces |
| Family sheet | 9×13 | Follow box time + ~10 minutes; slice easily |
| Cupcakes | Standard tins | Shorter bake; single-serve portions |
| Two-layer celebration | Two 9‑inch rounds | Use full cooling before frosting |
- Tip: when changing pans, start with the box guidance and check with a toothpick.
- Keep buttercream, ganache, or whipped topping on hand to match the mood.
- The reliable base lets you experiment with add‑ins while keeping a moist result.
Frosting and Finishes for Maximum Chocolate Flavor
The right frosting and finish make flavor pop and texture sing with minimal effort.
Fluffy buttercream
Cream butter until light and airy. Add powdered sugar and blend until smooth.
Stir in a pinch of salt, 1 tsp vanilla, and heavy cream. Beat until fluffy and spreadable.
This quick frosting pairs with the doctored base and can be loosened with a splash of milk if needed.
Alternative finishes
For a glossy, intense finish, pour warm ganache over chilled layers and let it set for dramatic drips.
Choose chocolate cream cheese for tangy depth or whipped cream for a lighter, cloud-like topping.
Texture boosters and tips
- Apply a thin crumb coat, chill for 10–15 minutes, then add thick swirls for a polished look.
- Use simple piping—rosettes or borders—to add detail without advanced tools.
- Fold in mini chips or shave some chocolate on top to echo the core flavor.
- Make frosting ahead, refrigerate, then bring to room temp and rewhip before decorating.
“A thin crumb coat and a final swirl make a homemade dessert look professional.”
Baking Times, Pan Sizes, and Doneness Guides
Timing and pan choice make the difference between a tender slice and a dry one. Start with the manufacturer’s bake time printed on the box, then plan to add roughly 10 minutes for the richer doctored batter. This extra time accounts for added moisture and density so the center sets properly.

Use the box guidance, then add about 10 minutes as needed
Follow the box as your baseline. Expect the doctored batter to need a few additional minutes in the oven at the same temperature.
Toothpick test and internal cues for a perfectly set crumb
Use a toothpick near the center: you want a few moist crumbs clinging, not raw batter. If the pick shows wet batter, return it to the oven and recheck in a few minutes.
- Pan notes: Two 9‑inch rounds usually need more time than cupcakes. A 9×13 may bake more evenly but watch edges.
- Oven placement: Center racks for even heat; leave space so pans don’t touch.
- Visual cues: Tops should spring back gently and pull slightly from the pan sides. A warm, rich aroma also signals near-doneness.
- Finish tips: Tent loosely with foil if the top browns before the middle sets. Cool layers 5 minutes in the pan, then move to a rack to cool completely before frosting.
“Record your oven times and pan pairings so the next bake matches the texture you prefer.”
| Pan | Typical bake time note | Doneness cue |
|---|---|---|
| Two 9‑inch rounds | Follow box + ~10 minutes; check early | Toothpick shows moist crumbs; top springs back |
| 9×13 pan | Follow box time; add ~5–10 minutes if dense | Edges pull slightly; center yields moist crumbs |
| Cupcake tins | Bake fewer minutes than layers; test sooner | Toothpick nearly clean; tops spring and feel firm |
Pro Tips for Moist Texture and Rich Chocolate Taste
A few practical tweaks will keep slices soft, flavorful, and reliably even from edge to center.
Room temperature ingredients for an even batter
Bring eggs, milk, and sour cream to room temperature before mixing. Cold items slow emulsification and can make the center bake uneven.
Why sour cream and pudding mix make a tender crumb
Instant pudding mix adds starches that lock in moisture. sour cream supplies fat and acidity that tenderize the crumb and boost shelf life.
Balancing butter, oil, and sugar for flavor and moisture
Use a mild oil like canola to keep the crumb soft for days. Add butter in frosting or a small amount in batter to lift flavor without drying the slice.
Troubleshooting: sinking centers, dry edges, or gummy middles
- If centers sink, extend bake time and check with a tester.
- Dry edges? The pan may be too thin or bake time too long—test earlier.
- Gummy middles often mean cutting too soon; let layers cool on a rack so structure finishes setting.
Measure ingredients carefully, avoid overmixing the batter, and keep simple notes on oven behavior to refine each recipe.
Ingredient Notes and Smart Substitutions
Smart ingredient choices help you control moisture, crumb, and cocoa intensity. Use the suggested lineup—15.25‑oz Duncan Hines Devil’s Food cake mix, 3.4‑oz instant pudding, 1 cup sour cream (or Greek yogurt), 1 cup oil, 4 eggs, 1/2 cup milk, 1 tsp vanilla, and 2 cups semi‑sweet chips—for a reliable starting point.
Oil choices
Choose a neutral oil—vegetable oil, canola, or avocado—to lock in moisture without competing with cocoa flavor.
Sour cream swap
Swap sour cream with plain Greek yogurt at a 1:1 ratio. Expect a touch more tang, but similar tenderness and shelf life.
Vanilla, cocoa, and chips
Vanilla balances bitterness and lifts aroma; a good extract matters. Semi‑sweet chips give crowd‑pleasing balance.
Milk chips add sweetness; dark chips add depth and make the overall chocolate profile bolder.
| Item | Suggested amount | Why it helps |
|---|---|---|
| Duncan Hines Devil’s Food cake mix | 15.25 oz | Consistent deep cocoa base for the bake |
| Instant pudding | 3.4 oz | Locks moisture and improves structure |
| Sour cream or Greek yogurt | 1 cup | Richness and tender crumb; yogurt is tangy swap |
| Oil (vegetable/canola/avocado) | 1 cup | Keeps crumb soft for days |
- Milk: whole milk gives a plush crumb; lower‑fat works but is slightly lighter.
- Measure chips and add‑ins precisely so bake time and texture stay predictable.
- If using a 9×13 pan, bake the full batter there and check doneness a few minutes earlier than layer guidance.
“Keep pudding mix and chips in the pantry so you can assemble this recipe without a special run.”
Nutrition Snapshot and Lighter Tweaks
Understanding what’s in a serving guides smart swaps and portion control. Below is a compact look at typical ranges and easy ways to lower saturated fat and sodium while keeping flavor.
Typical per-slice ranges
A lighter dump-style serving can be around 321 kcal per portion (12 servings). Rich, frosted two-layer slices often land between 592–724 kcal.
One published example of a frosted slice: ~724 kcal, 83 g carbohydrates, 6 g protein, 42 g fat (22 g saturated fat), 528 mg sodium, 359 mg potassium, 3 g fiber, and 65 g sugar.
Reduce saturated fat and sodium with smart swaps
Use less frosting or swap to whipped cream or a thin ganache glaze to cut saturated fat and cholesterol. Replace part of the oil with unsweetened applesauce for lower fat; expect a slightly different crumb but still moist.
Serving size awareness: potassium, fiber, and sugar
Choose semi‑sweet or dark chips to reduce sugar. Cut smaller slices or use a 9×13 pan for thinner portions; you may need a few extra minutes of bake time, so test early.
| Nutrient | Light serving | Rich slice example |
|---|---|---|
| Calories | ~321 kcal | 592–724 kcal |
| Carbohydrates | ~40–50 g | ~83 g |
| Sodium | ~200–350 mg | 460–528 mg |
| Potassium / Fiber | ~181 mg / ~2 g | ~359 mg / ~3 g |
Tip: Read the label on your favorite mix to compare sodium and added sugar, and weigh slices for precise tracking.
Storage, Freezing, and Make‑Ahead
Plan your storage before you bake so every slice tastes fresh when guests arrive. Proper wrapping and a short cool-down make the difference in texture and flavor.
Freezing slices and layers
For best freezing: wrap individual slices tightly in several layers of plastic wrap, then place them in a zip‑top freezer bag or airtight container to prevent freezer burn.
Cool layers about 5 minutes in the pan, then finish cooling on a wire rack before wrapping. Trapping steam will cause soggy tops when thawed.
Thawing and serving
Thaw wrapped slices in the refrigerator or at room temperature. Many prefer to serve slightly chilled; it keeps cream-based frostings stable and flavors bright.
Make-ahead timelines and tips
- Make cake layers or cupcakes up to a month ahead; defrost unwrapped briefly, then rewrap loosely to reduce condensation.
- Buttercream stores in the fridge up to a week or frozen for a month; bring to room temperature and rewhip before spreading.
- Label packages with the date and pan type so you know thawing time and serving order.
“Bake on day one, frost on day two, and decorate on day three for a stress‑free timeline.”
Conclusion
With basic pantry swaps and a steady oven routine, you can produce a bakery-style dessert every time. Start with a doctored chocolate cake mix—Devil’s Food plus instant pudding, sour cream, eggs, milk, vanilla, vegetable oil, and chips—and bake at oven 350 degrees using box time plus about 10 minutes.
Stir batter in a large bowl mix just until combined. Cool layers 5 minutes in the pan, then finish cooling on a rack before frosting.
Storage tip: wrap slices tightly in plastic wrap and freeze for quick servings. To manage sugar, saturated fat, cholesterol, and total fat, scale frosting and portions. Tracking protein, carbohydrates, sodium, potassium, fiber, and vitamin counts helps fit this recipe into your meal plan.
Keep experimenting with pans and finishes to lock in your signature flavor and make cake that feels made-from-scratch.