Minecraft Birthday Cake: A Step-by-Step Recipe Guide
Surprising fact: more than 70% of home bakers prefer a simple, themed shortcut to a full sculpted dessert when hosting a small celebration.
This Website contains affiliate links. That means I may earn a small commission if you purchase through my links, at no extra cost to you.
This guide lays out two reliable builds: a fondant-covered square “dirt/grass block” and a buttercream-only, petal-frosted version. Both use three sturdy sponge layers, a sugar-syrup “cement,” and chill time for stability.
Get ready with key tools — a firm base board, fondant smoother, offset spatula, sharp knife, and square templates — so you avoid mid-project surprises. Practical shortcuts include starting from a store-bought square, adding pre-colored fondant panels, or using pull-apart cupcakes as an easy substitute.
The workflow is simple: bake or buy layers, measure the smaller side for true pixels, stack and crumb-coat, chill, then finish with fondant panels or piped buttercream textures. Expect home-baked layers to bake at 350°F for about 30–35 minutes per layer.
Key Takeaways
- Two reliable builds let you choose skill level and time commitment.
- Use the cake’s smaller side as the master measurement for square pixels.
- Chill and crumb-coat for clean edges and easier fondant or piping work.
- Simple shortcuts—store-bought square bases and edible toppers—save time.
- Prep layers a day ahead to reduce stress on celebration day.
Before You Bake: What to Expect from This Minecraft Birthday Cake Recipe
Start with a clear plan: measured templates, sugar syrup or warmed marmalade as “glue,” and chill time are the three anchors that keep a square pixel build tidy. Pick fondant for crisp edges or petal-style buttercream for an easier, textured finish.
User intent and who this is for
This guide fits busy parents, enthusiastic home bakers, and any minecraft fan who wants a showpiece without surprises. Beginners can buy a square base or use edible icing sheets. Advanced decorators can sculpt multiple fondant figures or try tiered layouts.
What to expect: time, difficulty, and stability
Time planning matters: allow time to bake or buy layers, level and square them, apply syrup “glue,” crumb-coat with buttercream, chill fully, then finish with fondant or piping. Chilling prevents slippage and gives clean edges.
- Difficulty: Fondant demands patience and smoothing tools; buttercream petals are forgiving and tool-light.
- Accuracy: Base templates on the cake’s smaller side to keep pixels square and avoid stretched panels.
- Flexibility: Store-bought squares and edible prints let you reach a celebration-ready look fast.
| Aspect | Fondant Block | Buttercream Petals |
|---|---|---|
| Look | Crisp, game-accurate pixels | Textured, handcrafted color blends |
| Tools | Smoother, sharp edges, templates | Offset spatula, piping tips, less specialty gear |
| Time | More time for smoothing and chilling | Quicker finish; forgiving corrections |
| Best for | Advanced decorators and exact replicas | First-timers and quick party prep |
Ingredients, Tools, and Color Palette for a Picture-Perfect Minecraft Birthday Cake
Gather the right ingredients and tools first to keep the build steady and your schedule sane.
Core layers: Use two sturdy chocolate layers and one vanilla (yellow) layer for flavor contrast and firm stacking. For the buttercream option, follow the chocolate and yellow layer recipes provided so the layers hold square edges during trimming and stacking.
Buttercream, cement, and frosting basics
For buttercream, whip 2 cups unsalted butter with 8 cups powdered sugar, 2 tsp vanilla, a pinch of salt, and milk to adjust. Tint portions with green food gel and cocoa for dark and light greens plus brown.
Fondant, food coloring, and toppers
Plan for two green fondant packs and one brown pack when covering sides and top. Have extra food coloring gels and plastic wrap to stop drying. Use edible printable sheets or fondant toppers for faces and props.
Boards, spatulas, and paper templates
Use a firm, foil-covered base board sized to the cake and a larger display board for transport. Bring a fondant smoother, offset spatula, sharp knife, and paper templates cut from the cake’s smaller side.
| Item | Quantity / Notes | Purpose |
|---|---|---|
| Chocolate layers | 2 layers (recipe: 2 cups flour, 2/3 cup cocoa) | Firm base for stacking and clean edges |
| Vanilla (yellow) layer | 1 layer (1.5 cups flour) | Flavor contrast and structure |
| Buttercream | 2 cups unsalted butter, 8 cups powdered sugar | Crumb-coat, fill, and piped textures |
| Sugar syrup / marmalade | 1:2 sugar to water or warmed marmalade | Stacking “cement” to prevent slippage |
| Tools & templates | Base board, display board, smoother, spatulas, paper | Assembly, smoothing, sizing accuracy |
Quick tips: Use room-temperature unsalted butter and eggs for better batters and frosting. Sift powdered sugar and cocoa for smooth icing. Keep cups and a scale handy to measure wet and dry ingredients reliably.
Step-by-Step: Bake, Level, and Assemble Your minecraft birthday cake
Plan your time and tools before mixing. Preheat the oven to 350°F and prep three pans so you can bake without pauses. Two chocolate cake layers bake about 30 minutes; bake the yellow vanilla layer 30–35 minutes. Cool 10 minutes in pans, then release and cool fully on racks for clean trimming.

Bake sturdy layers
Level domes while the sponges are cool. Use a straight knife and a steady hand. Rest the knife on a makeshift gauge to split layers evenly and avoid tapered edges.
Create a paper template and trim
Cut a paper template from the cake’s smaller side to keep squares true. Place it on each sponge and trim to block-like dimensions. This ensures pixels stay square on every top and side.
Make sugar syrup “glue” and stack
Heat 1 part white sugar with 2 parts water until dissolved, or warm marmalade. Brush contact surfaces lightly and stack, alternating colors so no same color touches or repeats directly above. This gives grip and a tidy interior.
Whip buttercream, crumb-coat, and chill
Beat softened butter, add powdered sugar gradually, and a dash of milk until fluffy. Apply a thin crumb coat over top and side, then chill until firm. Repeat if needed before any fondant or final icing work.
“A chilled crumb coat is the secret to sharp corners and clean finishes.”
Decorating the Cake: Fondant Blocks, Buttercream Grass, and Iconic Minecraft Details
Decoration choices turn a stacked sponge into a recognizable block with minimal fuss. Start by deciding whether you want a sharp fondant finish or a textured buttercream look.

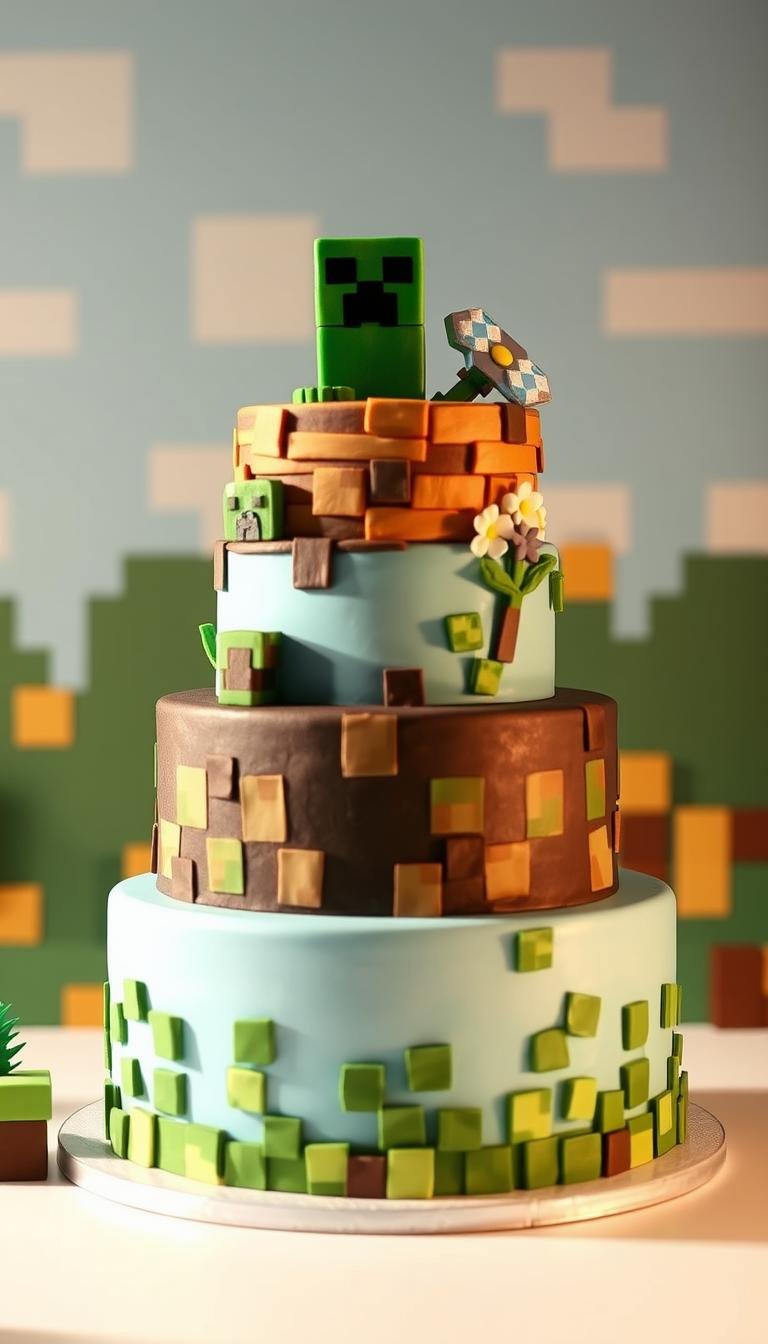
Grass block finish
Cover the sides first with brown fondant, smoothing to remove folds. Then cut a green fondant top using your paper template for a crisp, pixel-like cap.
Creeper face and toppers
Create a minecraft creeper face fast by cutting small black and green fondant squares or use edible printable sugar sheets. Align blocks in a grid on the top so the pattern stays precise.
TNT, sword, and quick toppers
Cluster red candles and wrap a printed TNT label for a quick prop. Add a simple cardboard or edible sword to give instant theme recognition with minimal modeling.
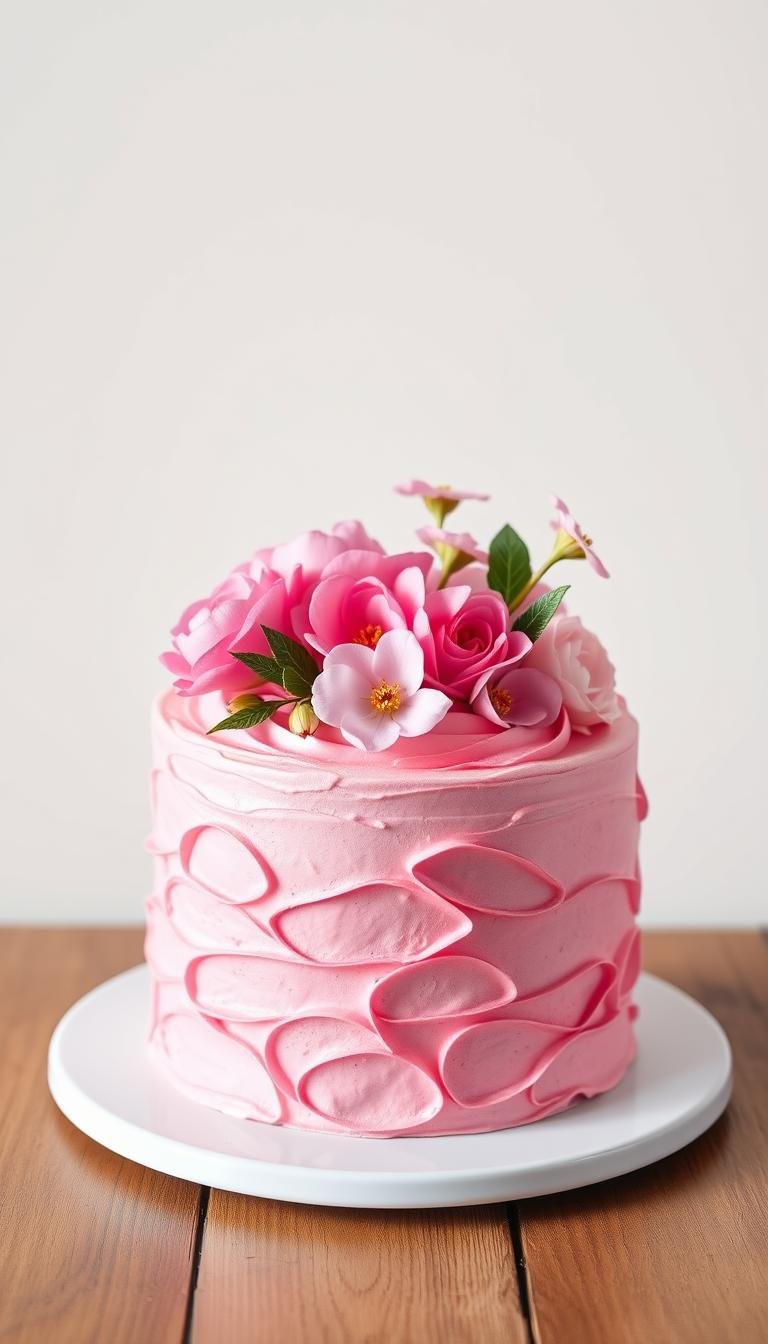
Buttercream-only method
Pipe dots of dark green, light green, and brown around the side, then swipe each dot with a spoon to form overlapping petals. Finish the top smooth or repeat petals for texture.
Chill between steps to keep edges sharp and decorations stable.
| Method | Key steps | Best for |
|---|---|---|
| Fondant grass block | Brown sides, green top template, smooth edges | Exact pixel look |
| Creeper face | Cut squares or use sugar sheet, align grid on top | Quick, recognizable detail |
| Buttercream petals | Pipe dots, swipe to overlap, chill between layers | Textured, forgiving finish |
Pro Tips, Variations, and Make-Ahead for Stress-Free Party Timing
Small, planned steps let you split tasks over two days and avoid last-minute fixes. Set a simple timeline: bake and chill one day, finish decorating the next. This saves time and reduces handling that can harm the finish.
Coloring fondant and buttercream: getting the right green
Build color gradually. Add gel in small increments and let tones rest; colors often deepen after a few minutes. For liquid green, let it sit briefly before kneading to avoid softening the fondant.
Stability and transport: boards, chilling, and smoothing the sides
Use a rigid, foil-covered base board trimmed to the cake footprint and a larger display board for moves. Chill after crumb coats and again after the final coat to make the entire cake transport-ready.
Personalization: names, ages, and minecraft fan-favorite figures
Keep personalization simple: blocky letters or toy toppers like Steve or a Creeper make a clear statement without complex modeling. Attach panels dry first, then secure with a light brush of sugar syrup.
| Tip | Action | Best for |
|---|---|---|
| Color control | Add gel slowly; let rest | Consistent greens |
| Rigid base | Trim board to footprint; double-layer under | Safe transport |
| Make-ahead | Bake & chill day one; decorate day two | Lower stress |
| Emergency kit | Extra buttercream, spatula, patches | Long drives / heat |
“Chilling between steps is the best way to protect edges and avoid smudges.”
Conclusion
Finish the project by locking structure, dialing color, and placing a standout topper for instant theme recognition.
Both approaches — a crisp fondant grass block with brown sides or a buttercream petal finish in greens and browns — are proven and repeatable for home bakers. Use your smaller side as the template to keep pixels square.
Brush sugar syrup or warmed marmalade between layers, crumb-coat, and chill between steps to lock the build. Standard bakes at 350°F for about 30–35 minutes give sturdy layers that trim cleanly.
Finish the top with a creeper face, toy topper, or edible print. If time is tight, a store-bought square base or cupcake pull-apart still delivers a showstopping minecraft birthday cake centerpiece.