Adorable 1st Birthday Cake Girl Themes & Designs
One in five parents say they plan to bake at home for their little one’s milestone, yet many stop at the idea because they need clear design and recipe inspiration.
This Website contains affiliate links. That means I may earn a small commission if you purchase through my links, at no extra cost to you.
This guide helps busy parents turn that plan into a photo-ready dessert and a calm party plan. You’ll find gentle color palettes, easy buttercream finishes, and simple fondant accents like bows and a bold “1” topper.
The post moves from big-picture inspiration to practical steps so you can skim, pick a look, and follow a doable plan. We explain when to try a DIY and when to hire a pro, with budget-friendly tips for either route.
Preview includes popular formats: a clean one-tier, a charming two-tier (6-inch over 9-inch), and a tiny smash cake for the baby. Simple tools—piping tips, small cutters, and smoothers—make neat results possible for first-time decorators.
Key Takeaways
- Start with a clear theme and easy color scheme to save time.
- Choose a one- or two-tier format based on guest count.
- Simple tools and a short checklist boost DIY confidence.
- Balance safety and comfort with portion sizes and allergen options.
- Keep a keepsake topper to mark the milestone for years to come.
Sweet start: what makes a first birthday cake unforgettable
An unforgettable dessert balances simple styling, safe textures for the baby, and flavors that please a bunch of guests at the party.
Start with a clear theme and a tight color palette. That choice guides frosting shades, topper style, and overall inspiration so photos look cohesive and timeless.
Choose soft buttercream swirls and gentle crumbs so the first bite is easy and safe. Bake and chill tiers ahead so decorations set and you have breathing room on the day of the party.
- Reliable flavors: vanilla, mild chocolate, or a light fruit filling to please kids and adults.
- High-contrast details: a bold bow or number that pops in photos and lasts as a keepsake.
- Smash setup: a dedicated mini spot keeps the main dessert pristine and eases cleanup.
- Quick checklist: portion planning, allergen notes, and a backup cupcake batch for extra guests.
Remember: the life of the party is the moment itself. Pick easy wins over perfection so you can enjoy time with family and capture memories that last a year and beyond.
Cute theme ideas for a 1st birthday cake girl
Pick a sweet theme that ties colors, toppers, and tiny details into a memorable centerpiece. A short, clear motif helps you choose fondant accents, ribbon, and a stable two-tier silhouette with 6-inch over 9-inch rounds.
https://www.youtube.com/watch?v=w0BR_d1a_Oc
Classic pink bows and flowers
Pair blush buttercream with pre-made fondant bows and cupped blossoms. Small cutters and a ball tool make petals dimensional and look lovely on smooth sides.
Butterflies and garden blooms
Layer buttercream vines with wafer-paper or fondant butterflies. Alternate tiny flowers and leaves for a soft, whimsical look that delights a bunch of guests.
Pastel polka dots, stripes, and animals
Use fondant circles and striped bands for crisp edges. For a menagerie, craft gentle fondant faces—bunny, lamb, or fawn—and repeat accents around the tiers.
- Fruit-topped freshness: add berries or peach slices just before serving.
- Number “one” centerpiece: bold fondant 1 echoes on the board or plaque.
- Naked cake with delicate florals: semi-exposed sides and petite blooms feel airy and modern.
- Pop-culture playful: limit palette for baby shark, wonder woman, or other favorite characters.
“Simple themes with a few strong elements make photos and setup effortless.”
| Theme | Key elements | Best format | Durability at party |
|---|---|---|---|
| Pink bows & flowers | Blush buttercream, fondant bows, cupped flowers | Two-tier (6″ over 9″) | High if chilled before fondant |
| Butterflies & garden | Wafer butterflies, vines, tiny leaves | One- or two-tier | Medium; delicate pieces added after chill |
| Polka dots, stripes & animals | Fondant circles, striped bands, fondant faces | One-tier or stacked | High with chilled assembly |
| Fruit or naked florals | Fresh berries, peach slices, petite blooms | Naked cake or small tier | Best when fruit added just before serving |
Smash cake ideas that are camera-ready
A tiny smash centerpiece can steal the show when styled for photos and easy clean-up. Choose a 4–5 inch size so the baby can reach the top and sides without too much food at the party.
Soft buttercream swirls work best for tiny hands. Use smooth, spreadable frosting instead of hard accents so the first touch is safe and joyful.
Mini rosette smash in blush tones
Create a mini rosette cake with a star tip and blush-tinted buttercream. Chill it lightly so rosettes hold shape but stay soft enough for a playful smash.
Allergen-aware and low-sugar tweaks
Keep flavors simple—vanilla or light chocolate without crunchy mix-ins. Offer dairy-free or egg-free batters and naturally tinted frostings. Label options so guests know what’s safe.
- Use whipped frosting or fruit-puree layers to cut sugar and keep texture smooth.
- Set the cake on a washable mat and a neutral backdrop for clean photos.
- Keep warm washcloths and a change of clothes handy for a quick reset.
- Store the smash cake separately from the main dessert and refrigerate if traveling.
| Tip | Why it matters | How to do it | Best result |
|---|---|---|---|
| 4–5 inch size | Easy reach, small portions | Bake one small round or cut larger | Happy, manageable smash |
| Soft buttercream | Safe for tiny hands | Use spreadable consistency | Cute hand prints, easy eating |
| Allergen swaps | Inclusive for guests | Dairy-free/egg-free recipes | Peace of mind for families |
| Photo setup | Better pictures | Neutral backdrop, chest height | Bright, framed moments |
Flavors kids love: vanilla, chocolate, and more
Flavor choices should be simple, slice cleanly, and hold up during a lively party. Pick fillings and frostings that travel well and please a crowd without being too sweet for small palates.
Vanilla bean with strawberry or cream filling
Vanilla bean layers with a thin strawberry or whipped cream filling feel light and family-friendly.
Keep fruit pieces small so a child can bite easily. Finish in buttercream and add minimal fondant touches for style.
Chocolate cake with light whipped cream
Tender chocolate cake pairs best with lightly sweetened whipped cream to balance richness.
Use frostings that hold at room temp for safe serving during the party and plan one slice per guest plus extras.
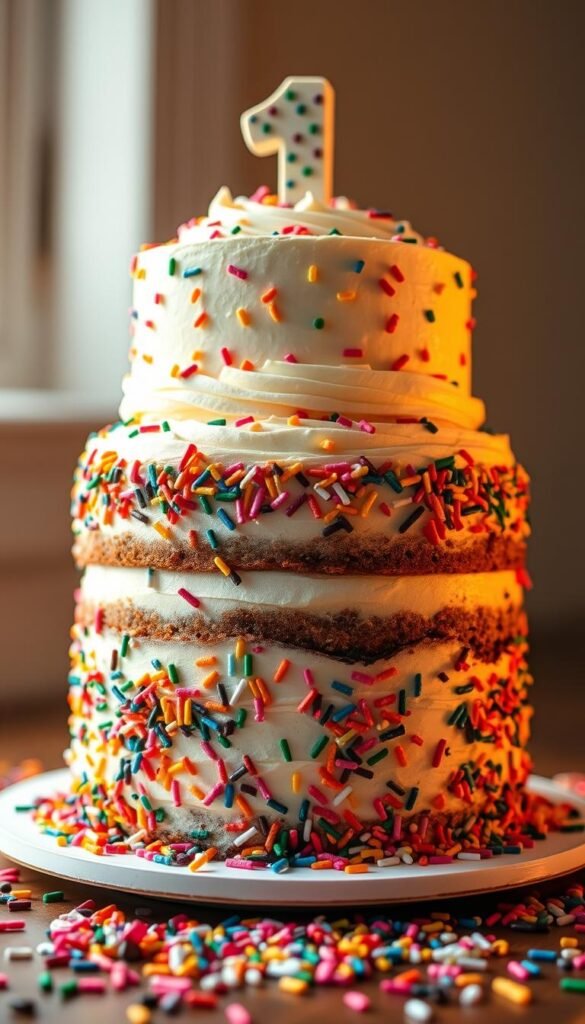
Funfetti for festive one year vibes
Funfetti crumbs add instant celebration energy and photograph well for a first birthday table.
Offer an allergen-aware cupcake tray (vanilla and chocolate options) so everyone in the bunch can enjoy a slice safely.
| Flavor | Best pairing | Serving window | Kid-friendly score |
|---|---|---|---|
| Vanilla bean | Strawberry or whipped cream | 4–6 hours at room temp | High |
| Chocolate | Light whipped cream | 3–5 hours | High |
| Funfetti | Vanilla buttercream | 4–6 hours | Medium-High |
| Fruit-forward | Raspberry or peach puree | Best added just before serving | Medium |
Decorating methods inspired by bows, flowers, and the number one
Work in stages—base finish, pre-made fondant pieces, then final assembly—to keep stress low on party day. This stepwise approach gives crisp edges, steady layers, and consistent details that photograph well.
Buttercream basics: crumb coat and smooth finish
Start with a level, chilled crumb coat to trap crumbs. Apply a clean, smooth finish with a straight edge so decorations sit flat and look professional.
Fondant flowers and bows made ahead for easy assembly
Make light-pink bows and cupped white and pink flowers a day early. Thin petals on foam with a gum paste ball tool so blooms have dimension without tearing.
Bold “1” topper in fondant for the first birthday cake
Trace a printed template and cut a thick fondant number with an X-Acto knife. Dry flat so it stands straight on the top tier at the party.
Striped fondant accents and rope borders for a polished look
Add mixed-width striped bands to the larger tier and align seams at the back. Extrude rope borders using a clay gun with a trilobe disk, curl the ends, and attach with a light brush of water.
Two-tier look with 6-inch and 9-inch rounds
Frost the 6-inch with uncolored buttercream and the 9-inch with pink cream; chill both before stacking. Use dowels in the base tier, chill again, then finish with a white fondant plaque and small brown buttercream dots for flower centers.
| Step | What to do | Why it matters |
|---|---|---|
| Crumb coat | Chill, smooth with straight edge | Crisp sides make fondant accents pop |
| Make fondant pieces | Bows & cupped flowers made ahead | Saves time; adds delicate texture |
| Topper | Cut and dry a thick fondant “1” | Stays upright and becomes keepsake |
| Assembly | Use dowels, chill, transport in tall box | Keeps tiers secure for the party |
DIY home-baked vs. bakery-made: how to choose
Deciding between a home bake and a pro order comes down to time, tools, and how much you want to learn. Plan around the week of the event and the look you want. A clear decision keeps the day calm.
Time, tools, and skill checklist for parents
- Time available the week of the party.
- Access to a turntable, smoothers, and basic piping tips.
- Comfort with stacking tiers or using fondant accents.
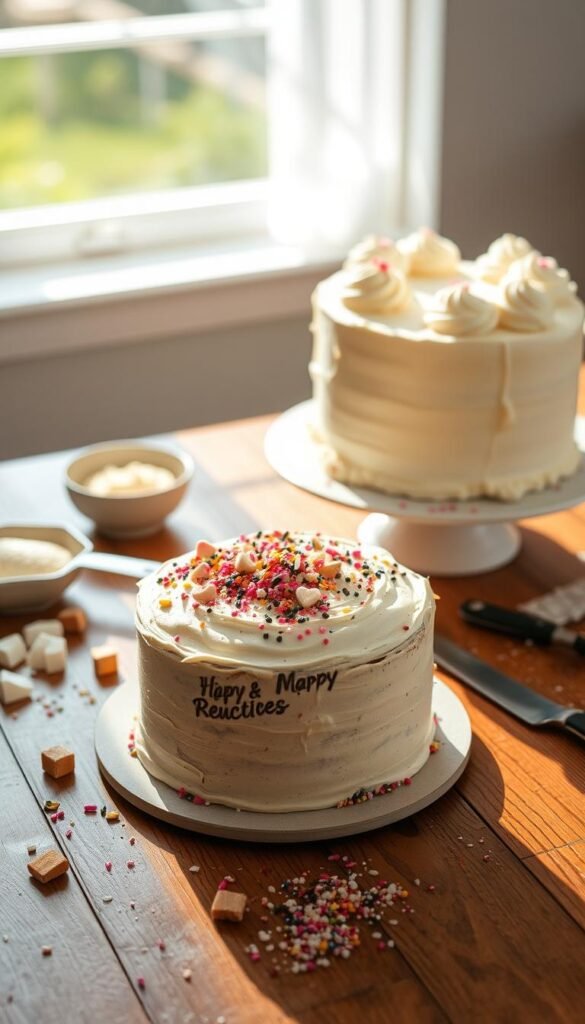
Choose DIY if you want a warm tradition for your daughter and a simpler design. Pre-made fondant accents and buttercream finishes make the process manageable.
Consider a bakery for complex two-tier assemblies, detailed fondant stripes, or if you need stability for travel and outdoor parties. Ask about serving sizes, allergen protocols, flavor options, and a matching mini for the smash.
| Option | Best for | Ask about | Result |
|---|---|---|---|
| DIY one-tier | Heartfelt tradition, budget-friendly | Tools on hand, simple design | Personal, lower cost |
| Bakery two-tier | Complex details, travel, large party | Sketch, pickup time, refrigeration | Reliable, polished centerpiece |
| Hybrid | Family table + pro showpiece | Matching colors and toppers | Balanced cost and stress |
Plan a backup—extra cupcakes or a sheet cake—so the guest list changes don’t add pressure. Pick the path that saves energy and keeps the party joyful.
First birthday party styling to match the cake
Choose a simple styling plan that ties the dessert to the rest of the room so photos look intentional and relaxed. Use the cake palette as your starting point and repeat two to three colors across tableware, linens, and small props for an instant theme.
Coordinating colors, toppers, and table decor
Pick a topper style—acrylic “one,” fondant bow, or a floral pick—and echo that motif in a highchair banner and place settings.
- Place the cake on a riser at center and add a small floral cluster or ribbon to look lovely without crowding slices.
- Repeat two to three colors on plates, napkins, candles, and a simple runner for cohesion.
- Add labeled cards for flavors and allergen notes to streamline serving at the party.
Outfit ideas beyond big-box brands for your little one
Consider small-shop rompers, Etsy boutique sets, or handmade headbands that mirror the cake’s flowers or stripes.
Keep a comfy backup outfit to swap after any messy moments. Coordinated accessories help photos stay consistent across the hour.
Simple backdrop and highchair banner for photos
Build a minimal backdrop: a paper garland, a single balloon bunch, or a fabric drape that won’t compete with the dessert table.
Position the dessert table near natural light and keep hot drinks away from the display for safety during parties.
| Element | What to repeat | Why it matters |
|---|---|---|
| Colors | 2–3 palette shades | Creates a cohesive look in photos |
| Topper & banner | Same motif | Unifies highchair and dessert shots |
| Outfit | Small-shop pieces | Unique, coordinated portraits |
Healthy-ish or “real” cake for the big day
Balancing a lighter option for the baby with a classic dessert for guests makes the party easier and more inclusive.
Plan around preference and allergies. Offer a standard cake for adults and older guests, and keep the baby’s serving gentler. This gives family the photo-ready centerpiece while protecting sensitive eaters.
Balancing ingredients, sugar, and allergies
Simple swaps can lower sugar and allergens without losing flavor. Use whipped-cream style frosting or fruit-puree layers on the baby’s portion.
- Label allergens clearly—dairy, eggs, nuts—on a small card at the serving table.
- Use natural color tints and skip hard decorations on the baby’s slice for safety.
- For large crowds, add cupcakes so you can serve consistent portions fast.
Portion tips for babies and kids at parties
Keep servings small: a thin slice for young children, with water or milk nearby to help them eat comfortably.
Have wipes, bibs, and a change of clothes handy. Time the smash or baby plate so the little one is calm and fed without overdoing sugar.
| Option | Best use | Why it helps |
|---|---|---|
| Classic cake for guests | Adult and teen servings | Photogenic centerpiece, familiar flavors |
| Light baby portion | Smash or small plate | Lower sugar, safer textures |
| Cupcake supplement | Big parties | Quick plating, consistent portions |
Presentation and photo tips to capture the moment
Good lighting and a tidy display turn your dessert into a photo-ready star at the party. Set the dessert table near a window for soft, directional light and angle the top slightly toward the glow to highlight texture.
Clear clutter and use a simple cloth with a few coordinated props so the focus stays on the milestone. A neutral backdrop prevents color casts on pale fondant or white buttercream.
Capture the key frames: the untouched cake, candle lighting, first touch, and a wide family shot. Shoot from the baby’s eye level when possible and keep shutter speed high for wiggly moments.
- Stage a smash on a washable mat and place a small bunch of balloons at the frame’s edge for depth.
- Have a clean knife, server, and plates ready so cutting follows photos without delay.
- Take a flat-lay of the invitation, topper, and a slice to preserve the theme in images.
- Assign one person as the photo helper so you can join shots and savor the party.
“A quick final shot of the half-sliced cake tells the full story—the layers, crumb, and the moment.”
| Tip | Why it helps | How to do it | Result |
|---|---|---|---|
| Window light | Soft, flattering highlights | Place table near window; angle top toward light | Clear texture on cake and fondant |
| Neutral backdrop | True colors, no color cast | Use plain fabric or paper | Accurate pale tones in photos |
| Baby eye-level shots | Emotion-focused images | Shoot seated or kneeling; use fast shutter | Natural expressions of the little one |
| Prep tools | Quick transition to serving | Knife, server, plates on hand | Smoother flow during the birthday party |
Planning timeline and party-day checklist
Plan in small chunks and the party day will feel calm and organized. A short timeline helps you finish prep early and enjoy the celebration with family.
Make-ahead decorations and assembly order
Day-before tasks: make fondant bows and flowers, cut and dry a thick fondant number “1” from a printed template, and prepare striped fondant pieces plus rope borders with a clay gun.
Bake and chill: cool both tiers (6-inch and 9-inch), apply a crumb coat, and refrigerate so edges set overnight.
Morning-of assembly
- Fill and frost the 6-inch in plain buttercream and the 9-inch in pink.
- Apply striped fondant to the bottom tier; chill briefly to firm edges.
- Stack the 6-inch over the 9-inch using dowels for support.
- Add rope borders, attach flowers and bows, then place the number “1” topper.
- Finish with a fondant plaque for the greeting and tiny buttercream dots in flower centers; chill until serving.
| When | Key tasks | Why it helps |
|---|---|---|
| One week out | Confirm guest count, flavors, and order toppers | Prevents last-minute shortages at the party |
| 3–4 days | Shop ingredients; check tools and fridge space | Saves time and avoids tool shortages |
| Day before | Make fondant pieces; dry numbers and stripes | Makes assembly day fast and low-stress |
Transport in a tall box with a non-slip mat and keep the dessert cool and shaded upon arrival. Set the dessert table first, then the smash area. Photograph the cake before guests arrive and save the candle moment when the baby is rested.
“Build buffer time for last-minute fixes; a short checklist on the fridge keeps the day on track.”
Conclusion
With a compact checklist and a calm timeline, the dessert becomes a joyful part of the party, not a project.
Pick a clear theme, choose familiar flavors, and plan just a few strong details to make the centerpiece sing. Prep fondant bows, flowers, and a sturdy number ahead to save stress on the day.
Whether you go naked or fully frosted, one-tier or two-tier, keep the design flexible so it fits your schedule and your year of memories. Choose DIY for a personal touch or a bakery for a guaranteed finish—either path can keep the day joyful for your daughter and relaxed for you.
Capture the candle glow, frosting smiles, and family hugs. Save a clean topper or plaque as a keepsake so the one milestone lives on. With this plan, you have what you need for a cake great birthday party everyone will remember.

