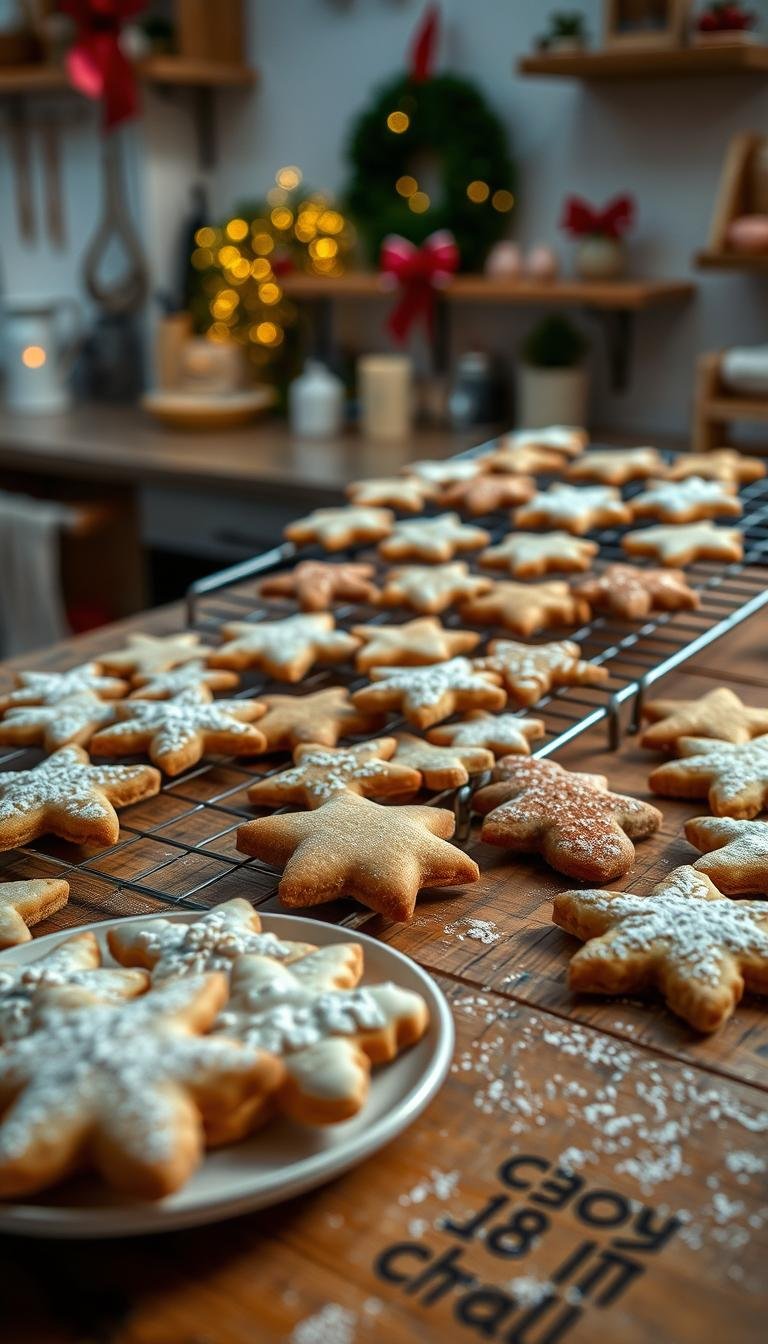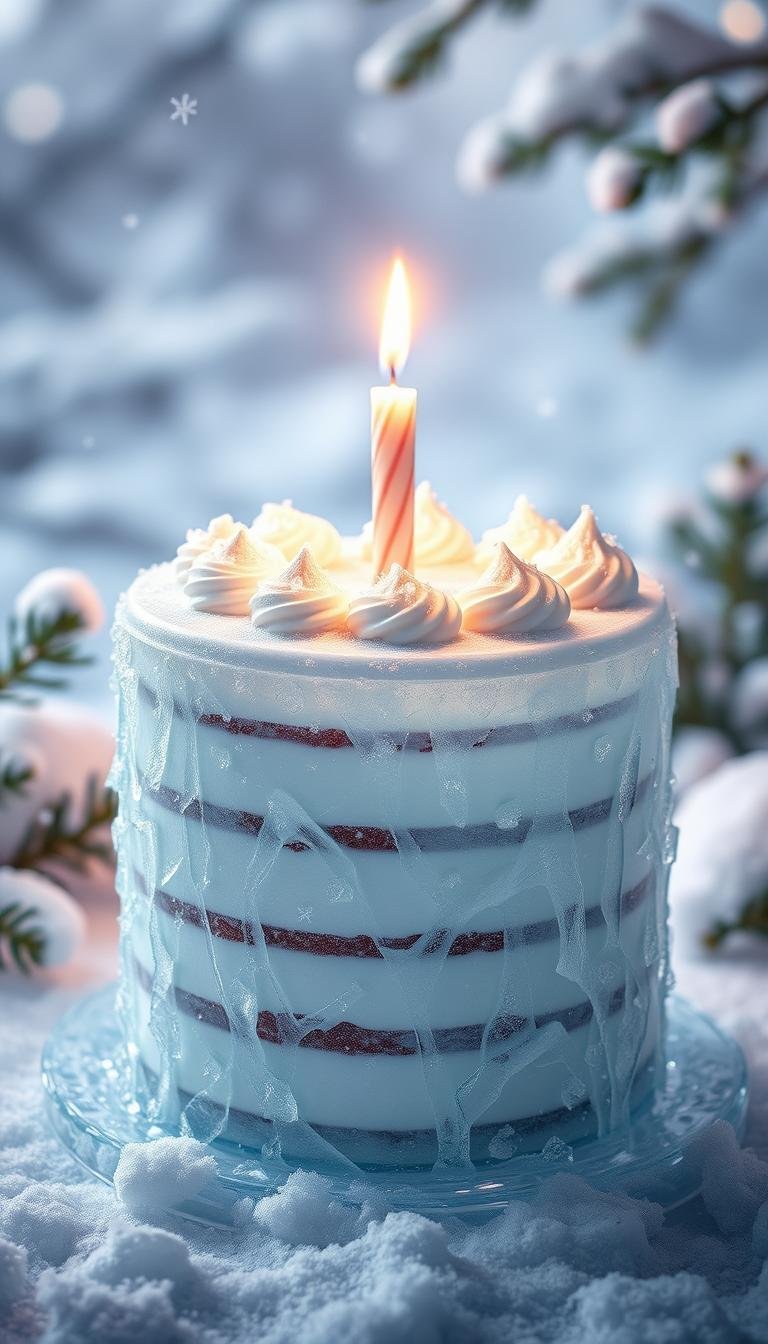
Frozen Birthday Cake: A Simple Recipe to Try Now
Surprising fact: nearly one in three parents who plan a themed party bake at least part of the dessert themselves to save money and add a personal touch.
This Website contains affiliate links. That means I may earn a small commission if you purchase through my links, at no extra cost to you.
This post shows a reliable, super easy method to make a three-layer Frozen-themed cake using two white box mixes, Wilton gel colors in sky blue and violet, and 9-inch pans. You’ll learn how to trim domes, apply a white buttercream crumb coat, let it crust for 30–45 minutes, then finish with blue-tinted buttercream and chill overnight for clean slices.
Prefer an Elsa dress design? The intro also covers baking dome-shaped layers in an 8-cup glass measuring cup, boosting mix with whole milk and an extra egg, and using store tubs of vanilla frosting for filling and finish. Simple toppers like plastic figurines, glitter-paper bunting, sanding sugar, and a tulle cape give a polished, icy look with minimal fuss.
Key Takeaways
- Pantry-friendly shortcuts: box mixes + Wilton gels deliver a bakery look fast.
- Crumb coat matters: crusting and chilling make slicing cleaner.
- Elsa dress option uses a glass measuring cup and richer mix for dome layers.
- Finish tips: freeze briefly, then smooth with a hot offset spatula.
- Simple toppers create a themed result that delights children and adults.
Frozen birthday cake recipe: ingredients, timing, and step‑by‑step
Gather your tools and pantry staples so you can turn two box mixes into a smooth, professional-looking layer cake.
Ingredients & substitutions: Use two white cake box mixes. For a sturdier cake made for stacking, swap water for whole milk and add one extra egg per box. Keep vanilla-forward flavor and a fine crumb by using real vanilla and the suggested sugar levels in the mix.
Tools you’ll need: 9-inch round cake pans for standard layers or an 8-cup glass measuring cup for dome shapes. Have a bread knife to level domes, an offset spatula for smoothing frosting, and a wire rack for cooling.
Timing: After filling and baking evenly tinted batters, cool fully on racks. Trim domes with the knife, stack with white icing between layers, then apply a thin crumb coat and let it crust 30–45 minutes.
Finish methods: Tint remaining frosting to a soft blue for the top coat and smooth with long passes of the spatula. For a pro finish, freeze the frosted cake 20–30 minutes, heat the offset spatula under very hot water, dry it, and glide to melt ridges. Chill overnight for clean slicing and stable transport.
Easy decorating ideas to make your birthday cake look like Frozen
Simple tweaks and a few props can turn a basic layer into a themed centerpiece that reads icy and elegant. Use the same palette across trims, toppers, and board for a cohesive color effect.

Top with plastic figurines for an instant happy birthday moment
Place rinsed plastic figurines on the top after the final chill. They double as play gifts and create a quick reveal that delights kids and guests.
Create an Elsa doll dress shape with stacked domes
Stack dome layers by size, insert an Elsa doll, and frost the skirt using a blend of one neon-blue tub and two white tubs for subtle ombré or solid blue icing.
Add chunky white sanding sprinkles to catch light and give a snowflake sparkle to the skirt panels.
Snowflake effect, fondant accents, and simple glitter toppers
Cut fondant letters or half snowflake pieces to attach to the skirt. Tie a white and turquoise tulle cape to the doll for extra princess flair.
For height, fasten a small glitter-paper banner or number to skewers. Balance figurines on one side and fondant snowflakes on the other for pleasing shape and flow.
- Tip: Finish after chilling so frosting stays sharp and details don’t smear.
- Transport toppers separately and add on-site to keep the look pristine.
Pro tips, troubleshooting, and party-day timing
A steady prep plan keeps frosting flaws minimal and saves time on party day. Follow a clear, make-ahead flow so final tasks are short and calm.

Super easy make-ahead plan
Bake and cool layers on racks. Level domes with a long serrated knife, stack with white icing, then apply a crumb coat.
Let that coat crust 30–45 minutes, add the tinted finish, smooth with an offset spatula, and refrigerate overnight for firm, neat slices.
Slicing clean layers and final fixes
For smooth edges, freeze the frosted cake 20–30 minutes, then glide a very hot, dried offset spatula for a glassy finish.
Use a long bread knife to saw gently when leveling and a spatula to lift slices without denting sides. If frosting softens, chill a couple more minutes and resume.
Quick troubleshooting table
| Problem | Fast fix | When to use |
|---|---|---|
| Soft frosting | Chill 5–10 minutes | Before smoothing or transport |
| Leaning layers | Add thin bit of icing as a shim, realign | While stacking or just after crumb coat |
| Crumbs in finish | Re-apply thin crumb coat, let crust | Before final tinted coat |
- Plan your time: bake day before the party and chill overnight for stability.
- Warm, dry the knife between cuts to keep slices neat and preserve the smooth top.
- Transport chilled in a snug box and add tall toppers at the venue to avoid nicks.
Conclusion
Close the project with a few steady steps: level layers, add white filling, apply a thin crumb coat, chill, then finish with blue buttercream and a hot spatula for a glassy top.
For a doll dress, enrich each box mix with whole milk and an extra egg, bake dome shapes, stack around the doll, and frost in ombré panels. Add sanding sprinkles, a fondant snowflake, or a small glitter banner just before serving for a neat, snowy effect.
Quick tip: slice with a warmed knife, serve slightly chilled, and note what worked in this post so you can repeat the same way next year. These steps turn simple mixes into memorable, party-ready creations for children and adults alike.