Celebrate in Style with a 30th Birthday Cake Recipe
Nearly 70% of home hosts say a memorable dessert makes a party feel complete, and the right centerpiece can lift a simple gathering into a night to remember.
This Website contains affiliate links. That means I may earn a small commission if you purchase through my links, at no extra cost to you.
This guide gives you an approachable birthday cake recipe that balances flavor and structure. You’ll get clear steps for rich chocolate layers and a silky buttercream that looks polished without pro tools.
Plan smarter: learn timing tricks so layers cool when you need them and make-ahead moves that save stress on the day. We also cover simple styling and topping ideas to personalize the dessert for the guest of honor.
If time runs short, we explain how delivery can fit into your strategy while you add a final, homemade touch.
Key Takeaways
- Get a step-by-step birthday cake recipe for a showstopping home dessert.
- Follow timing and chilling tips to avoid domed layers and dry crumbs.
- Expect chocolate layers and smooth buttercream that slice cleanly.
- Find quick styling ideas to personalize cakes for any theme.
- Use make-ahead steps and delivery as a reliable backup plan.
Why a 30th Birthday Cake Deserves Something Special
Turning three decades marks a shift into a settled, reflective chapter. The centerpiece should feel intentional—both pretty and meaningful—so the dessert matches the moment.
The milestone meaning: marking three decades and making memories
Thirty years often mean celebrating achievements and looking ahead. A thoughtful design can nod to past years with subtle decor or a favorite flavor.
A brief history of birthday sweets and why chocolate rules
Birthday rituals go back to Roman feasts; Germans added candles in the 1700s. Chocolate became a birthday staple later—Dr. James Baker milled cocoa in 1764 and the first chocolate recipe appeared in 1847.
Flavor ideas and personalization touches to fit any style
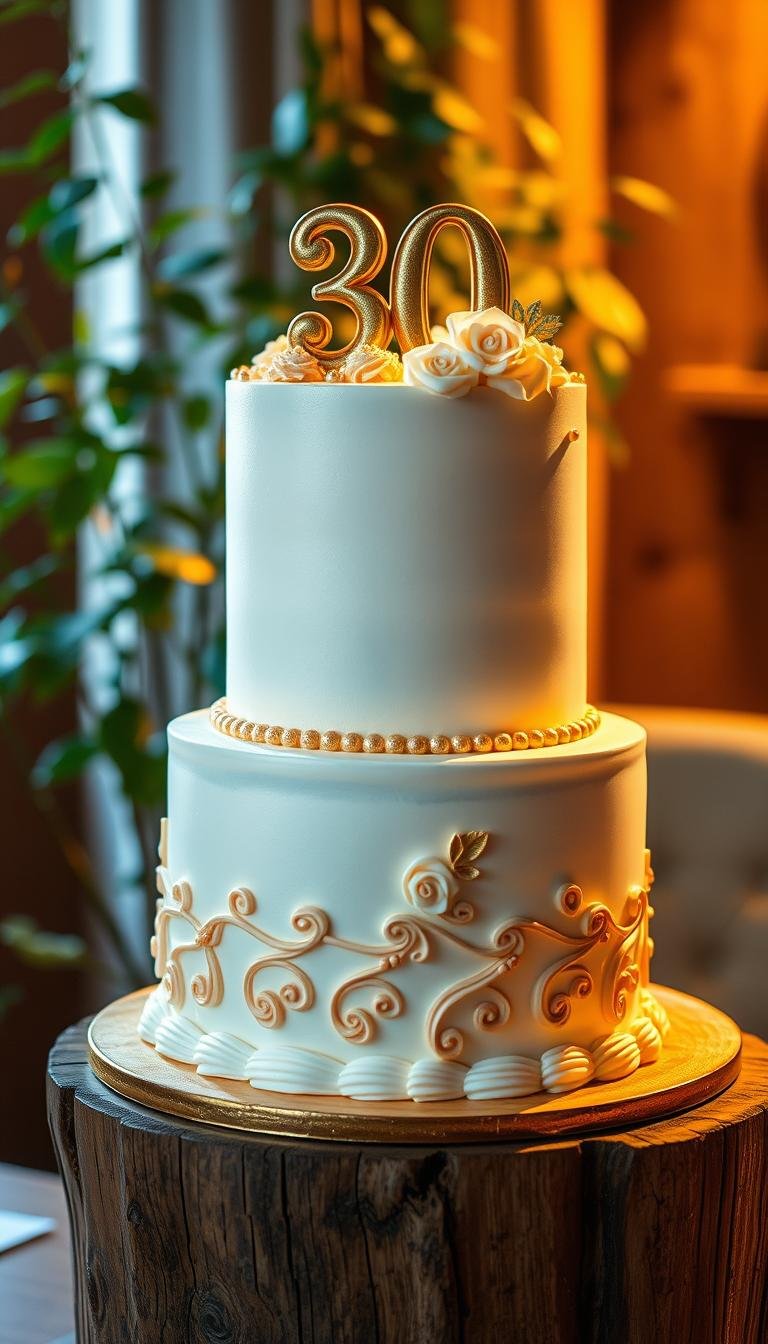
Balance bold chocolate with contrasts like a lemon filling or espresso notes. Add layered textures, a crisp “30” topper, or fresh berries for color and bite.
| Flavor Base | Complement | Presentation Tip |
|---|---|---|
| Rich chocolate | Salted caramel drizzle | Gold-splattered buttercream |
| Chocolate with espresso | Mascarpone filling | Dark chocolate curls |
| Chocolate + lemon | Fresh berries | Bright ribbon or fresh herbs |
| Vanilla layer | Fruit compote | Hand-piped message |
30th Birthday Cake Recipe: Rich Chocolate Layers, Silky Frosting, Party-Ready Finish
A reliable baking routine turns pantry staples into rich chocolate layers and silky buttercream. Read through the essentials, then follow the timed steps for a neat, photo-ready result.

What you’ll need
Ingredients and tools: measure flour by spoon-and-level, use two 8-inch pans lined with parchment, and bring eggs and dairy to room temperature for a smooth batter. Keep a timer handy so everything finishes on time.
Bake the layers
Preheat oven to 350°F (175°C). Mix dry and wet separately; combine just until smooth. Bake 20–25 minutes. Cool in pans 5–10 minutes, then move to a rack to finish cooling.
Make the buttercream and assemble
Sift powdered sugar and cocoa. Beat butter until pale, add dry ingredients slowly, then milk to reach a spreadable texture. Level layers, add a thin crumb coat, chill 15–20 minutes, then finish smoothing for clean edges.
Top it off & storage
Finish with fresh berries, light chocolate curls, and a small “30” topper. Bake layers a day ahead if needed; wrap cooled layers well. For guests needing gluten free options, use a tested 1:1 blend and adjust moisture.
Serving Ideas, Flavor Variations, and Dietary Notes
Make serving simple: chilled prosecco and a coffee carafe create contrast and satisfy different tastes. Add a toppings tray with lightly sweetened whipped cream, vanilla ice cream, and small pitchers of warm chocolate or caramel for easy drizzling.

Serve with style
Brighten plates with fresh berries to echo the top garnish. Pre-cut parchment dividers and spare boxes help guests take slices home without smudging frosting.
Flavor swaps to try
Swap the chocolate base for red velvet with tangy cream cheese, a moist carrot layer with spice, classic vanilla for purists, or a lemon-forward layer with zesty curd between tiers.
Dietary tweaks
For gluten free needs, use a trusted 1:1 blend and watch hydration to avoid dryness. Try plant-based milk and dairy-free butter in frosting, or tested egg replacers when needed.
Timing matters: schedule any professional delivery to arrive during setup so you have time to plate and greet guests. Small planning touches keep the moment smooth and memorable.
Conclusion
Close the celebration with a polished dessert that invites a pause and a toast. With a clear timeline and a tested cake recipe, you can deliver clean layers and a rich finish that guests remember.
Pair deep chocolate flavor with tidy assembly and you get desserts that cut well and photograph beautifully. If time is tight, blend homemade steps with a professional option and timed delivery to save effort.
Keep a few sturdy boxes for slices to go, ignore distracting cart prompts while planning, and lean on pros with decades of experience when needed. Intent matters more than perfection—let the cakes bring people together.