7 Foolproof Garlic Bread Recipes for Beginners
Did you know that garlic bread is one of the most comforting and versatile foods that can elevate any meal? It’s a simple yet delicious addition to pasta, soups, and salads. Making garlic bread at home is easier than you think, and with the right guidance, you can create restaurant-quality garlic bread using readily available ingredients.
For those new to cooking, homemade garlic bread is a great place to start. It’s a straightforward recipe that requires minimal ingredients and equipment. With our guide, you’ll learn various methods to make easy garlic bread, from classic buttery garlic bread to healthier alternatives.
Key Takeaways
- Learn 7 simple garlic bread recipes perfect for beginners.
- Discover how to make homemade garlic bread with minimal ingredients.
- Explore various methods for making easy garlic bread.
- Understand the versatility of garlic bread as a complement to numerous meals.
- Master the art of creating restaurant-quality garlic bread at home.
The Basics of Perfect Garlic Bread
The foundation of great garlic bread lies in its basic components and the techniques used to prepare it. Understanding these elements is crucial for creating a delicious and satisfying garlic bread experience.
Essential Ingredients for Great Garlic Bread
To make outstanding garlic bread, one must start with the right ingredients. The quality of these ingredients directly impacts the final product.
Choosing the Right Bread
Selecting the appropriate bread is the first step. Options like French bread, Italian bread, or sourdough are popular choices due to their texture and flavor profiles. For a classic garlic bread, a crusty bread with a soft interior is ideal.
Quality Butter and Garlic Selection
The quality of butter and garlic used can significantly affect the taste. European-style butter is often preferred for its rich flavor, while fresh garlic cloves are essential for that pungent garlic taste. Consider using high-quality, salted butter for enhanced flavor.
Optional Flavor Enhancers
Additional ingredients like parsley, oregano, or parmesan cheese can be used to enhance the flavor. These optional ingredients allow for customization based on personal taste preferences.
Common Tools and Equipment
Having the right tools can simplify the garlic bread making process. Essential tools include a garlic press for mincing garlic, a pastry brush for even butter distribution, and a baking sheet for baking. These tools help in achieving consistent results.
Techniques Every Beginner Should Know
Mastering a few key techniques can elevate your garlic bread from good to great. Understanding how to prepare garlic, spread butter evenly, and choose between baking or broiling are fundamental skills.
Proper Garlic Preparation
Mincing garlic correctly is crucial for releasing its full flavor. Using a garlic press or microplane can help achieve a fine mince, ensuring the garlic distributes evenly throughout the bread.
Butter Spreading Methods
Evenly spreading butter on the bread is vital to avoid dry or soggy spots. Using a pastry brush allows for a uniform application, ensuring every bite is flavorful.
Baking vs. Broiling
The choice between baking and broiling affects the final texture and crispiness of the garlic bread. Baking provides a more even heat, while broiling can add a crispy top. Understanding the advantages of each method helps in achieving the desired outcome.
Classic Buttery Garlic Bread
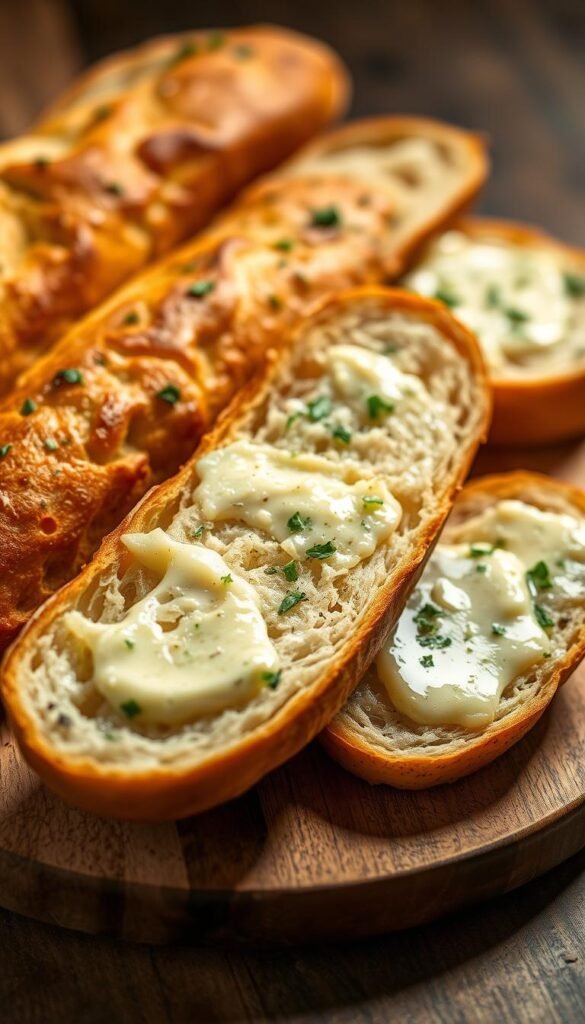
Garlic bread, in its simplest form, is a beautifully straightforward recipe that requires minimal ingredients but yields maximum flavor. For beginners, mastering this classic dish can be a gateway to exploring more complex culinary creations.
Ingredients You’ll Need
To make a classic buttery garlic bread, you’ll need a few high-quality ingredients. These include a crusty bread loaf, preferably Italian or French bread, unsalted butter softened to room temperature, garlic cloves, salt, and optionally, parsley for garnish. The quality of your ingredients directly impacts the flavor, so choose fresh garlic and good quality bread.
Step-by-Step Preparation
Preparing classic garlic bread involves a few straightforward steps that ensure a delicious outcome.
Creating the Perfect Garlic Butter
Mix softened butter with minced garlic and a pinch of salt. The key is to achieve a balanced flavor where the garlic enhances the butter without overpowering it. Use about 3-4 cloves of garlic per 1/2 cup of butter.
Applying to Bread
Slice your bread loaf into thick, even slices, but not all the way through. Generously spread the garlic butter mixture onto each slice, ensuring even coverage. For an extra layer of flavor, you can drizzle a bit of olive oil over the bread before applying the garlic butter.
Baking Instructions
Bake the bread in a preheated oven at 350°F (175°C) for about 10-12 minutes, or until it’s golden brown and crispy on the outside. Wrapping the bread in foil before baking can help retain moisture, while baking it unwrapped yields a crisper crust.
Troubleshooting Common Issues
Common issues with garlic bread include burning, uneven cooking, and sogginess. To avoid burning, keep an eye on the bread while it’s baking, and adjust the oven temperature if necessary. Uneven cooking can be addressed by rotating the bread halfway through the baking time. Sogginess can be prevented by not overloading the bread with butter and ensuring it’s baked until crispy.
Serving Suggestions
Classic buttery garlic bread is versatile and can be served alongside a variety of dishes, such as pasta, soups, or salads. Consider garnishing with chopped parsley for a fresh touch. For a more indulgent treat, serve with a side of marinara sauce or olive oil for dipping.
Cheesy Garlic Bread Sticks
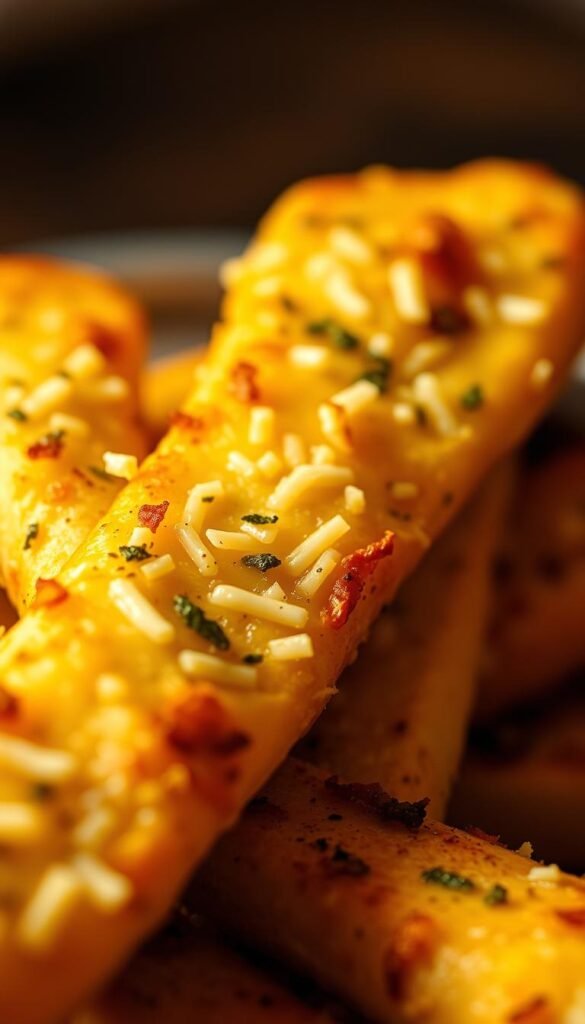
Indulge in the ultimate comfort food with our cheesy garlic bread sticks, a simple yet impressive appetizer. These delicious sticks are perfect for sharing at gatherings or enjoying as a snack.
Ingredients List
To make cheesy garlic bread sticks, you’ll need the following ingredients:
- 1 loaf of French bread or pizza dough
- 3 cloves of garlic, minced
- 1 cup of shredded mozzarella cheese
- 1/2 cup of grated Parmesan cheese
- 1/4 cup of olive oil
- Salt and pepper to taste
- Optional: herbs like parsley or oregano for added flavor
Preparation Method
Preparing cheesy garlic bread sticks involves a few simple steps:
Preparing the Base
Start by preheating your oven to 375°F (190°C). Roll out the dough or bread to your desired thickness. If using pre-made dough, follow the package instructions for thawing.
Adding Cheese and Garlic
Spread the minced garlic evenly over the dough, followed by a layer of mozzarella and Parmesan cheese. Drizzle with olive oil and sprinkle with salt and pepper.
Baking to Perfection
Bake the bread sticks in the preheated oven for 12-15 minutes, or until golden brown. Check for doneness by ensuring the cheese is melted and bubbly.
Cheese Selection Tips
The right cheese can make all the difference in your garlic bread sticks. Mozzarella provides a creamy melt, while Parmesan adds a salty, nutty flavor. Consider combining cheeses for a complex flavor profile.
| Cheese Type | Flavor Profile | Melting Quality |
|---|---|---|
| Mozzarella | Creamy, mild | Excellent |
| Parmesan | Nutty, salty | Good |
| Fontina | Mild, earthy | Very Good |
Dipping Sauce Pairings
Elevate your cheesy garlic bread sticks with the right dipping sauce. Popular options include marinara, garlic aioli, and herb-infused olive oil. Experiment with different combinations to find your favorite.
Quick No-Bake Stovetop Garlic Bread
For those times when the oven is occupied or you’re short on time, a quick no-bake stovetop garlic bread recipe is a lifesaver. This method allows you to enjoy delicious garlic bread without the need for baking, making it perfect for last-minute meals or when you’re cooking in a small kitchen.

Simple Ingredients
The beauty of this recipe lies in its simplicity. You’ll need basic pantry staples such as bread, butter, garlic, salt, and optional herbs like parsley or oregano. Using high-quality ingredients, like fresh garlic and real butter, makes a significant difference in the flavor.
Stovetop Cooking Instructions
Cooking garlic bread on the stovetop requires some technique, but it’s straightforward once you know the steps.
Preparing the Garlic Spread
Start by mixing softened butter with minced garlic and a pinch of salt. You can also add some chopped herbs if you like. This spread will be the flavor foundation of your garlic bread, so don’t be shy with the garlic if you’re a fan.
Cooking Technique
Heat a non-stick skillet or griddle over medium heat. Place your bread slices on the skillet and spread the garlic butter mixture evenly on each slice. Cooking over medium heat helps to achieve a crispy crust without burning.
Achieving the Perfect Crispness
The key to perfect stovetop garlic bread is getting it crispy on the outside while keeping it soft inside. Cook for about 2-3 minutes on each side, or until you see a golden-brown crust. Adjust the heat as needed to prevent burning.
Texture and Flavor Tips
One of the main differences between stovetop and oven-baked garlic bread is the texture. Stovetop garlic bread tends to be crisper on the outside and softer on the inside. To enhance flavor, make sure to use high-quality garlic and consider adding a sprinkle of sea salt or some chopped fresh herbs on top before serving.
Perfect for Last-Minute Meals
This stovetop garlic bread recipe is a game-changer for last-minute meals or unexpected guests. It’s quick, easy, and always a crowd-pleaser. Whether you’re serving it alongside a pasta dish or as a side to your favorite soup, it’s sure to be a hit.
Herb-Infused Garlic Bread
The world of herb-infused garlic bread is a flavorful journey worth exploring. By incorporating herbs into your garlic bread, you can add a new layer of complexity and depth to this beloved dish.
Herb and Ingredient Selection
Choosing the right herbs is crucial for creating a well-balanced herb-infused garlic bread. The selection of herbs can significantly impact the flavor profile of your bread.
Fresh vs. Dried Herbs
Fresh herbs provide a brighter, more vibrant flavor, while dried herbs offer a more concentrated taste. Understanding the difference between fresh and dried herbs is essential for achieving the desired flavor.
Complementary Herb Combinations
Certain herb combinations work well together, enhancing the garlic flavor without overpowering it. Some popular combinations include rosemary-thyme, basil-oregano, and dill-parsley.
| Herb Combination | Flavor Profile |
|---|---|
| Rosemary-Thyme | Piney, slightly minty |
| Basil-Oregano | Bright, earthy |
| Dill-Parsley | Fresh, green |
Infusion Methods
The method of infusing herbs into your garlic bread can vary. Cold infusion is ideal for fresh herbs, while heat infusion is better suited for dried herbs.
Preparation and Baking Process
Once you’ve selected your herbs, it’s time to prepare your herb-infused garlic bread. The preparation process involves mixing the herbs with garlic butter and then spreading it on your bread.
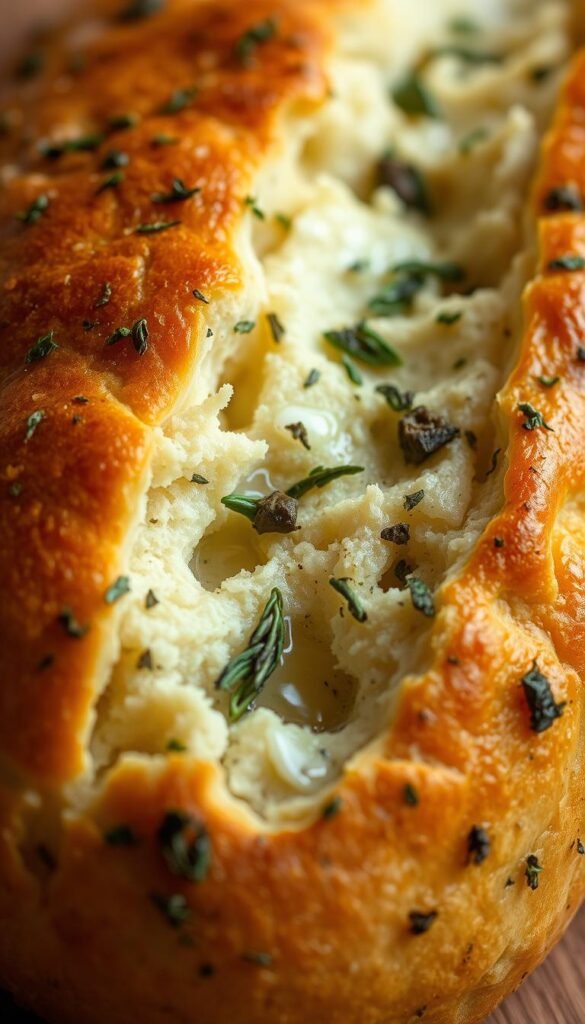
The baking process requires careful attention to temperature and timing to prevent the herbs from burning.
Seasonal Herb Variations
One of the joys of herb-infused garlic bread is the ability to adapt the recipe to seasonal herb availability. In the spring and summer, bright herbs like basil and dill can add a fresh flavor.
Spring and Summer Options
During the warmer months, herbs like chives and parsley are at their peak and can add a delightful freshness to your garlic bread.
Fall and Winter Choices
In the cooler months, heartier herbs like rosemary and thyme can provide a comforting flavor to your herb-infused garlic bread.
By incorporating seasonal herbs, you can keep your garlic bread recipe exciting and dynamic throughout the year.
Whole Wheat Healthy Garlic Bread
Whole wheat healthy garlic bread offers a nutritious twist on a classic favorite. By incorporating whole grain bread and healthier fat options, you can enjoy garlic bread while making it a better choice for your diet.
Nutritious Ingredients
To make healthy garlic bread, it’s essential to start with the right ingredients. Whole grain bread varieties such as whole wheat, multigrain, and sprouted grain offer more fiber and nutrients compared to traditional white bread.
Whole Grain Bread Options
Whole wheat bread is a popular choice for healthy garlic bread due to its nutty flavor and dense texture. Multigrain bread, on the other hand, offers a blend of different grains, providing a mix of textures and flavors.
Healthy Fat Alternatives
Instead of using regular butter, consider healthier fat alternatives like olive oil or avocado oil. These options not only reduce saturated fat intake but also add unique flavors to your garlic bread.
Flavor Boosters Without Extra Calories
To maintain flavor without adding extra calories, try using roasted garlic, which has a deeper flavor and can be used in smaller quantities. Nutritional yeast is another option, offering a cheesy, nutty flavor without the dairy.
Preparation Steps
Preparing whole wheat healthy garlic bread involves a few simple steps. First, preheat your oven to the right temperature. Then, mix your garlic with healthy fats and spread it evenly on the bread. Finally, bake until crispy.
It’s crucial to adjust the baking time and temperature according to the type of whole grain bread you’re using, as it can be denser and may require different cooking times.
Health Benefits and Modifications
This version of garlic bread not only tastes great but also offers several health benefits. By using whole grain bread and healthier fats, you’re increasing your fiber intake and reducing your consumption of saturated fats.
Dietary Adaptations (Gluten-Free, Vegan)
For those with dietary restrictions, there are options available. Gluten-free bread can be used for a gluten-free version, and vegan butter or oil can replace traditional butter for a vegan version.
Nutritional Profile
A slice of whole wheat healthy garlic bread typically contains fewer calories and more fiber than its traditional counterpart. The exact nutritional profile will depend on the specific ingredients used, but it’s generally a healthier option.
7 Foolproof Garlic Bread Recipes for Beginners: Italian Restaurant-Style
The secret to making Italian restaurant-style garlic bread lies in the quality of ingredients and professional preparation techniques. Italian garlic bread, known for its aromatic flavor and crispy crust, is a staple in Italian restaurants. To recreate this at home, it’s essential to understand the elements that make it special.
Authentic Italian Ingredients
Authentic Italian garlic bread starts with the right ingredients. The foundation of great garlic bread is the bread itself, followed by the quality of olive oil and garlic, and finally, the selection of traditional Italian herbs.
The Right Bread Selection
Choosing the right bread is crucial. Italian breads like ciabatta or filone are ideal due to their texture, which holds up well to garlic oil. Look for bread with a slightly crispy crust and a soft interior.
Quality Olive Oil and Garlic
Olive oil is a key component. Opt for high-quality extra virgin olive oil for the best flavor. For garlic, use fresh cloves to avoid bitterness. The quality of garlic directly impacts the overall taste.
Traditional Italian Herbs
Italian herbs like oregano, basil, and rosemary add depth to garlic bread. Use fresh or dried herbs according to your preference, but ensure they’re of high quality to maintain the authentic Italian flavor.
Professional Preparation Techniques
Professional preparation techniques elevate garlic bread from good to great. This involves creating the perfect garlic oil, preparing the bread correctly, and baking it to perfection.
Creating the Perfect Garlic Oil
Garlic oil is the heart of Italian garlic bread. To make it, combine minced garlic with olive oil and gently heat it to infuse the flavors. This method prevents garlic from burning and ensures an even distribution of flavor.
Bread Preparation Method
Prepare the bread by slicing it appropriately and applying the garlic oil evenly. Techniques like partial baking before applying garlic oil can enhance the crust’s crispiness.
Baking Like a Pro
Baking garlic bread like a professional involves temperature control and timing. Use a hot oven and consider using foil to achieve the perfect balance between a crispy exterior and a soft interior.
Achieving Restaurant-Quality Results
Achieving restaurant-quality garlic bread involves balancing texture and flavor, and presenting it appealingly.
Texture and Flavor Balance
The key to great garlic bread is the balance between a crispy crust and a soft interior, combined with the right amount of garlic flavor and herbal notes. Achieving this balance requires careful attention to the baking process.
Presentation Tips
Presentation matters. Serve garlic bread in a way that’s visually appealing, whether it’s sliced and arranged on a platter or served individually. Consider garnishing with fresh herbs for added appeal.
| Ingredient | Description | Tips |
|---|---|---|
| Italian Bread | Ciabatta or filone | Choose bread with a crispy crust and soft interior |
| Olive Oil | High-quality extra virgin olive oil | Use for garlic oil and drizzling |
| Garlic | Fresh cloves | Avoid pre-minced garlic for better flavor |
| Italian Herbs | Oregano, basil, rosemary | Use fresh or dried, according to preference |
Garlic Bread Rolls from Scratch
Creating garlic bread rolls from scratch is a rewarding baking project that combines the joy of homemade bread with the savory flavor of garlic. This ambitious recipe guides beginners through every step, from preparing the dough to baking the final rolls.
Dough Ingredients and Preparation
The foundation of great garlic bread rolls lies in the dough. A basic bread dough recipe specifically formulated to complement garlic flavors is essential.
Basic Bread Dough Recipe
A simple dough recipe includes 2 cups of warm water, 2 teaspoons of active dry yeast, 3 tablespoons of sugar, 4 cups of all-purpose flour, and 1 teaspoon of salt. The yeast is crucial for the dough to rise, while the sugar helps activate it.
Kneading and Rising Tips
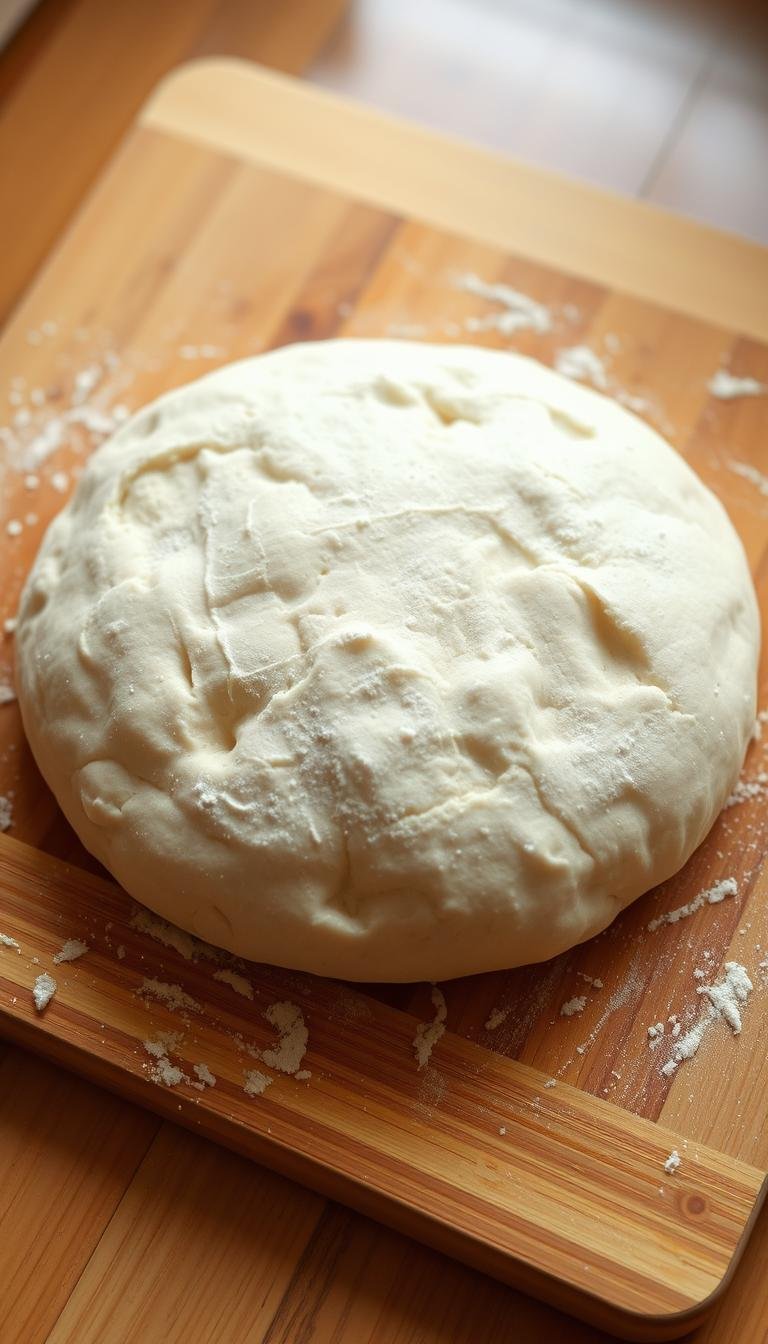
Kneading the dough for about 10 minutes until it becomes smooth and elastic is vital. After kneading, let it rise in a warm, draft-free place for about 1 hour, or until it has doubled in size.
Shaping Perfect Rolls
To shape the rolls, divide the dough into equal portions, roll each into a ball, and then flatten slightly into a disk shape. Place them on a baking sheet lined with parchment paper.
Garlic Filling Creation
For the garlic filling, mix 3 cloves of minced garlic with 1/4 cup of softened butter and a pinch of salt. This mixture can be swirled into the dough before baking for an intense garlic flavor.
Baking and Finishing Touches
Bake the rolls in a preheated oven at 375°F (190°C) for about 15-20 minutes, or until golden brown. Brush with additional butter immediately after baking for extra flavor.
Storage and Reheating Tips
To keep the rolls fresh, store them in an airtight container at room temperature for up to 3 days. To reheat, wrap them in foil and warm in the oven at 350°F (175°C) for about 10 minutes.
Conclusion
Exploring the world of garlic bread through these seven foolproof recipes has equipped you with a versatile range of skills, from simple stovetop garlic bread to elaborate garlic bread rolls from scratch. Each recipe has built upon previous knowledge, introducing new techniques and ingredients to create a comprehensive garlic bread repertoire.
With these garlic bread recipes, you’ve developed fundamental skills in beginner cooking, including temperature management, texture balance, and the importance of quality ingredients. You can now create homemade garlic bread suitable for any occasion, whether it’s a quick weeknight dinner or a special event.
The foolproof recipes provided have allowed you to experiment and adapt, fostering confidence in your cooking abilities. As you continue to explore the world of garlic bread, consider applying these skills to other culinary endeavors, experimenting with new ingredients and techniques to create your own unique variations.
By mastering these garlic bread recipes, you’ve taken the first step towards more adventurous cooking. The skills you’ve acquired will serve as a foundation for exploring new recipes and ingredients, empowering you to create delicious homemade dishes with confidence.


