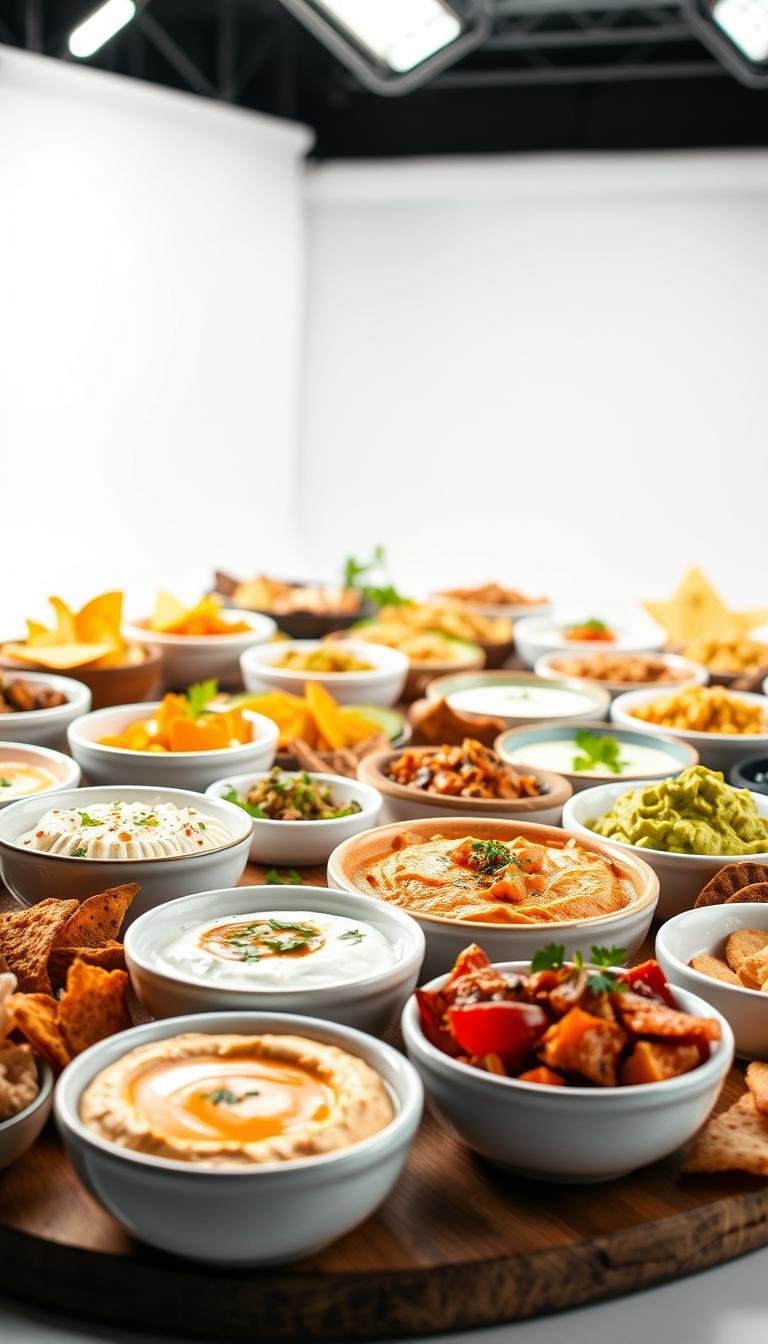
6 Party-Worthy Dip Recipes for Any Occasion
Hosting a party? The right appetizers are key. Homemade dips are now a hit. People want tasty, simple dishes to wow their guests.
This Website contains affiliate links. That means I may earn a small commission if you purchase through my links, at no extra cost to you.
There’s something for everyone, from Spinach and Artichoke to Sweet Caramel Apple. These party dip recipes are perfect for any event. They’ll be a big hit, whether it’s a casual or formal party.
Making your own dips means using the best ingredients. You can also meet different dietary needs. This makes your party more fun for everyone.
Key Takeaways
- Discover 6 versatile dip recipes perfect for any occasion.
- Learn how to make delicious homemade dips that impress your guests.
- Explore a variety of flavors, from classic to innovative.
- Understand the benefits of choosing homemade dips over store-bought options.
- Find tips on customizing dips according to dietary preferences.
The Art of Party Dips: Crowd-Pleasing Appetizers
Party dips are the stars of social events. They are tasty and fun, bringing people together. They fit any party and any diet.
Why Dips Are Perfect Party Food
Dips make parties fun. Guests love to share a dish. They’re easy to make ahead, so hosts can relax.
“Dips are the ultimate party food because they cater to a variety of tastes and dietary needs, making them an inclusive option for gatherings.” There’s a dip for everyone, whether vegan, gluten-free, or dairy-based.
Essential Equipment for Dip Preparation
Good kitchen tools make dips better. A food processor is key for chopping and mixing. You’ll also need bowls, slow cookers, and nice serving dishes.
- Food processor
- Mixing bowls
- Slow cookers
- Serving dishes
Choosing the Right Dippers and Accompaniments
Choosing the right dippers is important. Crunchy veggies go great with creamy dips. Chips, bread, and crackers add variety.
Think about the dip and dippers together. The right match makes your party better. As noted,
“The right combination of dip and dipper can make or break the appetizer experience.”
Classic Spinach and Artichoke Dip
The Classic Spinach and Artichoke Dip is a hit at parties. It’s creamy and full of flavor. It’s a mix of spinach, artichokes, and cheese that everyone loves.
Ingredients You’ll Need
To make a great Spinach and Artichoke Dip, you need the right stuff. You’ll need spinach, artichoke hearts, cheeses, and seasonings.
Fresh vs. Frozen Spinach Options
Choosing between fresh or frozen spinach is important. Fresh spinach tastes brighter. Frozen spinach is easier to find and cheaper. But, make sure to squeeze out water from frozen spinach to avoid a soggy dip.
Fresh spinach needs chopping and a quick sauté. This makes it ready to mix into your dip. Both types should be drained well for a smooth dip.
Cheese Selection Tips
The cheese is key to a good dip. Use a mix of cheeses for the best taste and texture. Try Parmesan, mozzarella, and cream cheese. Find the perfect mix for you.
Step-by-Step Preparation
Ready your ingredients for the dip. You can make it on the stovetop or bake it for a golden top.
Stovetop Method
For a fast dip, use the stovetop. Mix everything in a saucepan over medium heat. Stir until the cheese melts and the dip is hot.
Baked Version
Baking gives a nice golden top. Mix your ingredients, put them in a dish, and add more cheese. Bake until the top is golden and bubbly.
Serving Suggestions
Serve your dip hot for the best taste. Use it with toasted baguette slices, tortilla chips, or veggies.
Make-Ahead and Storage Tips
This dip is easy to prepare ahead of time. Assemble it just before baking or serving. It’s great for parties because it reheats well.
Nutritional Information and Variations
Spinach and Artichoke Dip is rich. For a lighter version, use less fat cheese or more spinach. Try adding roasted garlic or herbs for a twist.
Zesty Mexican Layer Dip
This dip is sure to impress. It’s full of flavor and perfect for parties. Everyone will want more.

Ingredients You’ll Need
You’ll need many ingredients for this dip. Start with your bean base. You can use refried beans, black beans, or something vegetarian.
Bean Base Options
Choose from refried beans, black beans, or vegetarian options. Add some seasoning to make it taste better. You can also use bean dips.
Choosing the Right Avocados
Avocados are key for creaminess. Pick ripe but firm avocados. To ripen them faster, put them in a paper bag. Check if they’re ripe by pressing on them gently.
Step-by-Step Preparation
Now, let’s make the dip. Layering is important for taste and looks.
Layer Building Technique
Start with beans, then guacamole, and sour cream. Keep adding layers until you end with cheese on top. You can change the order and amounts to your liking.
Customization Options
Make it your own by adding jalapeños or different cheeses. You can also add seasoned ground beef or other proteins. This dip is very versatile.
Serving Suggestions
Use a clear glass dish to show off the layers. Serve at room temperature or a bit chilled. Tortilla chips are great, but you can also offer fresh veggies.
Make-Ahead and Storage Tips
You can make parts of it ahead of time. But watch the avocado layer, as it browns fast. Store leftovers in an airtight container in the fridge.
Nutritional Information and Variations
This dip can be made for different diets. For a dairy-free version, use non-dairy alternatives. To cut down on sodium, pick low-sodium beans and cheese. You can also adjust the heat to please your guests.
Creamy Buffalo Chicken Dip
Looking for a tasty dip for game day or parties? Creamy Buffalo Chicken Dip is perfect. It’s easy to make and loved by all.

Key Ingredients
To make this dip, you need a few things. These are:
- Cream cheese: Makes the dip creamy.
- Shredded cheddar cheese: Adds a cheesy taste.
- Buffalo wing sauce: Makes it spicy.
- Cooked chicken: Adds protein and texture.
- Ranch dressing or sour cream: Optional for extra creaminess.
Hot Sauce Selection Guide
The hot sauce you pick changes the dip’s taste. Here are some good ones:
- Frank’s RedHot: Classic for buffalo wings.
- Tabasco: Sharp and vinegar-like.
- Cholula: Sweeter and more complex.
Chicken Preparation Options
There are many ways to prepare chicken for the dip:
- Rotisserie chicken: Shred it for flavor.
- Canned chicken: Quick and easy.
- Cooking raw chicken: Boil, bake, or grill then shred.
Preparing the Dip
There are two ways to make the dip: slow cooker or oven.
Slow Cooker Method
The slow cooker method keeps the dip warm for hours. Mix all ingredients and cook on low for 1-2 hours. It’s ready when the cheese melts.
Oven-Baked Method
For a crispy top, bake at 350°F (175°C) for 20-25 minutes. It’s hot and bubbly when done.
Serving Suggestions
Serve the dip hot with green onions or cilantro on top. Great with:
- Celery sticks
- Carrot sticks
- Tortilla chips
- Crackers
Make-Ahead and Storage Tips
You can make it ahead and store it. Reheat in the oven or microwave until hot.
Nutritional Information and Variations
This dip is high in calories and fat. But, you can make it healthier. Use less cream cheese or add more chicken for protein.
Mediterranean Hummus Dip
This dip is healthy and tasty. It’s made with chickpeas, tahini, and lemon juice. It’s a favorite in Mediterranean food and at parties.

Ingredients You’ll Need
To make this dip, you need a few things:
- 1 cup chickpeas
- 1/4 cup tahini
- 2 tablespoons olive oil
- 2 cloves garlic, minced
- 2 tablespoons lemon juice
- Salt to taste
- Optional: paprika, parsley, or other herbs for garnish
Tahini Quality Guide
Tahini is key in hummus. Choose smooth, creamy tahini with a nutty taste. Avoid bitter or bad-tasting tahini. Keep it in a sealed container in the fridge to avoid oil separation.
Fresh Herb Options
Fresh herbs make hummus taste great and look good. Try parsley, cilantro, mint, or za’atar. Start with a little, about 1/4 cup, and adjust to taste.
Step-by-Step Preparation
Making hummus is easy, but getting it smooth takes some skill.
Food Processor Method
For the smoothest hummus, use a food processor. Drain and rinse the chickpeas first. Then, add chickpeas, tahini, garlic, and lemon juice. Process for 2 minutes until it’s smooth.
With the processor on, slowly add olive oil. Keep processing until it’s right. Season with salt.
Blender Alternative
If you don’t have a food processor, a blender works too. Blend chickpeas, tahini, and garlic first. Then, add lemon juice and olive oil, blending until it’s smooth. You might need to stop and scrape down the sides a few times.
Serving Suggestions
Serve hummus with olive oil and paprika. It’s great with pita bread, cucumber, or bell peppers. It’s best at room temperature or a bit chilled.
Make-Ahead and Storage Tips
Hummus can be made ahead and kept in the fridge for a week. It gets better with time. To keep it moist, cover it tightly or put it in an airtight container. If it gets too thick, add a bit of water or olive oil.
Nutritional Information and Variations
Hummus is not only tasty but also healthy. It’s full of protein and fiber. For a twist, add roasted red pepper or extra garlic. Try different spices like cumin or smoked paprika for new flavors.
Sweet Caramel Apple Dip
Make a sweet caramel apple dip for your fall party. It’s a mix of caramel apples and easy to share. It’s great for parties, game days, or movie nights.

Ingredients You’ll Need
You need a few things for this dip. Cream cheese makes it creamy. Caramel sauce adds a sweet flavor. You might also use vanilla, powdered sugar, and a bit of salt.
Caramel Selection Tips
Choosing caramel sauce is key. You can buy it or make your own. Homemade can taste better. Use heavy cream, butter, and sugar for homemade.
- Store-bought caramel sauce: Convenient and consistent.
- Homemade caramel sauce: Customizable and potentially more flavorful.
- Consider flavor variations: Fleur de sel, vanilla, or other unique twists.
Cream Cheese Preparation
Make the cream cheese soft. Take it out of the fridge 30 minutes before. You can also microwave it for a few seconds. Don’t melt it. Use mascarpone or Greek yogurt for a lighter dip.
Step-by-Step Preparation
There are two ways to make this dip. You can do it without cooking or make it warm.
No-Cook Method
For the no-cook version, mix softened cream cheese with caramel, vanilla, and sugar. Adjust to taste. Add a pinch of salt. Put it in a bowl and chill until ready.
Warm Version
For a warm dip, mix cream cheese, caramel, and heavy cream in a pan. Heat it low and stir until smooth. Serve in a bowl or fondue pot.
Serving Suggestions
Choose the right dippers for your dip. Sliced apples are perfect. Try graham crackers or pretzels for a sweet and salty mix. Decorate with cinnamon or caramel for looks.
- Sliced apples: Granny Smith, Honeycrisp, or Gala.
- Graham crackers: For a sweet and salty contrast.
- Pretzels: Adds a satisfying crunch.
Make-Ahead and Storage Tips
Make this dip ahead of time. Prepare it, then chill until serving. For the warm version, reheat gently. Stir between each heat.
Nutritional Information and Variations
Nutrition varies by ingredients. Use light cream cheese or Greek yogurt for a lighter version. Add cinnamon, nutmeg, or vanilla for extra flavor.
Follow these tips for a delicious caramel apple dip. It’s sure to be a hit at your next event.
6 Party-Worthy Dip Recipes for Any Occasion: Hot Crab and Cheese Dip
For a fancy twist on party snacks, try hot crab and cheese dip. It’s a hit that will wow your guests. The mix of crab and creamy cheese makes it unforgettable.
Ingredients You’ll Need
To make this tasty dip, you need top-notch ingredients. Fresh crab meat is key. You’ll also need cream cheese, sharp cheddar, and Gruyère for a creamy base.
Selecting Quality Crab Meat
Choosing crab meat is important. Lump crab meat is popular for its big, tender pieces. Jumbo lump crab meat is even better, with bigger chunks. Claw meat is a budget-friendly choice with a different taste.
For canned or pasteurized crab, look for “fresh” or “high-quality” labels. Check for damage and expiration dates.
Cheese Blend Recommendations
The cheese mix is crucial. Use cream cheese, sharp cheddar, and Gruyère for a creamy, tangy dip. You can adjust the cheese amounts to your liking.
Step-by-Step Preparation
Making hot crab and cheese dip is easy. You can use the stovetop or broiled finish method.
Stovetop Method
Start by mixing cream cheese, cheddar, and Gruyère in a saucepan. Heat it until smooth, then add crab meat. Stir gently to avoid toughening the crab.
Broiled Finish Technique
For a golden top, put the dip in a baking dish and broil. This adds a nice texture and look.
“The key to a great hot crab and cheese dip is to balance the flavors and textures. You want the dip to be creamy and rich, with a nice tang from the crab.” – Chef’s Guide
Serving Suggestions
Serving hot crab and cheese dip is fun. Use a chafing dish or warm serving bowl to keep it warm. Offer dippers like toasted baguette slices or water crackers.
Make-Ahead and Storage Tips
Store the dip in the fridge at 40°F (4°C) or lower if making ahead. Reheat gently to avoid overcooking the crab. Use the stovetop or microwave, stirring often.
Nutritional Information and Variations
Hot crab and cheese dip has about 250-300 calories per serving. You can make it lighter by using Greek yogurt or less crab. Add diced bell peppers or herbs for extra flavor and nutrition.
Follow these tips to make a delicious hot crab and cheese dip. It’s perfect for any special occasion or a luxurious treat.
Dip Presentation and Serving Ideas
Making a great first impression with your dip starts with the serving vessel and presentation style. The way you present your dip can make it special. It can make even simple dips feel special.
Creative Serving Vessels
Don’t just use a bowl for your dips. Bread bowls add a rustic touch. Hollowed vegetables like bell peppers or cabbages are colorful and healthy. For formal events, use individual serving cups or themed containers.
Multi-compartment dishes are great for a dip flight. They let guests try different flavors.
Choose a serving vessel that’s easy to use. For example, line a bread bowl with plastic wrap. This stops the dip from getting into the bread.
Temperature Maintenance Tips
It’s important to keep your dips at the right temperature. Use chafing dishes or warming trays for hot dips. For cold dips, keep them in the fridge or use ice baths.
For long parties, plan to rotate your dips. This keeps them at a safe temperature.
| Dip Type | Serving Temperature | Maintenance Tip |
|---|---|---|
| Hot Dip | Warm | Use chafing dishes or warming trays |
| Cold Dip | Cold | Use ice baths or refrigerate until serving |
Garnishing for Visual Appeal
Garnishing your dip can make it look and taste better. Use fresh herbs, spice dustings, or drizzled oils for color and flavor. Toasted nuts or vegetable curls add texture and interest.
Make your dip station look good. Use labels, vary heights, and match serving utensils. These details can make your dip a memorable part of your gathering.
Conclusion: Elevate Your Party with Homemade Dips
Learning to make homemade party dips can make your parties better. You can please many tastes and needs. This article shows six tasty dips, from Spinach and Artichoke to Sweet Caramel Apple.
Using make-ahead dips makes your parties easy and fun. These dips fit any group size and save money. They’re better than many other appetizers.
For a great dip mix, have both hot and cold dips. Mix colors and textures. Plan how much you need for your party’s length.
Try new things with these tips and recipes. Make your own special dips. Your next party will be a hit with yummy homemade dips and fun food ideas.