6 Beginner-Friendly Garlic Bread Recipes Anyone Can Make
Imagine being able to create a delicious, aromatic garlic bread that’s perfect for accompanying your favorite meals, all from the comfort of your own kitchen. With a few simple ingredients and minimal equipment, you can achieve this culinary delight. Garlic bread is a versatile dish that can elevate any meal, from pasta nights to casual gatherings.
This Website contains affiliate links. That means I may earn a small commission if you purchase through my links, at no extra cost to you.
Our collection of easy garlic bread recipes is designed specifically for beginners, requiring no prior baking experience. You’ll learn how to make homemade garlic bread that’s not only delicious but also easy to prepare. The recipes range from classic Italian-style to modern air fryer versions, ensuring there’s something for everyone.
Key Takeaways
- Simple ingredients and minimal equipment needed for homemade garlic bread
- Versatile garlic bread recipes to complement various meals
- Beginner-friendly instructions for achieving perfect garlic bread
- A variety of recipes, including classic and modern versions
- Easy-to-follow guide for novice cooks to get started
The Universal Appeal of Homemade Garlic Bread
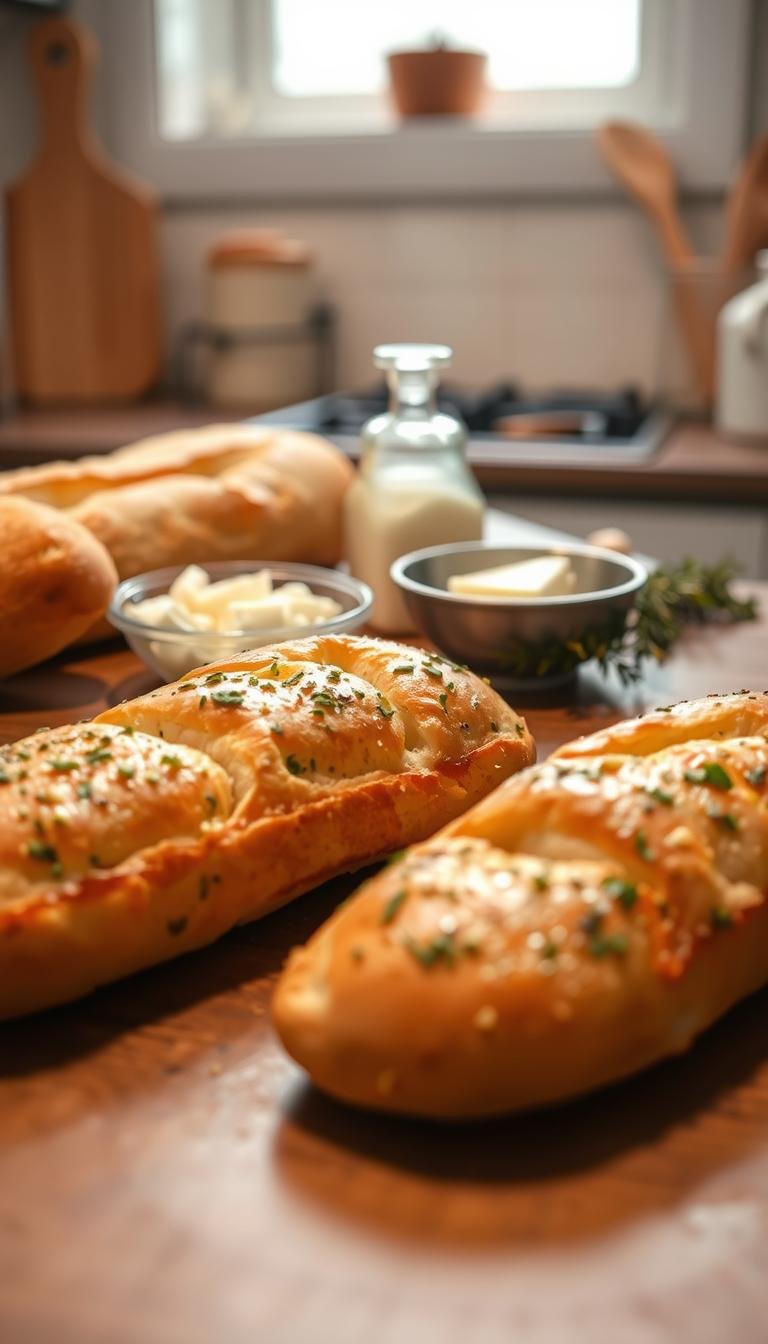
There’s something undeniably comforting about homemade garlic bread, fresh out of the oven. The irresistible aroma that fills the kitchen, the satisfying crunch of the crust, and the rich, buttery garlic flavor all combine to create a sensory experience that is hard to resist.
Homemade garlic bread serves as both a simple side dish and a comfort food that evokes nostalgic connections for many people. It’s a versatile accompaniment to various meals, from Italian pasta dishes to soups, salads, and barbecues. The versatility of garlic bread makes it a staple in many cuisines, allowing it to be paired with a wide range of flavors and dishes.
Making garlic bread at home has several benefits. It is economically advantageous compared to buying pre-made versions, as it allows you to control the ingredients and avoid preservatives. This not only makes it a healthier option but also enhances the flavor. The health advantages of homemade garlic bread are significant, as you can choose to use fresh garlic, herbs, and high-quality bread.
The benefits of homemade garlic bread extend beyond just taste and health. It can be a gateway to more advanced baking for beginners, building confidence in the kitchen through a relatively simple recipe with impressive results. Moreover, homemade garlic bread can elevate everyday meals into special occasions and serve as a crowd-pleasing option for entertaining guests.
Some of the key reasons for the popularity of homemade garlic bread include:
- Its simplicity and ease of preparation
- The joy it brings to those who make and consume it
- Its versatility as a complement to various meals
- The economic benefits of making it at home
- The health advantages of controlling ingredients
In conclusion, the universal appeal of homemade garlic bread lies in its combination of simplicity, versatility, and the sensory experience it provides. Whether you’re a seasoned baker or a beginner in the kitchen, homemade garlic bread is a great way to enhance your meals and impress your guests.
Essential Ingredients and Tools for Perfect Garlic Bread
The foundation of great garlic bread lies in its basic ingredients and the tools used to prepare it. To create a delicious and authentic garlic bread, one must start with the right components and equipment. In this section, we’ll explore the fundamental ingredients and tools that make garlic bread a culinary delight.
Basic Ingredients Every Garlic Bread Needs
To make a classic garlic bread, you’ll need a few essential ingredients. First and foremost, you need a good quality bread. French, Italian, or sourdough bread are excellent choices due to their texture and flavor profile. The bread should be fresh and have a good crust.
Next, you’ll need garlic, which is the star of the dish. You can use fresh garlic, minced garlic, or garlic powder, depending on your preference and the intensity of flavor you desire. Fresh garlic provides a pungent flavor, while garlic powder offers a more subtle taste.
Butter or olive oil is another crucial ingredient, used to spread on the bread and infuse it with flavor. High-quality butter or olive oil makes a significant difference in the taste. Additionally, herbs like parsley and basil are commonly used to add freshness and depth to the garlic bread.
| Ingredient | Description | Importance |
|---|---|---|
| Bread | French, Italian, or sourdough | High |
| Garlic | Fresh, minced, or powdered | High |
| Butter/Olive Oil | High-quality | High |
| Herbs | Parsley, basil | Medium |
Optional Add-ins for Flavor Enhancement
While basic garlic bread is delicious on its own, you can enhance its flavor with various optional ingredients. Cheese is a popular addition, with mozzarella, parmesan, and provolone being top choices. Sprinkling cheese on top of the garlic bread before baking creates a gooey, cheesy delight.
Additional herbs like oregano, thyme, and rosemary can be used to create different flavor profiles. You can also add a pinch of red pepper flakes or paprika to give your garlic bread a spicy kick or smoky flavor. For a tangy twist, consider adding a drizzle of lemon zest or balsamic glaze.
Kitchen Tools That Make Preparation Easier
Having the right kitchen tools can simplify the garlic bread making process. A sharp knife is necessary for slicing the bread, while a cutting board provides a safe surface for preparation. A garlic press can be very handy for mincing garlic efficiently.
Other useful tools include a pastry brush for evenly applying butter or olive oil, aluminum foil for wrapping the bread during baking, and a baking sheet or pizza stone for achieving a crispy crust. While these tools are helpful, it’s worth noting that you don’t need highly specialized equipment to make great garlic bread.
6 Beginner-Friendly Garlic Bread Recipes Anyone Can Make
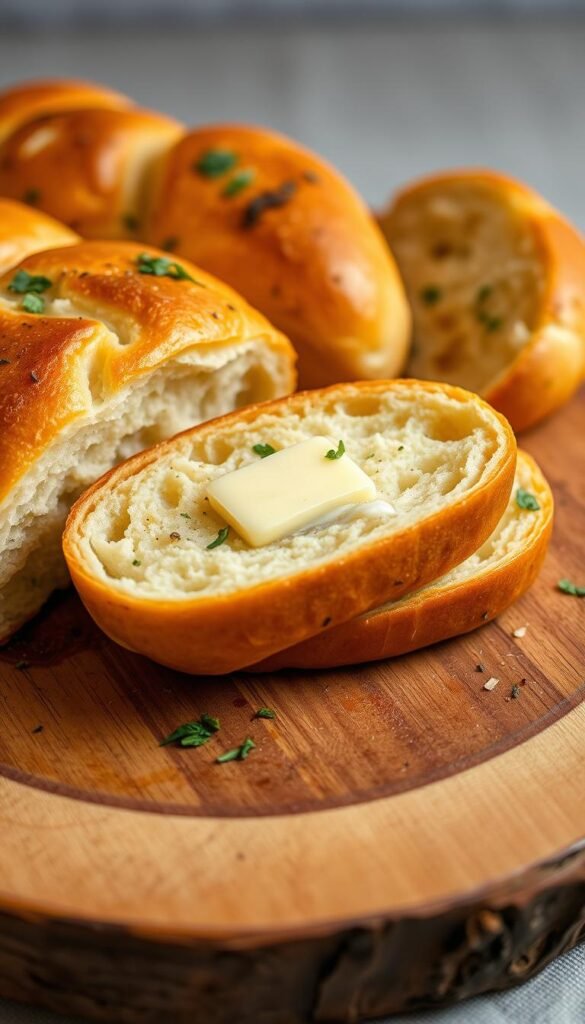
Making garlic bread has never been easier, thanks to these six simple recipes designed for beginners. Whether you’re new to baking or just looking to expand your culinary skills, these recipes offer a great starting point. They are designed to be forgiving and easy to follow, allowing you to build confidence in the kitchen.
What Makes These Recipes Perfect for Beginners
These six garlic bread recipes are perfect for beginners because they require minimal ingredients and simple techniques. They are designed to be quick, with preparation times that won’t overwhelm. As one cooking expert notes, “The key to a great garlic bread is not just the ingredients, but the love and care you put into making it.” The recipes focus on teaching fundamental cooking skills without complicated methods that might frustrate novices. Each recipe teaches a different technique or approach to garlic bread making, providing a well-rounded introduction to this versatile side dish.
- Forgiving nature: The recipes allow for minor mistakes without ruining the final product.
- Minimal ingredients: Easy to find and measure ingredients make the process smoother.
- Simple techniques: Basic cooking methods are used, making it easy for beginners to follow.
- Quick preparation: Fast preparation times keep the process engaging and fun.
How to Adapt These Recipes to Your Skill Level
One of the best aspects of these recipes is their adaptability. Beginners can start with the simplest version and gradually add complexity as they become more confident. For instance, you can simplify steps by using pre-sliced bread or store-bought garlic butter. As you gain more experience, you can experiment with different ingredients and techniques, such as adding herbs or using various types of cheese. The key is to make cooking enjoyable rather than stressful.
“Cooking is not just about the ingredients; it’s about the experience and the joy of sharing it with others.”
Start with the recipe that seems most approachable to you and work your way through the others as your skills develop. These recipes serve as foundations that you can eventually customize with your preferred flavors and ingredients, making your garlic bread truly unique.
Recipe 1: Classic Italian Garlic Bread with Butter and Herbs
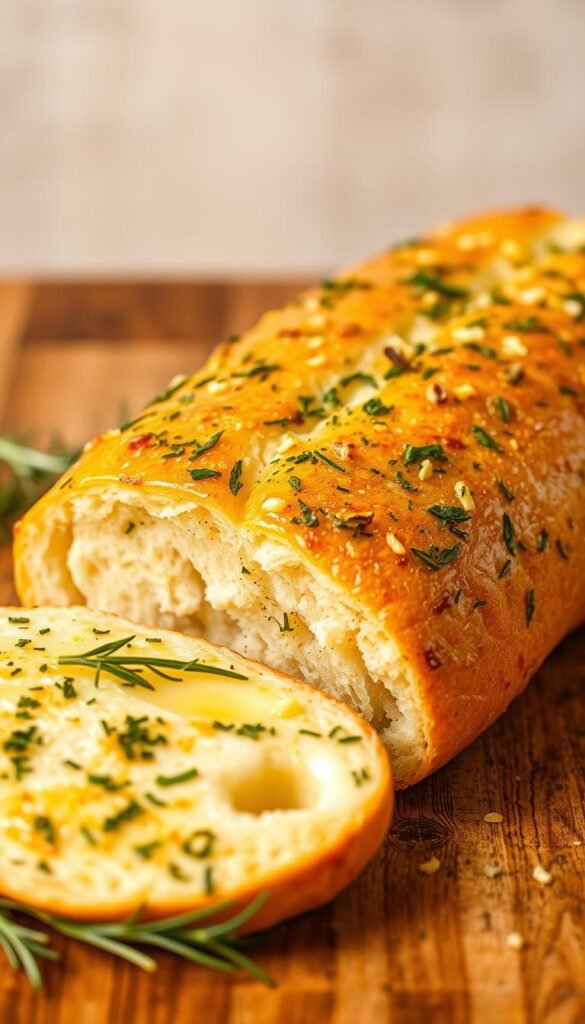
Garlic bread enthusiasts often find themselves drawn to the classic Italian recipe, and we’re about to explore why. This timeless favorite combines the simplicity of Italian cuisine with the rich flavors of garlic, butter, and herbs, creating a side dish that’s both comforting and sophisticated.
Ingredients List
To make this classic Italian garlic bread, you’ll need the following ingredients:
- 1 loaf of Italian or French bread (about 1 pound)
- 3 cloves of fresh garlic, minced
- 1/2 cup (1 stick) of unsalted butter, softened
- 1 tablespoon of chopped fresh parsley
- 1 tablespoon of chopped fresh basil
- Salt and pepper to taste
- 1/4 cup of grated Parmesan cheese (optional)
Selecting the right bread is crucial. Opt for a high-quality Italian or French bread that’s fresh and has a good crust. For the garlic, using fresh cloves is essential for the best flavor.
| Ingredient | Quantity | Notes |
|---|---|---|
| Italian/French Bread | 1 loaf (about 1 pound) | Choose a fresh loaf with a good crust |
| Unsalted Butter | 1/2 cup (1 stick) | Softened to room temperature |
| Fresh Garlic | 3 cloves | Mince for the best flavor distribution |
Step-by-Step Preparation
Now, let’s walk through the preparation process:
- Preheat your oven to 350°F (175°C).
- Slice the bread loaf lengthwise without cutting all the way through, creating a hinge.
- In a bowl, mix the softened butter, minced garlic, chopped parsley, and chopped basil.
- Spread the garlic butter mixture evenly onto the bread, making sure to get both sides.
- If using Parmesan cheese, sprinkle it over the buttered bread.
- Wrap the bread in aluminum foil and bake for 10-12 minutes.
- Remove the foil and continue baking for an additional 2-3 minutes, or until the bread is golden brown.
Timing is crucial. Keep an eye on the bread during the last few minutes to prevent over-browning.
Beginner Tips and Common Mistakes to Avoid
For beginners, there are a few common pitfalls to watch out for:
- Burning the Garlic: Mince the garlic finely to prevent burning, and mix it well with the butter.
- Under or Over-Toasting: Keep an eye on the bread during the baking time. Adjust as necessary based on your oven.
- Improper Storage: Store leftovers in an airtight container to keep the bread fresh.
By following these tips, you’ll be well on your way to creating a delicious classic Italian garlic bread that will impress anyone.
Recipe 2: Quick and Easy Garlic Bread in Under 15 Minutes
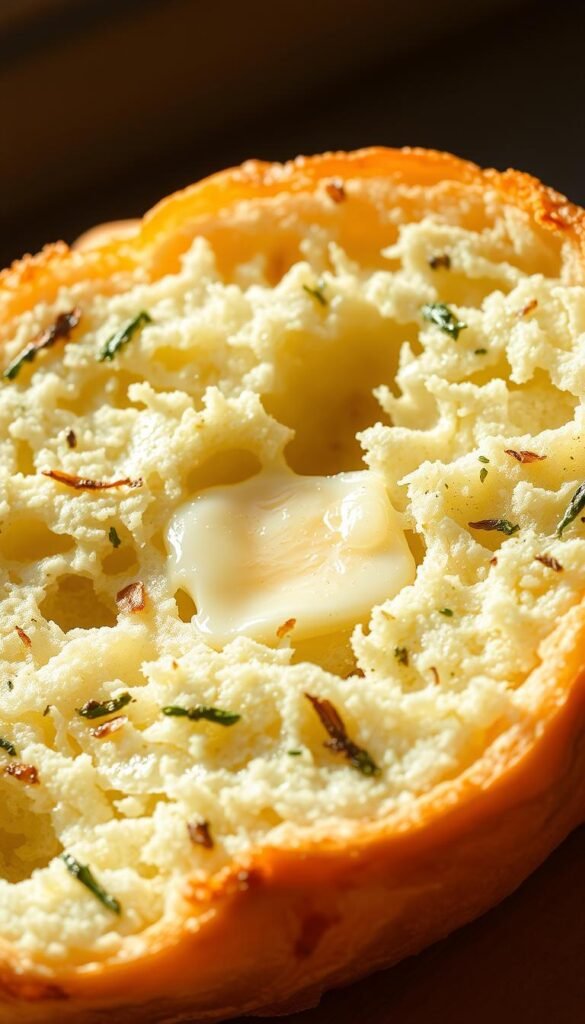
For those in a hurry, our Quick and Easy Garlic Bread recipe is a lifesaver, ready in under 15 minutes. This recipe is perfect for busy weeknights or when you need a quick side dish to complement your meal.
Ingredients List
To make this quick garlic bread, you’ll need the following ingredients:
- 1 loaf of French bread (or 1 baguette)
- 3 cloves of garlic, minced (or 1 tsp garlic powder)
- 1/2 cup butter, softened
- 1 tsp dried parsley
- Salt and pepper to taste
You can use pre-sliced bread or a pre-made garlic spread to save even more time. Store-bought garlic powder or minced garlic in a jar can also be used to eliminate chopping time.
Express Preparation Method
To prepare this quick garlic bread, follow these steps:
- Preheat your broiler.
- Slice the bread into 1-inch slices.
- Mix softened butter, minced garlic, and dried parsley in a bowl.
- Spread the garlic butter mixture onto each bread slice.
- Place the bread slices on a baking sheet and broil for 2-3 minutes or until golden brown.
To save time, you can soften the butter in the microwave for 10-15 seconds. Keep an eye on the bread while it’s broiling, as it can quickly go from perfectly toasted to burnt.
Perfect Pairings for This Quick Version
This quick garlic bread pairs well with a variety of meals. Some ideas include:
- Simple pasta dishes
- Store-bought rotisserie chicken
- Soups
- Salads
This speedy garlic bread can elevate even the simplest meals into something special with minimal effort. You can also customize it with different toppings or spreads to suit your taste.
Recipe 3: Cheesy Garlic Pull-Apart Bread
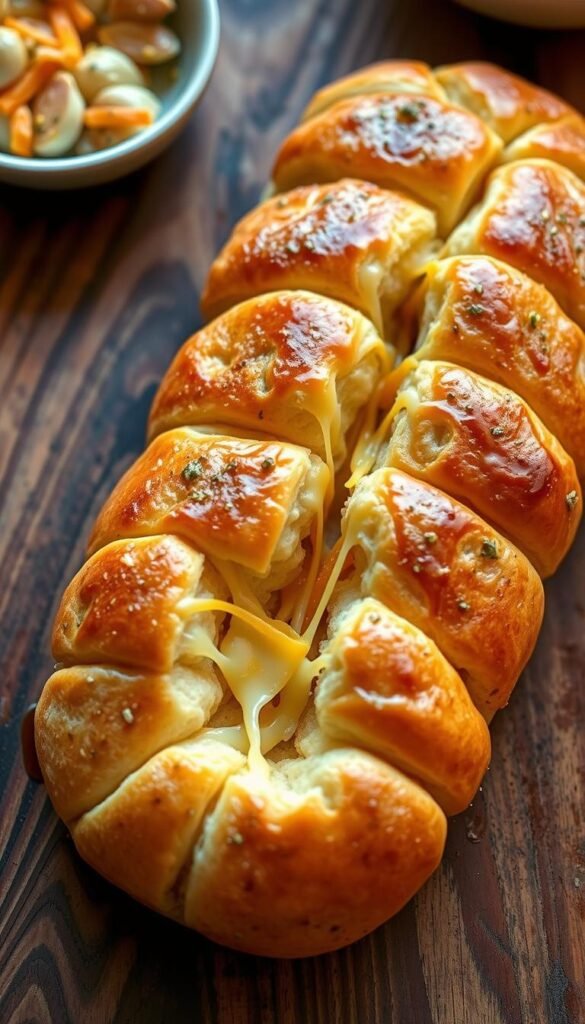
Transform your dinner table with our Cheesy Garlic Pull-Apart Bread, a deliciously interactive twist on a classic favorite. This recipe is perfect for beginners looking to impress or seasoned bakers seeking a new challenge. The combination of gooey cheese, savory garlic, and freshly baked bread creates an irresistible treat that’s sure to become a family favorite.
Ingredients List
To make our Cheesy Garlic Pull-Apart Bread, you’ll need a few simple ingredients. Start with a round loaf of Italian or French bread – you can use either a whole unsliced loaf or pre-sliced bread, depending on your preference. For the cheesy goodness, combine mozzarella, provolone, and a hint of fontina cheese. The garlic butter mixture is made with softened butter, minced garlic, and a sprinkle of parsley for freshness.
- 1 round loaf of Italian or French bread
- 1/2 cup mozzarella cheese, shredded
- 1/4 cup provolone cheese, shredded
- 2 tablespoons fontina cheese, shredded
- 1/2 cup softened butter
- 3 cloves garlic, minced
- 1 tablespoon fresh parsley, chopped
- Salt and pepper to taste
Step-by-Step Assembly Instructions
Assembling the Cheesy Garlic Pull-Apart Bread is a fun and straightforward process. Begin by preheating your oven to 350°F (175°C). Make a cross-hatched pattern on the top of the bread loaf, being careful not to cut all the way through. In a small bowl, mix the softened butter, minced garlic, and chopped parsley. Gently pry open the cuts and brush the garlic butter mixture evenly throughout the bread.
- Preheat the oven to 350°F (175°C).
- Make a cross-hatched pattern on the bread loaf.
- Mix the garlic butter ingredients.
- Brush the garlic butter mixture into the cuts.
- Insert the shredded cheese into the cuts.
- Wrap the loaf in foil and bake for 15 minutes.
- Unwrap and bake for an additional 5-10 minutes, or until golden brown.
Tips for Perfect Cheese Melting
Achieving the perfect cheese melt is crucial for this recipe. To prevent the cheese from burning, ensure your oven is at the correct temperature. The combination of mozzarella, provolone, and fontina cheese provides a beautiful melt and rich flavor. For that Instagram-worthy cheese-pull effect, let the bread cool for just a few minutes before serving.
Key Tips:
- Use a mix of cheeses for the best flavor and melt.
- Don’t overbake – the bread should be golden, not burnt.
- Let it cool briefly before serving for the perfect cheese pull.
By following these steps and tips, you’ll be able to create a stunning Cheesy Garlic Pull-Apart Bread that’s sure to impress your family and friends. Enjoy the ooey-gooey goodness and the joy of sharing this delicious treat together!
Recipe 4: Gluten-Free Garlic Bread That Tastes Like the Real Thing
The quest for a gluten-free garlic bread recipe that rivals traditional garlic bread is over. With the right ingredients and techniques, individuals with gluten intolerance or sensitivity can enjoy this beloved dish. Gluten-free garlic bread is now a reality, thanks to advancements in gluten-free baking.
Specialized Ingredients List
Creating delicious gluten-free garlic bread starts with selecting the right bread. Various gluten-free bread options are available commercially, each with its own texture and flavor profile. When choosing a gluten-free bread, consider the ingredients and the structural integrity it will provide.
Key Ingredients to Look For:
- Rice flour
- Potato starch
- Tapioca flour
- Xanthan gum (as a binding agent)
Some popular gluten-free bread brands include Udi’s, Glutino, and Rudi’s Gluten-Free Bakery. The table below compares some of these brands based on their ingredients and texture.
| Brand | Main Ingredients | Texture |
|---|---|---|
| Udi’s | Rice flour, potato starch, tapioca flour | Soft, slightly dense |
| Glutino | Corn flour, rice flour, potato starch | Light, airy |
| Rudi’s Gluten-Free Bakery | Sorghum flour, potato starch, tapioca flour | Hearty, wholesome texture |
Preparation Method for Best Texture
To achieve the best texture, it’s crucial to adjust your preparation method. Preheating your oven to the right temperature and toasting the bread until it’s crispy can make a significant difference. Additionally, applying garlic butter evenly and not overloading the bread can prevent sogginess.
For gluten-free garlic bread, consider the following steps:
- Preheat your oven to 375°F (190°C).
- Slice the gluten-free bread into appropriate thickness.
- Toast the bread until it’s crispy.
- Spread garlic butter evenly on each slice.
- Bake in the oven for an additional 5-7 minutes, or until the butter is melted and the bread is toasted to your liking.
Common Pitfalls and How to Avoid Them
Common issues with gluten-free garlic bread include crumbling, dryness, and lack of flavor absorption. To avoid these pitfalls, ensure you’re using the right type of gluten-free bread, and adjust your preparation techniques accordingly.
Tips to Avoid Common Pitfalls:
- Choose a gluten-free bread that is designed to be soft and fresh for longer.
- Avoid over-toasting, which can lead to dryness.
- Apply garlic butter at the right time to enhance flavor absorption.
Recipe 5: Air Fryer Garlic Bread for Modern Kitchens
Modern kitchens equipped with an air fryer can now enjoy garlic bread with a perfectly crispy exterior and soft interior in under 15 minutes. This method is not only quick but also energy-efficient, making it an attractive option for those looking to minimize their energy consumption without sacrificing flavor.
Ingredients List
To make air fryer garlic bread, you’ll need:
- 1 loaf of Italian or French bread (or a similar bread type)
- 3 cloves of garlic, minced
- 1/4 cup of butter, softened
- 1 tsp dried parsley
- Salt and pepper to taste
It’s essential to choose a bread that is not too dense, as it needs to crisp up well in the air fryer. The butter should be softened to ensure it mixes well with the garlic and spreads evenly on the bread.
Air Fryer-Specific Instructions
To prepare garlic bread in an air fryer:
- Preheat the air fryer to 375°F (190°C).
- Slice the bread into 1-inch thick slices.
- Mix the softened butter, minced garlic, and parsley in a bowl.
- Spread the garlic butter mixture evenly onto each bread slice.
- Place the slices in a single layer in the air fryer basket, ensuring not to overlap them.
- Cook for 5-7 minutes or until the bread is crispy and golden brown.
For larger quantities, cook in batches to maintain even cooking. Shake the basket halfway through cooking to ensure even crispiness.
Why Air Fryers Make Perfect Garlic Bread
Air fryers are ideal for making garlic bread because they:
- Produce a crispy exterior while keeping the inside soft.
- Significantly reduce cooking time compared to traditional oven methods.
- Are energy-efficient, using less power than a full-sized oven.
- Allow for minimal oil usage, making a healthier version of garlic bread.
For those who own an air fryer, this method is a game-changer, offering a quick, delicious, and crispy garlic bread experience with minimal effort.
Recipe 6: Herbed Garlic Bread with Fresh Ingredients
Fresh herbs make all the difference in our simple yet sophisticated garlic bread recipe. By incorporating high-quality, fresh ingredients, you can elevate this classic comfort food into a refined culinary experience that’s perfect for impressing dinner guests or enhancing a special meal.
Fresh Ingredients Shopping List
To make the most of our herbed garlic bread recipe, you’ll need to select the freshest ingredients. Start by choosing fresh herbs; basil, parsley, chives, and thyme are excellent options that add unique flavors and aromas. When selecting fresh garlic, look for firm bulbs with tight, unbroken skin. For the bread, consider artisanal options like ciabatta or baguette, which provide a rustic texture that complements the fresh herbs. Finally, opt for premium butter or olive oil to enhance the overall flavor.
| Ingredient | Tips for Selection |
|---|---|
| Fresh Herbs | Choose bunches with vibrant colors and no signs of wilting. |
| Fresh Garlic | Select firm bulbs with tight, unbroken skin. |
| Artisanal Bread | Opt for rustic textures like ciabatta or baguette. |
| Premium Butter/Olive Oil | Consider high-quality, artisanal brands for the best flavor. |
Preparation and Baking Instructions
To preserve and highlight the fresh flavors, it’s crucial to prepare your ingredients with care. Start by chopping your fresh herbs just before use to prevent bruising and loss of aroma. For garlic, mince or crush it to release the enzymes that contribute to its characteristic flavor. When assembling the garlic bread, spread a mixture of softened butter, minced garlic, and chopped herbs evenly onto your bread, ensuring that you cover the entire surface.
“The key to a great garlic bread is in the balance of flavors and textures. Fresh herbs add a brightness that complements the richness of the garlic and butter.”
Bake your herbed garlic bread in a preheated oven at 350°F (175°C) for 10-12 minutes, or until it’s golden brown and crispy. Keep an eye on it, as the fresh herbs can burn quickly if not monitored.
Herb Combinations for Different Flavor Profiles
Experimenting with different herb combinations can help you achieve unique flavor profiles that suit various cuisines. For a Mediterranean twist, combine oregano, basil, and thyme. For a French-inspired flavor, try mixing tarragon, chervil, and parsley. Italian cuisine lovers might enjoy a blend of basil, parsley, and rosemary.
- Mediterranean: Oregano, basil, thyme
- French: Tarragon, chervil, parsley
- Italian: Basil, parsley, rosemary
These herb combinations not only add depth to your garlic bread but also offer a versatile way to pair it with different meals. Whether you’re serving pasta, salad, or grilled meats, there’s an herb combination that will complement your dish perfectly.
Conclusion: Your Journey to Garlic Bread Mastery
Mastering garlic bread is a journey that begins with simple techniques and evolves into a world of creative possibilities. By working through the six recipes presented, you’ve developed a solid foundation in garlic bread making, from classic Italian recipes to modern twists using air fryers and gluten-free ingredients.
As you continue to experiment with different ingredients and preparation methods, consider combining elements from various recipes to create your own signature garlic bread. For instance, adding fresh herbs to your cheesy garlic pull-apart bread can elevate the flavor profile. Garlic bread tips, such as using high-quality ingredients and not overmixing the dough, will help you achieve perfect results every time.
When it comes to serving, get creative with your garlic bread serving suggestions. Try cutting your garlic bread into unique patterns or serving it in a rustic basket to add a touch of warmth to your meal. Mastering garlic bread is not just about following a recipe; it’s about understanding the techniques and ingredients that make it special.
As you become more confident in your garlic bread making skills, you may find yourself exploring other bread-based recipes and more advanced baking techniques. The skills you’ve developed here will serve as a solid foundation for your future culinary adventures.
