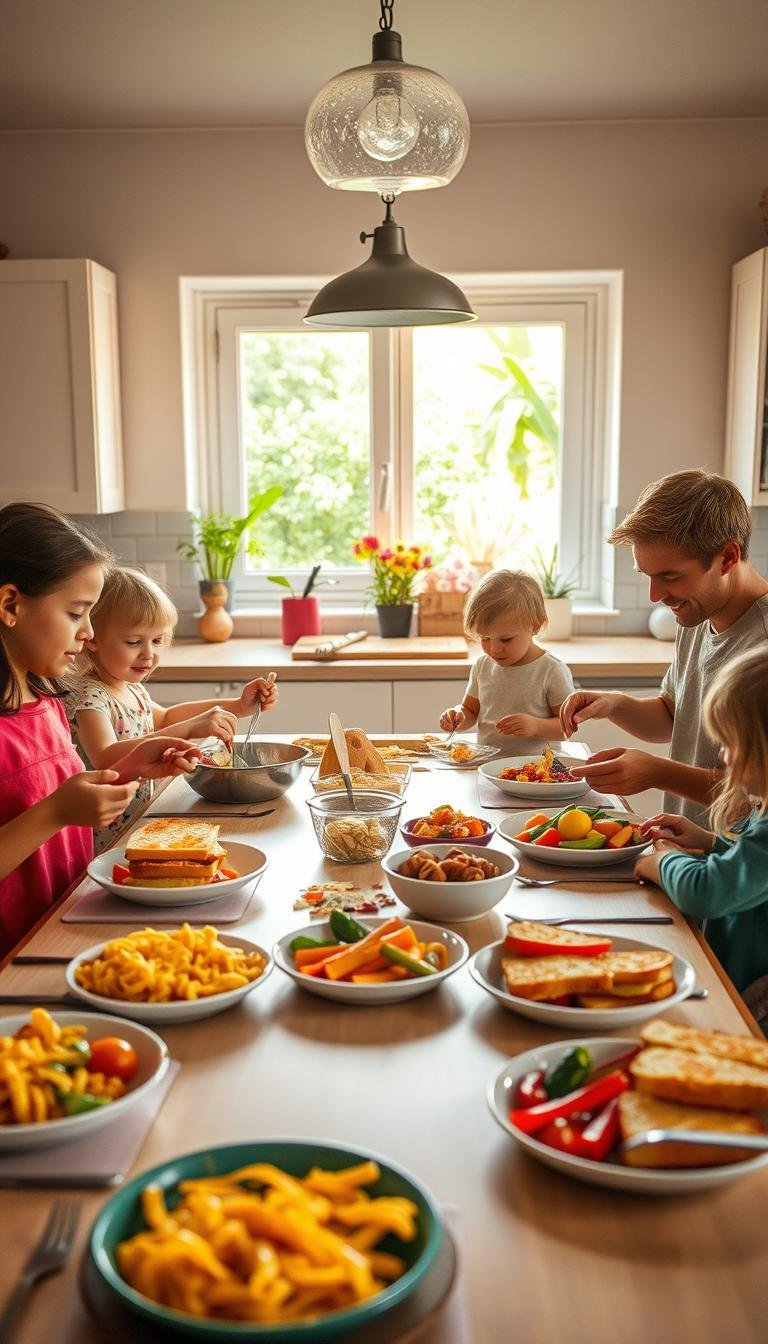
25th Birthday Cake: Simple yet Elegant Recipe Ideas
Surprising fact: Nearly half of home bakers say a single simple trick—accurate weighing—cuts baking failures in half.
This Website contains affiliate links. That means I may earn a small commission if you purchase through my links, at no extra cost to you.
This guide walks you through a reliable sponge base, three easy frostings, and minimalist styling so your celebration looks polished without stress.
You’ll get exact tools, pan sizes, and oven settings to bake level, tender layers. Learn mixing cues and temperature tips to avoid dense or domed results.
Compare silky American buttercream, light whipped cream, and glossy ganache so you can pick the right finish for stability and sweetness.
Styling advice keeps things modern: clean edges, metallic accents, fresh blooms, and a simple numeric topper for a refined presentation.
Key Takeaways
- Use precise weighing and room-temperature ingredients for consistent sponge texture.
- Choose frosting by desired stability: buttercream for structure, whipped cream for lightness, ganache for shine.
- Simple styling and a neat topper create elegance with minimal skill.
- Plan baking and assembly timeline to reduce day-of stress.
- Make-ahead and storage tips protect texture when chilling or freezing layers.
What Makes a 25th Birthday Cake Feel Simple, Elegant, and Special
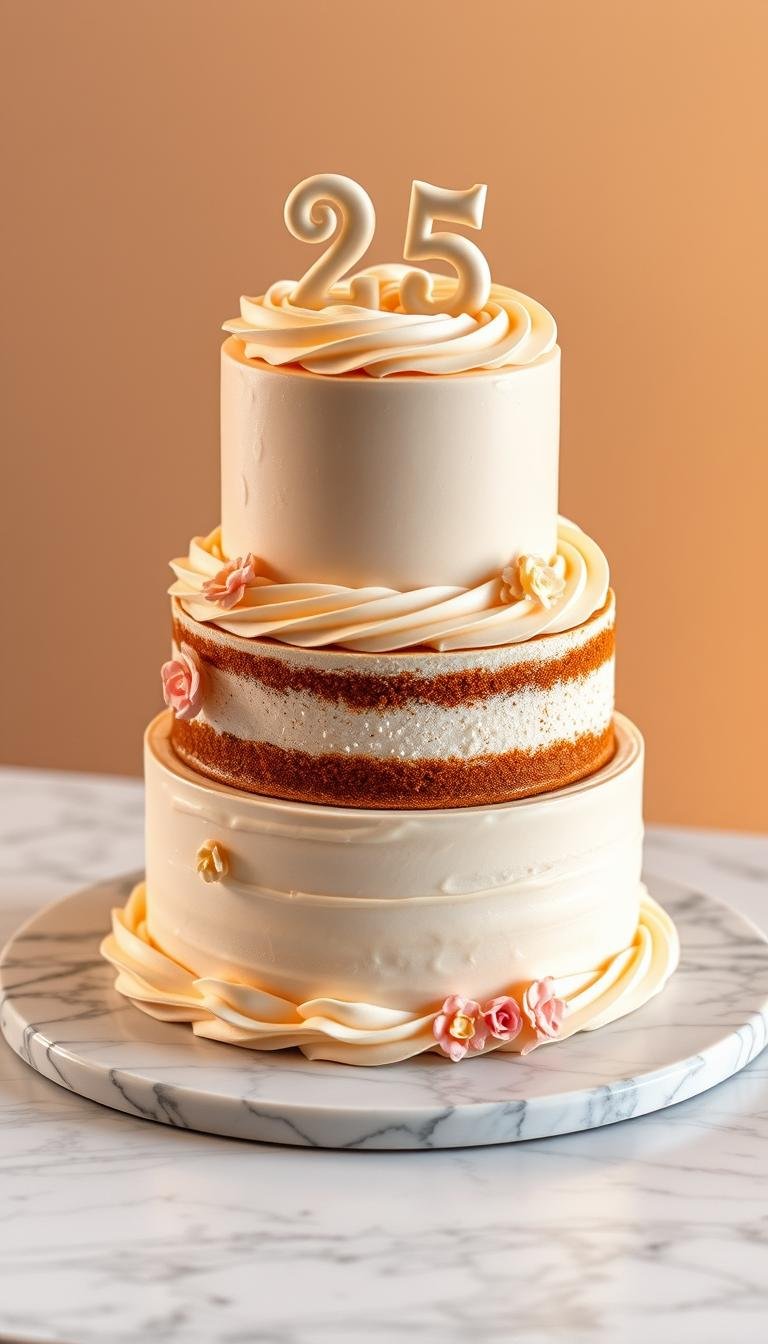
Simple elegance starts with restraint: pick one main tone plus a metallic accent like gold or rose gold, and keep textures clean with smooth buttercream or a gentle swoop pattern.
A balanced silhouette creates refined impact. Aim for three even layers and consistent frosting thickness. Place a topper or a small floral cluster slightly off-center for an editorial look.
Special touches should be intentional. Consider a mirrored or wooden number topper, a delicate gold leaf accent, or a thin ganache drip applied sparingly rather than full coverage.
- Use non-toxic fresh florals; wrap stems in floral tape and insert into food-safe picks before arranging.
- Add subtle texture like micro pearls at the base or a single stenciled band for visual interest.
- Keep single-tier height between 4.5–6 inches for flattering photos and tidy slices.
“Matte finishes and soft daylight show off minimal designs best.”
Finish with a tidy board or a rimless white stand and wipe edges clean before photos. Choose mature flavors—espresso, dark chocolate, tart berry, or salted caramel—and match frosting sweetness to taste for a polished result.
25th birthday cake: Fail-proof base recipe, frosting pairings, and pro tips
A reliable base, simple tools, and a short timeline make professional-looking layers possible at home.

Ingredients (vanilla, three 8-inch layers): 2 3/4 cups (330 g) cake flour, 2 tsp baking powder, 1/2 tsp baking soda, 1/2 tsp salt, 1 cup (227 g) unsalted butter, 1 3/4 cups (350 g) sugar, 4 large eggs, 1 tbsp vanilla, 1 cup (240 ml) buttermilk. For chocolate, swap 1/2 cup (60 g) flour for Dutch-process cocoa and add 1 tsp instant espresso.
Tools & pan sizes
Use three 8×2-inch round pans or two 9-inch pans. Have parchment rounds, a kitchen scale, stand or hand mixer, offset spatula, bench scraper, and a rotating turntable ready.
Quick method for level layers
- Preheat oven to 350°F. Grease, line, and flour pans.
- Cream butter and sugar 3–4 minutes until pale. Add eggs one at a time.
- Alternate dry mix with buttermilk, starting and ending with dry. Mix just until combined.
- Weigh batter (~450–500 g per 8-inch pan), bake 22–26 minutes until a few moist crumbs remain.
Cool, level, and store
Cool 10 minutes in pans, invert to racks, then wrap while still slightly warm to lock moisture. Once cool, level domes with a serrated knife.
Make-ahead: Wrapped layers last 2 days refrigerated or 2 months frozen. American buttercream keeps 1 week refrigerated; ganache 3–4 days; whipped cream best same day or stabilized for 24 hours.
Day-of timeline & frosting choices
Morning: fill and stack with 1/2–3/4 cup filling per layer; apply crumb coat and chill 20–30 minutes. Midday: final coat and smooth. Afternoon: add drip, florals, or topper and chill 15 minutes before transport.
- American buttercream: stable, easy to color—great for clean edges.
- Whipped cream: light and fresh; keep cool or stabilize.
- Ganache: glossy drip—use a 1:1 weight ratio and cool to ~90°F before dripping.
“Weighing batter and chilling between coats are small steps that yield professional results.”
Styling and flavor ideas to elevate a simple cake for turning 25
Minimal details—placed with intent—turn a plain sponge into a memorable showpiece. Start with a restrained palette and one focal accent. Small choices make a big visual impact without overworking the design.

Minimalist decoration: numbers, metallic accents, and fresh florals
Use a clean acrylic “25” topper in mirror gold or silver for instant impact. Position it slightly off-center toward the back third to create depth.
Apply edible gold leaf sparingly along one vertical edge for a luxe touch. Press gently with a dry brush on a chilled surface to avoid tearing.
- Keep the palette restrained—ivory or pale blush buttercream, a thin chocolate drip, and micro gold dragees.
- Choose non-toxic florals; wrap stems in floral tape and insert via food-safe straws. Remove flowers before slicing.
- For modern texture, use smooth sides with a single ridged band and a matte ribbon around the board.
Flavor twists: espresso, berry compote, and salted caramel
Espresso twist: fold espresso powder into sponge and buttercream. Finish with dark chocolate-covered espresso beans as a minimal border and a sleek silver topper.
Berry compote: spread a thin layer of cooled compote between layers and dot the top with fresh raspberries or blackberries. Add a tiny cluster of edible flowers for color without clutter.
Salted caramel: swirl caramel into vanilla buttercream for a marbled look and a restrained caramel drip. Lightly sprinkle flaky sea salt for a grown-up sweet-salty balance.
“Low-profile accents and careful chilling mean the design survives transport and looks effortless on the table.”
Conclusion
A calm assembly, precise measurements, and subtle styling make a home bake feel luxe.
Start with a dependable vanilla or chocolate sponge and pick a frosting that gives the stability and sweetness you want.
Plan make-ahead steps: bake and wrap layers, prepare buttercream or ganache, and set a clear day-of timeline. This keeps assembly relaxed and timely.
Keep decor restrained. One mirror topper, a touch of gold leaf, or a small floral cluster lets smooth sides and sharp edges read as intentional design.
With the right tools, accurate weighing, and chill times between coats, home bakers can produce slices that look and taste professional for a memorable 25th celebration.