24th Birthday Cake Ideas: How to Create the Perfect Design
Surprising fact: nearly half of hosts say the dessert sets the tone for the whole celebration, so the right centerpiece changes how the day feels.
This Website contains affiliate links. That means I may earn a small commission if you purchase through my links, at no extra cost to you.
This guide helps you build a modern, memorable 24th birthday cake that looks polished, tastes incredible, and photographs well for a feel-good celebration.
We walk you through theme, flavor, timeline, and simple design techniques that work whether you bake at home or place an order.
No fondant or fancy tools required: you can get a clean finish and eye-catching number details with basic supplies and smart tips.
Learn how to personalize the dessert to match the honoree’s life and party vibe. We cover flavor combos, number styling, message placement, delivery planning, and small accents like gold or heart details that add shine without fuss.
Decide early whether to DIY or buy, then use this plan as a step-by-step way to stay on time and turn a thoughtful idea into a standout gift.
Key Takeaways
- Pick a theme and flavor that reflect the person’s interests and the venue.
- Simple techniques deliver pro-level results without advanced tools.
- Plan timeline and delivery early to avoid last-minute stress.
- Small accents—gold, hearts, candles—add polish without complexity.
- Choose DIY or order based on time, skill, and budget.
Start Here: What Makes a 24th Birthday Cake Memorable Today
A standout celebratory treat balances flavor, story, and a simple reveal to make the day feel special.
Memorable means the dessert feels personal, tastes amazing, and creates shareable moments with friends. Small touches—like a styled “24”, one short message, or their favorite flavor—make the dessert feel made just for them.
Match the finish to the setting. A smooth buttercream works for a home carry-in. A rustic swirl is forgiving for rooftop or restaurant service. Prioritize transport and slicing so service stays calm.
Plan one story element from their life — a city, hobby, or color — and anchor the design to that idea. Simple ways to say happy birthday (a topper, candles, or a short line on the board) keep the moment focused.
- Design a reveal: dim lights, cue a song, and carry in confidently.
- Spend where it counts: flavor and sincerity over pricey extras.
- Capture photos before the first slice, with candles lit, and during the first bite.
Plan the Perfect Cake: Theme, Flavor, and Timeline
Pick a simple concept from their life and let that idea shape flavor, texture, and timing.
Pick a theme that fits their life and style
Pull from daily life: use colors they wear, a favorite city, or one small shared moment. Keep the theme focused so decorations and a short card message don’t compete for space.
Choose flavors they actually love
Shortlist two or three favorites: chocolate, vanilla bean, or strawberry-and-cream. Consider a split-tier or half-and-half to please mixed crowds.
Set a realistic budget and timeline
Lock the date early, shop ingredients two days prior, bake and cool the day before, and decorate the morning of the party. If you order, call the store to confirm lead time and serving size.
| Plan Area | Quick Action | Why it matters |
|---|---|---|
| Theme | Pick one life-based idea | Keeps design clean and personal |
| Flavor | Choose 2 options | Boosts guest satisfaction |
| Timeline | Lock date, prep two days prior | Reduces last-minute stress |
24th birthday cake: Signature Number Designs and Candle Styling
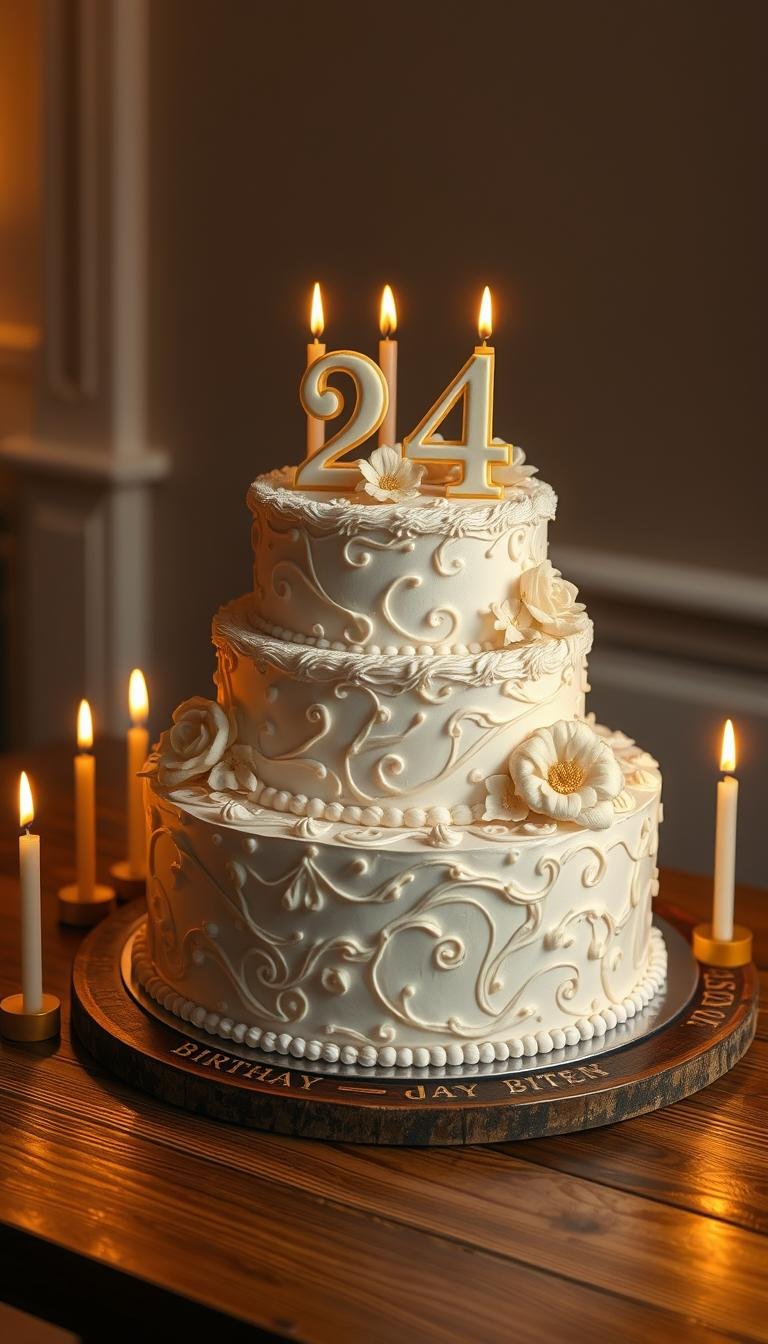
A clean number design and smart candle placement make photos and the moment feel effortless. Focus the top so the digits read clearly in pictures and during the happy birthday chorus.
Easy number ideas
- Trace a paper stencil and fill with chocolate sprinkles for a minimal, sharp look.
- Pipe an outline with a small round tip, then flood the interior with micro pearls or sprinkles for texture.
- Tempered chocolate pieces cut into digits make a raised, photo-friendly number.
Candles, photos, and capture tips
Styling: group slim candles along the curves of each digit or use two statement numerals shaped as 2 and 4 for instant readability.
“Chill the cake slightly so sprinkles stick; use a small spoon and tweezers for crisp edges.”
Dim lights, cue music, and position faces toward the camera. Use your phone’s gridlines and burst mode to catch the flame, the blow, and the first slice.
- Keep the top tidy—add wafer stars or metallic bits after lighting to avoid wax drips.
- For transport, insert a center dowel and box snugly; remove the dowel before candles are lit.
- Add a short board line—happy birthday, [name]—so the number remains the visual star.
Chocolate-Forward Designs That Wow Without Fondant
A chocolate-forward approach proves you can get luxe results with buttercream, ganache, and a small set of tricks.

Silky buttercream: smooth finish or rustic swirls
Choose one finish: scrape sides smooth and chill for an ultra-clean look, or use a spatula to create rustic swirls that highlight sheen and texture.
Level layers, add a generous chocolate filling, crumb coat, then chill for a neat final pass.
Rich ganache drips and layered depth
Cool ganache until spoonable. Test one drip on a chilled top before you commit to the edge.
Repurpose leftover ganache for a glossy top or a chocolate flower center. Blend dark and milk chocolate and add a pinch of espresso for deeper flavor.
Sprinkle-sculpted “24” for a striking finish
Map the numbers lightly with a toothpick, then fill with chocolate sprinkles for instant contrast. Keep decor minimal: one hero element and two metallic slim candles make the top feel finished without clutter.
- Hide board smudges with cocoa nibs or shaved chocolate.
- Use a hot, sharp knife for clean slices that photograph layers clearly.
Fresh Elements and Texture Play
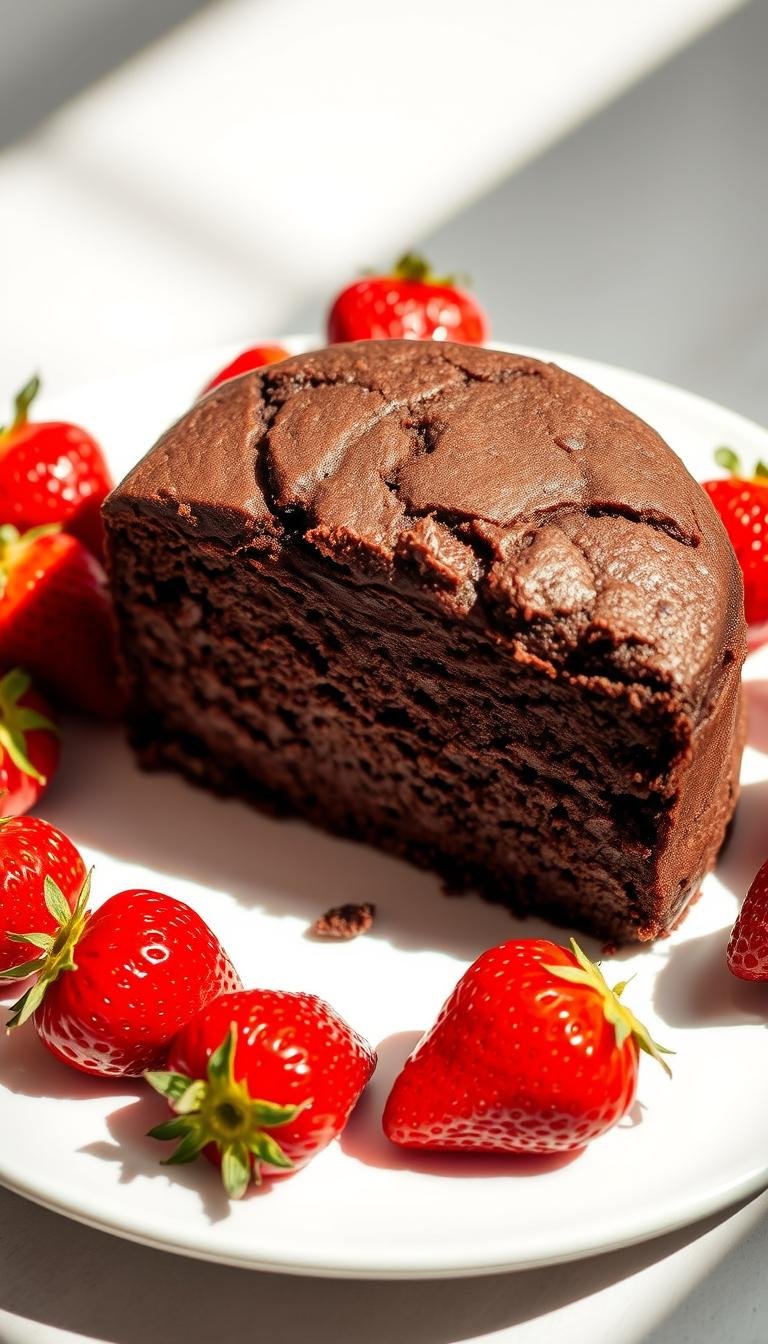
Small touches—juicy fruit and sculpted chocolate—make each slice more interesting. Use fresh strawberries and lightly sweetened cream to balance rich frostings and deepen the flavor.
Strawberries and cream: juicy, syrupy flavor that elevates every slice
Macerate sliced strawberries with a little sugar and lemon for color and extra juice. Layer them with whipped cream between sponges to get an almost syrupy burst that pairs well with chocolate buttercream.
Seal layers with a thin ganache dam so juices stay put and slices hold their shape when served.
Make a chocolate flower centerpiece for a professional look
Pipe or mold petal pieces from tempered chocolate and mount them on a thin disk. Add a small yellow-tinted buttercream bud in the center for contrast.
Place the flower off-center so the “24” stays visible. Chill between frosting coats if melted chocolate softens buttercream.
| Element | Why it helps | Quick tip |
|---|---|---|
| Strawberries | Add bright, syrupy flavor | Macerate with sugar & lemon |
| Ganache dam | Prevents soggy layers | Thin, even ring around filling |
| Chocolate flower | Creates a showpiece | Mount on disk; place off-center |
| Garnishes | Texture and color echo | Use freeze-dried dust or curls |
Add Heartfelt Messages: Short Wishes for Cakes, Cards, and Notes
A well-placed wish can turn a simple dessert into a memory that lasts long after the slice is gone. Keep the top message short so photos read clearly and the design stays the star.
Short and sweet lines she’ll actually love
Use tight phrases that fit limited space: “Happy birthday, my love.” or “You get better every day.” A playful option: “Chapter 24 looks good on you.”
Pro tip: place a tiny heart or gold dot between words to keep the board elegant and legible.
Card vs. cake: where to put longer feelings
Reserve the card for longer notes. Start with a short front line and add two or three sincere sentences inside about why this year matters.
If the recipient prefers privacy, move the deepest lines to the card and keep the top simply “happy birthday.”
Long-distance love: delivery and morning-of touches
Schedule a bakery delivery or surprise package and tuck a handwritten note inside. Add morning treats (coffee, bagels) and a quick FaceTime date to build the day’s excitement.
“Keep your eyes peeled today for a special birthday package!”
Read the card before candles so the message sets the mood for the photo sequence. Use a high-contrast archival pen (black or gold) for a keepsake that lasts.
Color, Shine, and Finishes: From Gold Accents to Heart Details
Use restrained metallic accents and a focused palette to lift the whole look without clutter. A little shine goes a long way when the base is calm and matte.
Gold leaf, metallic sprinkles, and subtle heart motifs
Try a thin strip of gold along one edge or a scattering of metallic sprinkles to elevate a buttercream finish. Pair those bits with matte textures so the shine reads as deliberate, not loud.
Choose palettes that flatter: blush and gold, chocolate and bronze, or white and champagne with a tiny heart near the numbers. For women or a close friend, add a soft ribbon on the board or a blush swash under the “24” for a refined touch.
Keep messages legible: dark lettering on light buttercream works best. Use metallic gel only for small accents, and select brushed gold tapers or slim metallic candles that echo the trim.
“Stage the celebration so the heart faces the camera when you say ‘happy birthday’—that single detail makes the moment.”
- Limit the palette to two or three tones to keep the design professional.
- Pack a small kit—edible gold, tweezers, and cotton gloves—for last-minute touch-ups before candles are lit.
DIY Baking or Store Delivery: Choosing the Best Way
Choosing between DIY baking and a local store order shapes your prep, timeline, and how the big day unfolds. Make the choice early so you can lock a delivery window or map a clear two-day prep plan.

Ordering from a cake shop: lead times and package options
Call 1–2 weeks ahead for custom work. Confirm servings, flavors, the “24” design, and any package add-ons like candles or upgraded boards.
Lock the delivery time and get the driver’s contact. Unbox right away to check stability and fix smudges while the driver is still reachable.
Home baking schedule: prep ganache, bake, cool, and finish
Use a two-day plan: bake and cool on day one. On party day, fill, crumb coat, chill, and complete decoration.
Prep components—ganache, fruit, buttercream—earlier and label them. Pack a small repair kit with extra candles, a lighter, spatula, and tweezers for last-minute touch-ups.
| Scenario | Key action | Must-have item |
|---|---|---|
| Store order | Confirm delivery window & driver contact | Package with insulated box |
| DIY | Two-day schedule; chill between steps | Non-slip mat for transport |
| Service plan | Set presentation time and tools | Knife, plates, napkins |
“Confirm allergies and store any leftovers airtight; bring to room temperature before serving.”
Conclusion
Bring everything together by prioritizing flavor, timing, and one personal detail that ties the design to their life. Pick a theme, lock the timeline, and decide early whether to DIY or order so the day stays calm.
Keep details simple: a crisp “24” or coordinated candles, a short board message, and a favorite filling—chocolate ganache or strawberries-and-cream—do most of the work. Use gold or heart accents sparingly to lift the look without clutter.
Stage the reveal: lights down, phones ready, say happy birthday, and enjoy the first slice. Save your notes—this plan becomes an easy template for the years ahead and the small moments that matter most.