23 Birthday Cake Ideas for an Unforgettable Celebration
Nearly half of hosts say the dessert defines the mood of the party — a simple stat that proves one centerpiece can change how guests remember an event.
This Website contains affiliate links. That means I may earn a small commission if you purchase through my links, at no extra cost to you.
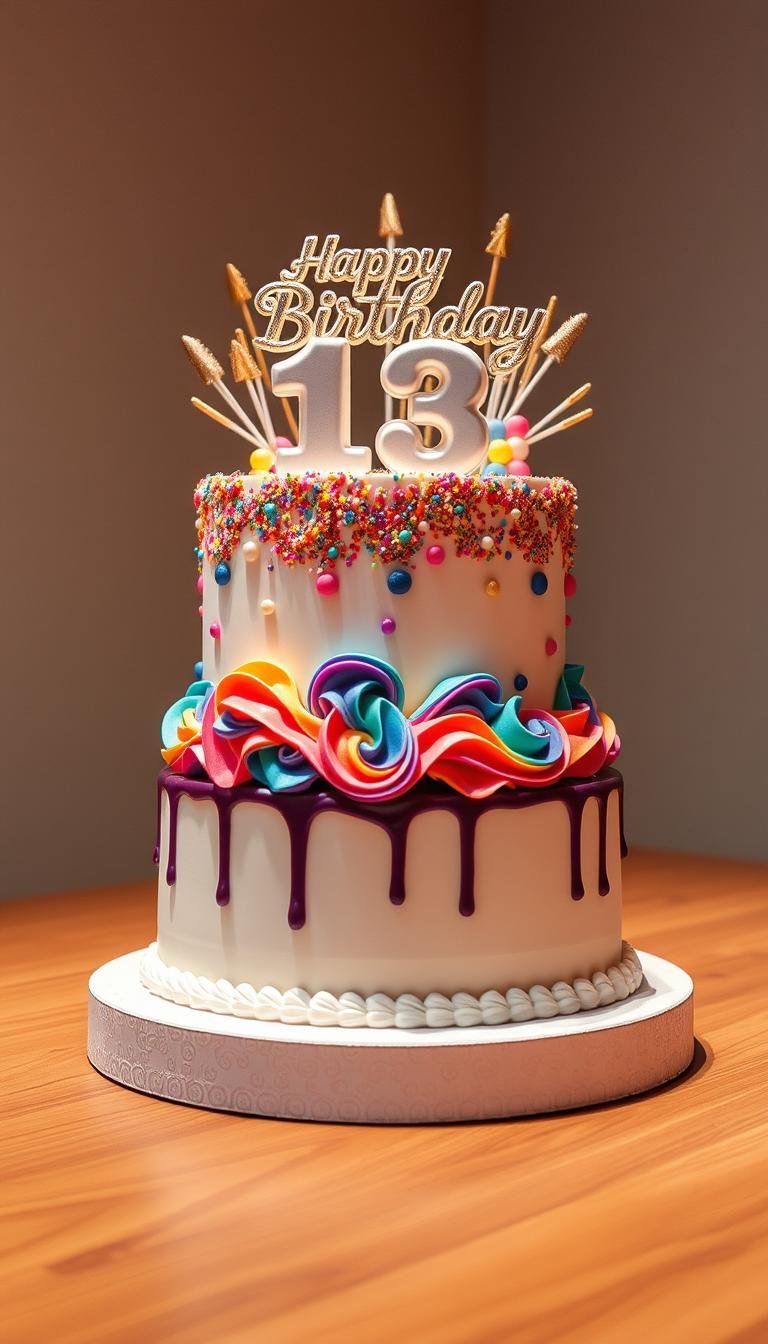
Start by choosing a flavor pairing that feels personal. A vanilla sponge with raspberry filling and smooth vanilla buttercream finishes cleanly when topped with edible glitter and a bold number topper. Use a straight-aligned modern font for a tidy inscription that reads well in photos.
For chocolate lovers, try a one-bowl recipe inspired by Hershey’s “Perfectly Chocolate” method. Using oil and boiling water helps bloom the cocoa and keeps the crumb tender for up to five days. Finish with chocolate buttercream, ganache, or a high-shine mirror glaze for different levels of polish.
Practical tip: in shared homes label the special dessert and set clear expectations to avoid someone eating the whole treat by mistake. Small steps protect your centerpiece through to the end of the night.
Key Takeaways
- Match flavor and finish to the guest of honor for a personal touch.
- One-bowl chocolate methods save time and yield moist results.
- Edible glitter and a clear number topper give instant visual impact.
- Choose ganache or mirror glaze based on skill and timeline.
- Label special desserts in shared spaces to prevent mishaps.
How to Choose the Perfect Birthday Cake for Your Celebration
Start with the person you’re celebrating: favorite tastes guide both flavor and design choices.
Match flavors to the guest of honor: a vanilla sponge with raspberry filling and silky vanilla buttercream offers a bright, crowd-pleasing profile. Fruit fillings add brightness where richer layers might feel heavy.
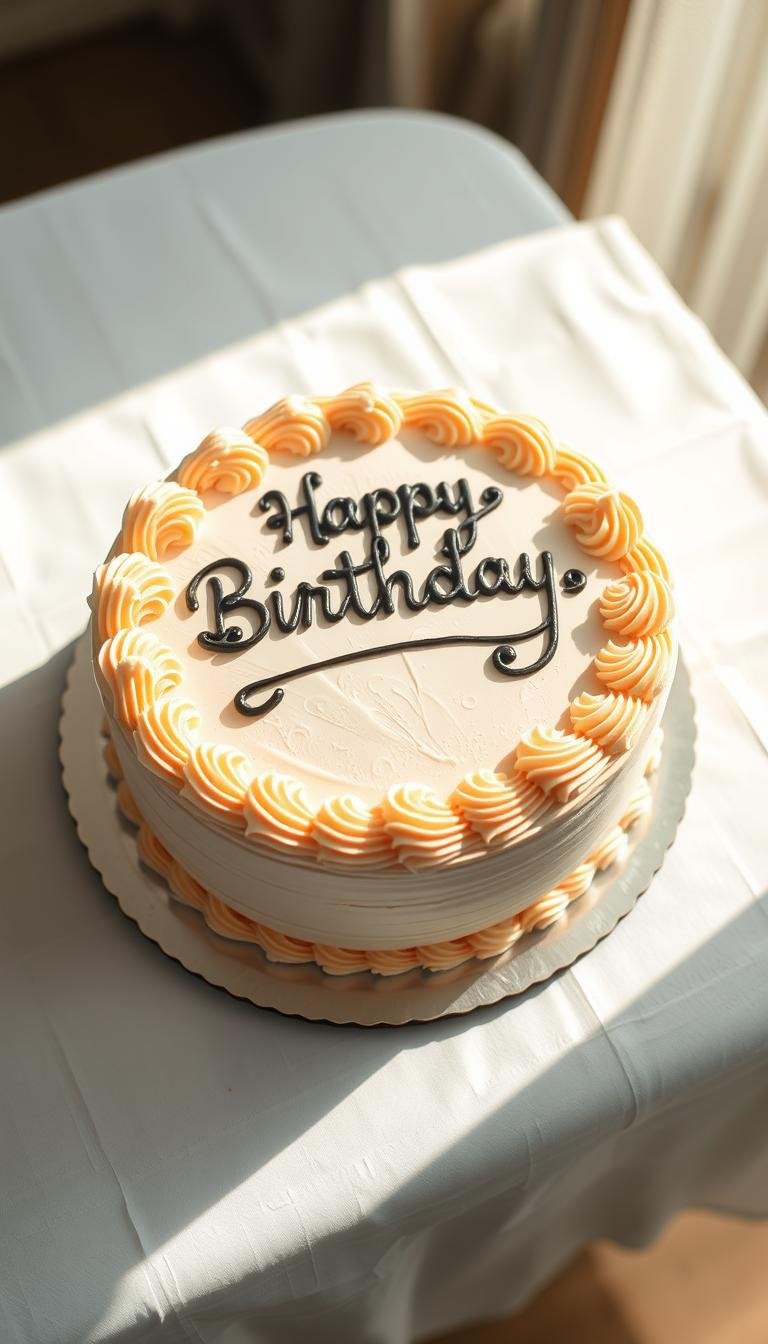
Design that reflects personality: a large numeric topper dusted with edible glitter makes a bold statement, while a straight-aligned modern font keeps inscriptions clean and photo-ready.
Think of the creative dessert landscape like a palette. Mix the silhouette of one idea with the color of another to get something bespoke. Keep decoration scale proportional so accents enhance rather than overpower the profile.
Practical needs matter: weigh transport, serving temperature, and guest dietary preferences early. That saves last-minute swaps and keeps the centerpiece intact.
- Ask favorites first—vanilla or deep cocoa—so the result feels intentional.
- Choose frosting based on texture and stability; buttercream adds sweetness and structure.
- Use cohesive accents—sprinkles, metallic highlights, or coordinated candles—to tie the whole look together.
| Finish | Flavor Impact | Transport Friendly |
|---|---|---|
| Buttercream | Sweet, stable | Yes |
| Ganache | Rich, sleek | Depends |
| Fruit filling | Bright, balanced | Yes, if chilled |
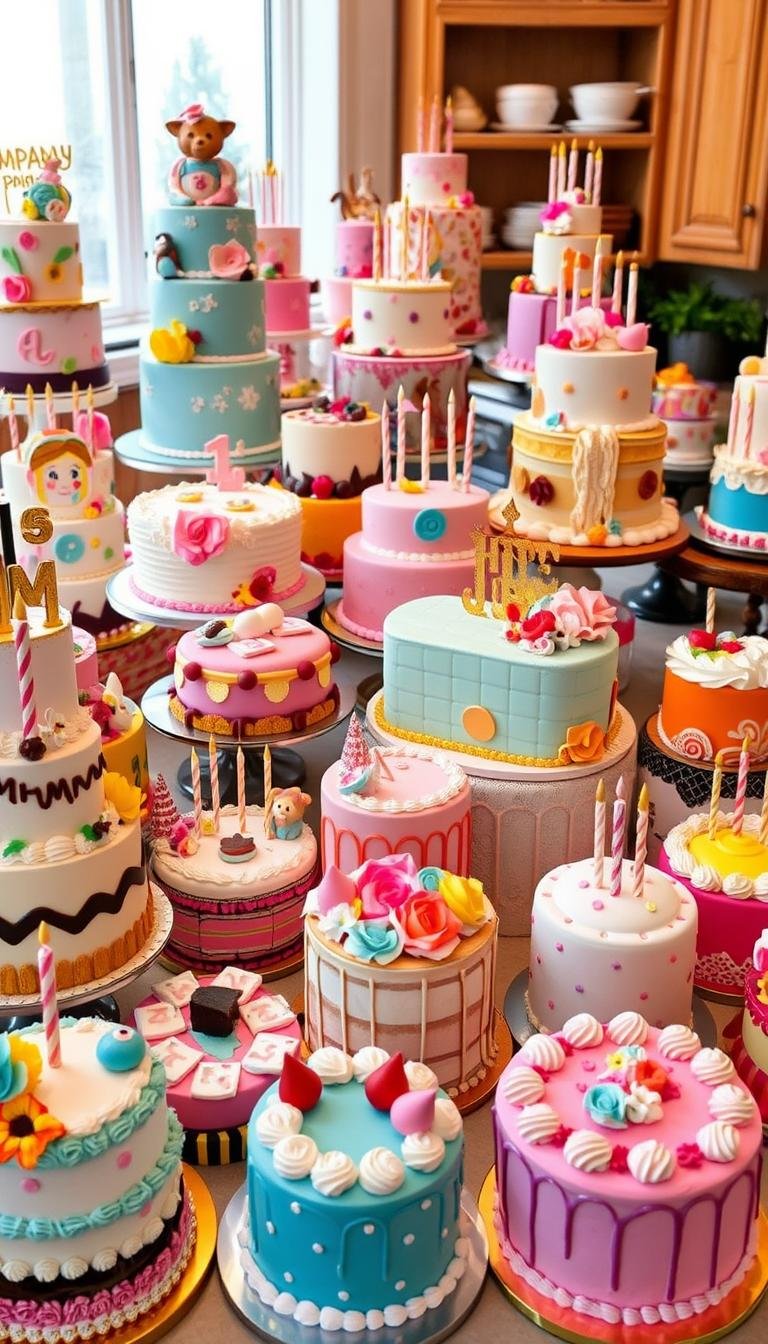
23 birthday cake inspiration to spark your creativity
Use these ideas as a starting point to blend flavor, texture, and visual moments for any celebration.
Vanilla sponge with raspberry filling and silky vanilla buttercream
Classic balance: bright fruit offsets sweet vanilla and gives a fresh finish that photographs well.
Classic chocolate with chocolate buttercream frosting
Try a one-bowl batter for even layers and reliable results when stacking for guests.
Chocolate ganache–glazed showstopper
Glossy ganache creates clean sides and travels better for off-site events.
Chocolate mirror glaze for a high-shine finish
For luxe impact, mirror glaze reflects party lights—prep a super-smooth base first.
Number “23” topper with edible glitter
Add height and shimmer for photos without complex sculpting.
Light-as-air chiffon with whipped cream and berries
Less sweet and airy, this layer option is a welcome palate cleanser after a big meal.
- Quick tip: The Hershey’s method uses oil and boiling water to bloom cocoa and keep crumb tender for days.
- Combine elements—gold leaf, ombré buttercream, or a chocolate basket topper—to make a unique look that fits your world.
- Keep designs practical: think transport, serving at the right temperature, and a tidy finish at the end.
Baking techniques that make cakes taste as good as they look
A few simple technique changes lift home bakes from decent to professional-looking and tasting.
One-bowl whisk method: Use a single bowl and whisk to mix the Hershey’s “Perfectly Chocolate” approach. This trims prep time and limits gluten development so the crumb stays tender.
One-bowl chocolate batter: the Hershey’s classic
Key step: add a cup of boiling water at the end to bloom the cocoa. That deepens chocolate flavor without melted chocolate and keeps the batter fluid for even rise.
Oil-based crumb: swap oil for butter in the batter to lock in moisture. Oil gives forgiveness for slight overbakes and keeps layers soft for days.
Pan choices, bake times, and leveling for clean layers
Match pan size to design: two 9-inch rounds ~35 minutes; a 13×9 about 35–40 minutes; a bundt roughly 50 minutes.
Protect thin batters in springform pans by buttering the seam and placing a tray on the oven floor to catch drips.
“Turn layers out upside down so the flat base becomes the frosting surface; level with a serrated knife for precise stacking.”
- When using two shelves, remove the top pan at 35 minutes, move the bottom up, and bake ~5 minutes more.
- Cool briefly in pans, invert for flat sides, then chill until just set before final assembly.

| Technique | Benefit | Typical times |
|---|---|---|
| One-bowl whisk | Tender crumb, faster prep | Mix 5–7 minutes |
| Boiling water bloom | Richer cocoa flavor | Added at end of mixing |
| Oil-based batter | Moisture retention, forgiving | Same bake times as butter recipes |
| Pan rotation & inversion | Even bake, flat frosting side | 9-inch ~35m, 13×9 ~35–40m, bundt ~50m |
Buttercream, ganache, and mirror glaze: choosing your finish
A cake’s final coating shapes both flavor balance and visual impact. Pick a finish that fits the menu, the venue, and how long the centerpiece must hold up.
When to pick vanilla buttercream vs. chocolate buttercream
Vanilla buttercream works when you want a lighter profile that lets fruit or syrup fillings shine. It keeps the overall sweet level balanced and photographs well.
Chocolate buttercream amplifies cocoa depth and pairs naturally with a rich chocolate base. Use it when the base layer needs flavor reinforcement.
Ganache for rich flavor and sleek sides
Ganache creates a modern silhouette and a dense mouthfeel. It sets firm, so it supports sharp edges and smooth sides under warm lights. Pair ganache with espresso or salted caramel for complex layers of food-friendly flavor.

Mirror glaze for a luxe, high-impact sheen
Reserve mirror glaze for showpiece moments. Polish the crumb coat, heat the glaze to the right temperature, and pour once chilled. It gives the most impressive, glass-like finish but needs controlled temps.
- Buttercream tolerates variable room conditions; ganache prefers cooler rooms; mirror glaze benefits from steady temps.
- Plan make-ahead times: bake the base up to five days in advance, crumb-coat, and finish closer to the end.
- For clean slices, warm and dry your knife between cuts to keep portions neat.
Real-world tips: customization, storage, and cake etiquette
A simple mood board can turn separate ideas into one cohesive dessert plan. Mix toppers, ombré sides, and gold leaf to make a look that feels personal. Keep the focus on easy swaps that enhance flavor and visuals.
Combine inspirations for a unique finish
Build a quick mood board: pin textures, colors, and toppers. Blend two or three details so the result stays cohesive.
- Schedule workflow: bake day one, fill and crumb-coat day two, finish near service to keep fresh.
- Pack an emergency kit—offset spatula, piping bag, and extra sprinkles—for last-minute touch-ups.
Keep layers moist for up to five days
Store finished layers in airtight containers. A well-made oil-based chocolate base stays tender for up to five days when sealed.
In hot times, refrigerate frosted desserts and bring them back to room temperature before serving for best texture.
Protect special desserts in shared spaces
Label the dessert clearly and communicate plans to roommates or coworkers. Use dedicated shelves, boxes, or a locked area if needed.
- Plan transport with non-slip mats, a snug box, and a cooled interior to preserve decorations.
- For serving, set a clean cutting station, use a warm knife, and follow portion guides for neat slices.
| Topic | Best Practice | Why it matters |
|---|---|---|
| Customization | Mood board + 2–3 combined elements | Keeps design personal and cohesive |
| Storage | Airtight container; refrigerate if warm | Extends freshness up to five days |
| Etiquette | Label dessert; set boundaries | Prevents accidental eating by others |
| Transport & Service | Non-slip mat; warm knife for slices | Protects finish and ensures tidy portions |
| Advice from the author | Schedule early, finish late | Maximizes flavor and appearance |
Conclusion
Close the plan by pairing reliable technique with confident personalization. The one-bowl chocolate method, an oil-based crumb, and a boiling-water bloom give you flexible layers that hold up across multiple times in a busy schedule.
Make design choices bold but practical. Use toppers, fonts, and mixed inspirations to reflect the guest of honor and the event’s look. Pick finishes—buttercream, ganache, or mirror glaze—based on the venue and your comfort level.
Follow a clear timeline: bake, chill, and finish near service to protect freshness and ease assembly. The author recommends planning stages, keeping tools ready, and trusting simple techniques to deliver consistent results.