15 Fun & Festive Christmas Sugar Cookie Decorating Tips
The holiday season is here, and it’s time to bake and decorate Christmas cookies. Did you know over 200 million cookies are baked in the U.S. during this time? This tradition brings people together, making memories that last forever.
This Website contains affiliate links. That means I may earn a small commission if you purchase through my links, at no extra cost to you.
Our guide will show you how to make sugar cookies into festive masterpieces. Perfect for holiday parties, gifts, and family traditions. Whether you’re new or experienced, our 15 tips will make your holiday baking shine. You’ll create festive cookie designs that wow everyone.
Key Takeaways
- Discover creative ways to decorate your Christmas cookies
- Learn tips and tricks for making festive cookie designs
- Find inspiration for your holiday baking
- Get ideas for making your cookies perfect for gifts and gatherings
- Elevate your holiday baking skills with our expert advice
The Magic of Christmas Cookie Decorating
Christmas cookie decorating brings people together. It creates lasting memories. This tradition has been loved for generations.
The Joy of Holiday Baking Traditions
Decorating Christmas cookies is more than fun. It’s a way to connect with loved ones. This tradition is rooted in the joy of baking and sharing sweet treats.
It’s a time for stories, laughter, and love. This makes the holiday season special.
Holiday baking traditions like cookie decorating are key for many families. They offer a sense of continuity and comfort. Whether you’re experienced or new, decorating cookies is rewarding and brings people together.
What You’ll Need to Get Started
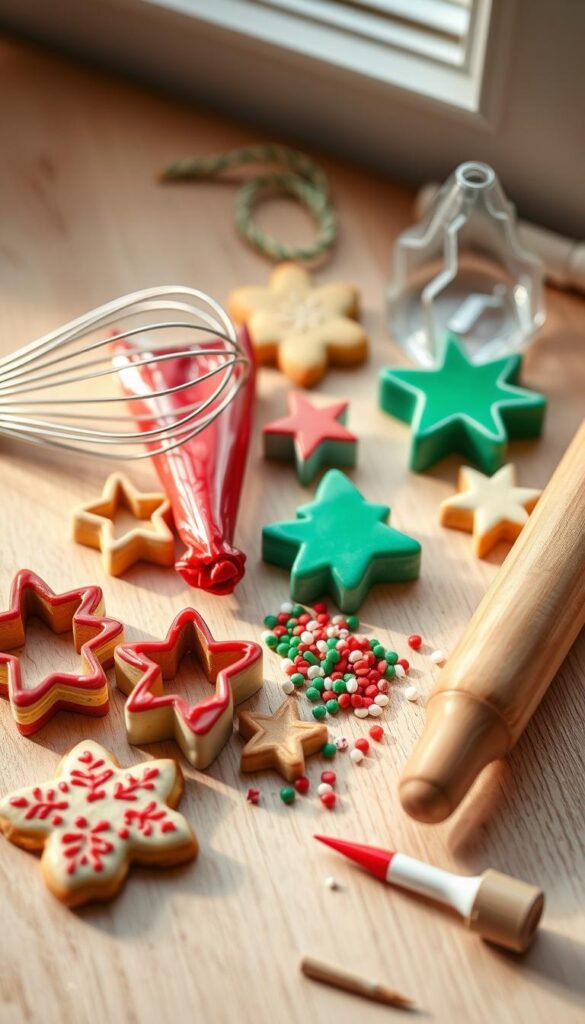
To decorate Christmas cookies, you need a few things. The essentials include sugar cookies, royal icing, and decorating tools. You’ll also want sprinkles, edible glitter, and other decorations.
Beginners should start with simple techniques. Then, try more complex designs as you get better. Online, you can find tutorials and videos to help you.
It’s nice to have cookie cutters, a turntable, and colored icings. With these basics, you’ll make beautiful and tasty Christmas cookies. They’ll impress everyone.
Essential Preparations for Perfect Christmas Cookies
To make perfect Christmas cookies, start with the basics. You need the right tools and a good sugar cookie base. Getting ready is key for a great decorating experience.
Gathering the Right Tools and Supplies
First, get the right tools and supplies for your cookies. You’ll need piping bags, tips, offset spatulas, and food coloring. Each tool is important for decorating.
Must-Have Decorating Equipment
Here are the must-haves for decorating:
- Piping bags and tips for detailed designs
- Offset spatulas for smooth icing and textures
- Food coloring for the right colors
Choosing good tools is key. They affect how your cookies turn out.
Optional Tools That Make a Difference
Optional tools like airbrush systems, stencils, and projectors can improve your designs. They add advanced techniques for more experienced decorators.
Preparing the Perfect Sugar Cookie Base
Creating the perfect sugar cookie base is as important as the tools. You need the ideal dough consistency and proper baking techniques.
The Ideal Dough Consistency
The dough should be firm but still tender. This balance makes the cookie durable and tasty.
Proper Baking Techniques for Decorating
For decorating, chill the dough and bake at the right thickness. Use methods to stop the cookies from spreading. Cool them properly for decorating.
Mastering Cookie Icing Fundamentals
To make amazing decorated sugar cookies, you need to know royal icing basics. Royal icing is key in decorating cookies. It holds decorations together and gives a smooth look.
Tip3: Creating Royal Icing with the Perfect Consistency
Making royal icing needs careful attention, especially for the right consistency. The mix of powdered sugar and egg whites or meringue powder is important. A common mix is 4 parts powdered sugar to 1 part egg whites. But, this can change based on humidity and what you want.
Stiff vs. Flooding Consistency
Royal icing can be stiff or flooding. Stiff icing is for borders and details. Flooding icing fills big areas. To check if it’s stiff, pipe a border on a cookie. If it stays, it’s stiff. Flooding icing should be thinner, flowing easily.
“The icing’s consistency is key for smooth cookies,” says a famous cookie artist. “Finding the right mix between stiff and flooding is important.”
Coloring Your Icing for Festive Designs
For bright colors, use good food coloring. Start with a little and add more until you get the color you want. Always test the color first, as some might change or bleed.
Tip4: Outlining and Flooding Methods
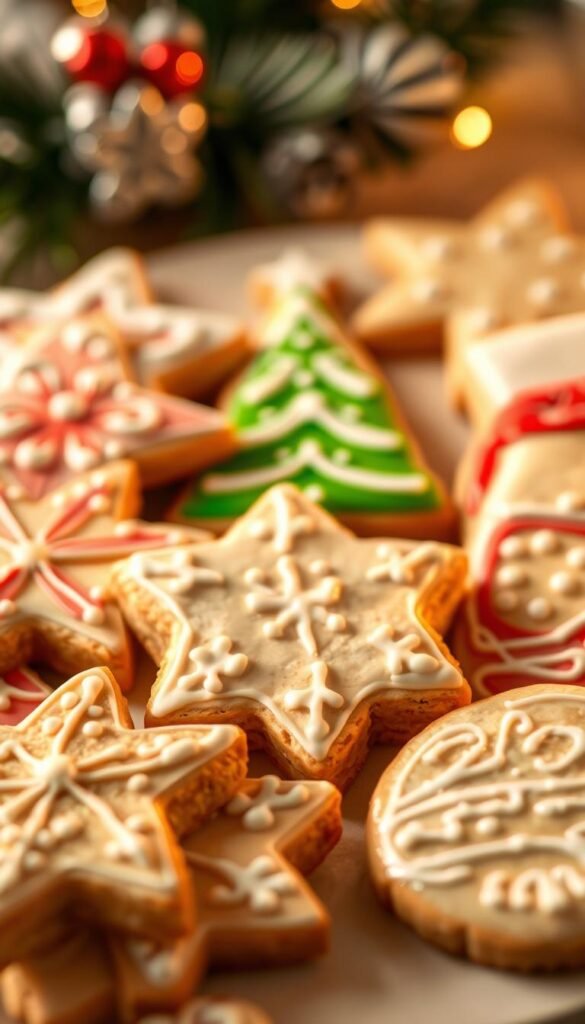
Outlining and flooding are key in decorating cookies. Outlining makes a border with stiff icing. Flooding fills the middle with thinner icing.
Piping Perfect Borders
To pipe great borders, use a piping bag with a round tip. Hold it straight to the cookie and squeeze icing slowly. Move it smoothly for a straight border.
Smooth Flooding Techniques
For smooth flooding, use a big round tip in your piping bag. Fill the outlined area with flooding icing slowly. Use a toothpick to spread it evenly and get rid of air bubbles.
Creative Decorating Techniques
Get creative this holiday season with our guide to advanced cookie decorating. Mastering the basics is just the start. Now, let’s dive into more advanced techniques to make your festive cookies stand out.
Creating Beautiful Marbled Effects
Marbled designs are stunning in cookie decorating. You’ll need royal icing in different colors and some tools. Start by outlining your cookie with thick icing, then fill it with thin icing.
Use a toothpick or knife to swirl the colors. This creates a marbled look.

Work fast when marbling, as the icing dries quickly. Try different colors to find the perfect festive look for your Christmas cookies.
| Color Combination | Effect |
|---|---|
| Red and White | Candy Cane Stripes |
| Blue and Silver | Icy Winter Effect |
| Green and Gold | Festive Holly Pattern |
Working with Multiple Colors Without Bleeding
Stopping colors from bleeding is a challenge. Make sure your icing is the right consistency. If it’s too thin, it will spread and bleed.
Let each color dry before adding the next. This takes patience, but it’s worth it.
Tip: Use a hairdryer on a low setting to speed up drying without harming your design.
Wet-on-Wet Technique for Seamless Designs
The wet-on-wet technique adds colors while the base layer is wet. This makes designs look seamless and perfect for detailed work. Work fast and have your colors ready.
Example: For a holly leaf design, use green icing as the base. Then add red details while the green is still wet. This creates a beautiful, blended effect that’s both festive and professional.
15 Fun & Festive Christmas Sugar Cookie Decorating Tips
Let’s dive into Christmas cookie decorating. It’s a mix of creativity and precision. With the right tips, your cookies will look amazing.
Creating Textured Surfaces for Snow and Fabric Effects
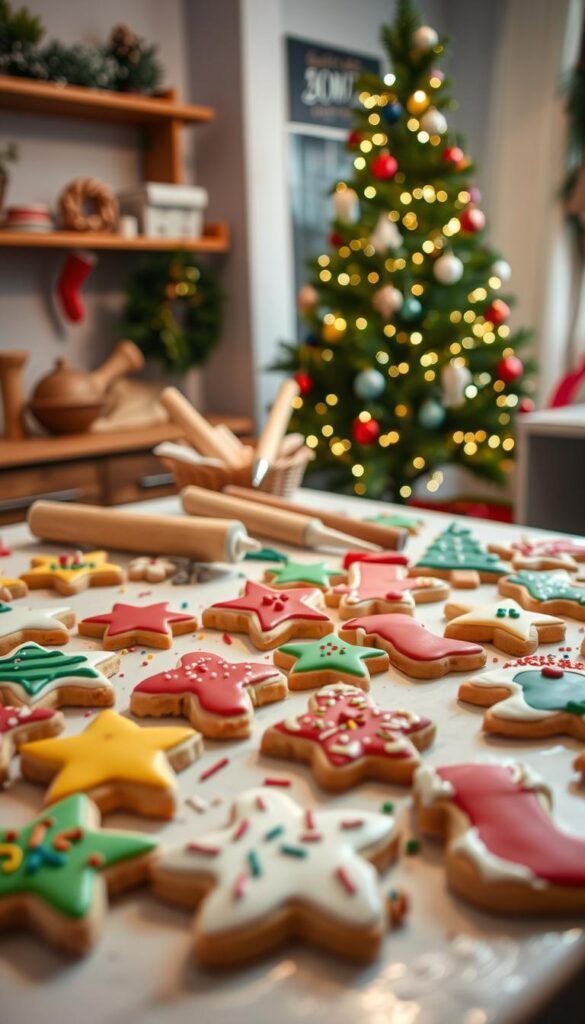
Make your cookies look like snow or fabric. Use textured rolling pins, brushes, and specialized stencils. A textured rolling pin can make snow or fabric patterns.
Start with the right cookie dough. Bake and cool it. Then, apply royal icing with a brush. Use your tool to make patterns. For snow, add edible glitter or luster dust.
| Tool | Effect | Tips |
|---|---|---|
| Textured Rolling Pin | Snow-covered rooftops, fabric patterns | Use on cookie dough before baking |
| Brushes | Soft, blended textures | Apply royal icing and then brush for effect |
| Specialized Stencils | Intricate designs, patterns | Use with royal icing or luster dust |
Painting on Cookies with Food Coloring
Painting cookies with food coloring is fun. It lets you add details and make them personal.
Watercolor Effects for Backgrounds
For watercolor effects, mix food coloring with water. Paint with a fine brush. This makes soft backgrounds.
Detailed Painting Techniques
For detailed work, like faces or patterns, use a fine brush. Work in a well-lit area. Practice first to get better.
These tips will make your Christmas cookie decorating amazing. Your cookies will be delicious and beautiful, perfect for the holidays.
Adding Sparkle and Dimension
Make your Christmas cookies pop by adding sparkle and dimension. The right decorations can turn a simple cookie into a holiday masterpiece.
Tip10: Using Edible Glitter, Luster Dust, and Sprinkles
Edible glitter, luster dust, and sprinkles add sparkle to your cookies. They come in many forms for different looks.
Application Methods for Different Effects
How you apply decorations changes the cookie’s look. Dry brushing, wet application, and placement can create different effects. For example, dry brushing with luster dust gives a soft shimmer. Wet application of glitter makes a bold sparkle.
Creating Snowy Sparkle Finishes
For a snowy look, mix white and iridescent products. Spread royal icing, then sprinkle glitter or luster dust. This makes your cookies look like snow.
Tip11: Incorporating Candy Elements and Edible Decorations
Adding candy and edible decorations makes your cookies interesting. Use crushed candies, dragees, fondant, and chocolate for designs. Make sure to add them right and stick them well.
Tip12: Building 3D Cookie Decorations and Accents
Three-dimensional decorations make your cookies stand out. Build figures, create pop-ups, and design layers. Plan well for structure, drying, and how to put them together.
Using these techniques makes your holiday cookies look amazing. They’re not just tasty but also beautiful. Decorate for parties or gifts, and your cookies will impress everyone.
Personalized Holiday Cookie Creations
As the holiday season comes, personalized Christmas cookies are a great way to show love. Making customized holiday cookies is more than baking and decorating. It’s about adding a special touch that makes each cookie unique.
Tip13: Adding Names, Messages, and Custom Details
Adding names, messages, or custom details to your holiday cookies makes them special. There are many ways to do this.
Techniques for Writing on Cookies
There are several ways to write on cookies. You can use royal icing, food color markers, or letter stamps. Royal icing lets you write with precision. Food color markers are quick and easy. Letter stamps give your cookies a professional look.
Creating custom stencils is a great way to add designs or messages. You can use cardstock or acetate for your stencils. Just design, cut, and place it on your cookie to dust or pipe your design.
Tip14: Designing Themed Cookie Collections
Themed cookie collections make your holiday baking more festive. By choosing a theme, you can create a set that looks great together.
Santa and Reindeer Sets
A Santa and reindeer theme is a classic choice. You can make cookies with Santa’s hat, reindeer antlers, or North Pole designs. Use red and green icing for a traditional look.
Winter Wonderland Themes
A winter wonderland theme brings the magic of snow. Design cookies with snowflakes, snowmen, or frosty trees. Soft blues and whites create a wintry feel.
| Theme | Color Palette | Design Ideas |
|---|---|---|
| Santa and Reindeer | Red, Green, Black | Santa hats, reindeer antlers, holly leaves |
| Winter Wonderland | Blue, White, Silver | Snowflakes, snowmen, frosty trees |
Finishing Touches and Presentation
Decorating Christmas cookies is an art. But, how you present them is just as important. You worked hard to make them look great. Now, you want them to stay fresh and pretty until you share them.
Professional Storage and Display Ideas
Storing and displaying your cookies right is key. It keeps them looking good and fresh. Here are some tips to help.
Preserving Decorated Cookies
Let your cookies dry completely before storing. This can take hours or overnight. Once they’re dry, put them in airtight containers to stay fresh.
Use parchment or wax paper between layers to stop cookies from sticking. Keep them away from sunlight and humid places. This helps them not absorb bad smells or moisture.
Gift Packaging and Presentation
When you give your cookies as gifts, how you package them counts. Use pretty tins, jars, or bags to show off your work. Add a personal touch with gift tags, ribbons, or a note.
For a fancy gift, make a cookie gift box or basket. Fill it with different decorated cookies. Make sure the packaging is strong and won’t hurt the cookies when you move them.
Conclusion
Christmas cookie decorating is more than making pretty treats. It’s a tradition that brings joy to everyone. With our 15 festive decorating tips, you can make amazing cookies for your holiday baking.
Decorating cookies is both art and science. Don’t worry if it’s not perfect at first. Start simple and get better with time. The most important thing is to have fun.
When you decorate cookies, think about sharing them with others. It’s a great way to make memories with family and friends. Christmas cookie decorating makes the holiday season even more special.

